 Before we get too far into the installation, I have to show you my new favorite tool. We try to keep things as realistic around here as possible. Which means we mostly work out of our two-car garage. In the middle of summer, our options are usually to either work in the driveway where there is a breeze but we're in the direct sun or to work in a stifling garage. I'm not sure why it took us so long to come up with this solution, but I’m not sure the wife will ever let us work without it again.
  But down to business... We talked about removing the valve cover a few weeks ago, so I won't bore you with the details all over again. Instead, if you'd like to read that post, you can find it here. I will mention though, since we replaced the bolts that we rounded off last time, this time went much smoother. With the valve cover already removed, the first thing we removed was the timing chain adjuster spring. This is usually located on the side of the head.
  The spring can cause the bolt to come out pretty quickly, try and hold in on the bolt and let it out slowly. At the risk of sounding redundant, make sure that you catch all of the pieces.
  With the spring and bolt removed, you'll be able to remove the adjuster. The photo below is the outside portion...
  When you remove the adjuster, you can see the tick marks used to adjust the chain. Ours was maxed out.
  With the adjuster out of the way, we set to pull the flywheel. To do this on the Grizzly, we first removed the shifter.
  …then the pull start mechanism and the bolt that holds on the starter pulley. I used my trusty pry bar across the teeth of the starter pulley and used that to hold the engine from turning over. I used a ratchet and socket to remove the bolt.
  If you have access to an impact that would work better but for demonstration purposes I did it manually. Then I removed the stator cover. I have to warn you that removing the stator will cause some oil to leak. You can minimize this by draining the oil first but as I had just completed an oil change, I opted to allow the small amount of oil to leak as opposed to draining all of the new oil. Either way works just fine, it’s ultimately up to whether your at a point where an oil change is convenient for you or not.
  The next thing I took off was the flywheel. Every ATV is different and a lot of models require special tools to remove the flywheel. Fortunately for me, the Grizzly required a bolt puller. I have used a bolt puller many times and have a set of my own but if you don’t have one, you can usually rent one from a local parts store. Think O’Reilly’s, AutoZone, Advanced Auto Parts, Pep Boys, etc. And remember, it just happened that the Grizzly requires a bolt puller to remove the flywheel. If your ATV requires a different type of tool, you may still want to check with local parts stores to see if they have something available for rent.
  A normal bolt puller uses a bolt in the center to apply pressure to the 3 outer bolts. I like to cheat when I’m using this and use a slide hammer. Using a slide hammer with the bolt puller lessens the chance of damaging the crankshaft. After a few hits with the slide hammer on the bolt puller, the flywheel it popped right off.
  Next thing off was the oil pump…
  With the oil pump removed, I moved up to the camshaft. At this point, I was able to gently lift up the camshaft and slide the chain off the gear. I just let the chain fall into the engine and removed it from the end of the crankshaft.
  After that I removed the timing chain guide bolts…
  …and the chain slid right out. Holding the new chain and old chain side by side can give you a really good idea of the shape of your old chain. In the photo below, the old chain is the closest to the camera. You can see how it droops and is even slightly longer than the new chain.
  Now just reverse the tear down and it is done! … Ok, so it’s not really that easy. When you insert the new chain, it is best to tie it off (I used some old wire) and feed the chain from the top of the head down to the crankshaft.
  I tied the wire to the frame, then twisted the chain out and around the crank shaft…
  When you’re installing a new timing chain, you want to make sure that the camshaft and the crankshaft are aligned. To line up the crankshaft, you’ll want to make sure that the hole in crankshaft is in line with the marking on the block.
  To line up the camshaft, I made sure the holes were facing up and that the marks on the cam gear were parallel to the head.
  Aligning everything properly takes time and patience, but it is very doable. You always want to refer to your manual on the proper way to adjust the timing on your specific ATV. Next I installed the timing chain adjuster. Before you can install it, you'll want to reset it. Just use your index finger to pull back on the tab and use another finger to push the bolt all the way back in. Then release the tab and you're good to go.
  When you install the timing chain adjuster, if the slack of the timing chain was on the wrong side it could turn the crank or camshaft causing it to be out of time. You’ll want to make sure to check the marks to make sure they are still on after you install the tensioner. As for installing the chain, we’re all done! Now time for the reverse tear down. The oil pump, flywheel stator cover, shifter, and the valve cover. The stator cover and head required some RTV sealant…
  When you apply the sealant around the stator cover, make sure that you are extra liberal around the wires. The reason is that this area is not totally level with the rest of the cover. You'll want an extra gob to make sure that you have a tight seal. Now I torqued the head to 7.2ftlbs… definitely not whatever they were at from before. (I know I mentioned this earlier, but >the bolts on the valve cover caused us some serious headaches.) While you’ve got everything tore down, you’ll also want to make sure to double-check the valve clearance. Believe it or not, ours was actually within spec. With that out of the way, I was able to put on the starter pulley and the pull starter back on.
  Unfortunately at this point it was just getting too dark for photos. Don’t worry, you didn’t miss much. After I put the starter pulley and pull start back, I put the fuel tank back on then the front fenders and the front rack. Now it was time for the final check. I hit the starter button and it fired off with no issues. But I still have a little noise! What now?! What noises have you chased and found? Do you have a better trick to get the timing right? Any easier ways to replace the timing chain? Let us know!
Our very own Air Filter Relocation kit for ODES UTVS. Designed and manufactured by Scooter's Powersports. Unlike some ODES Air Filter Relocation K...
View full details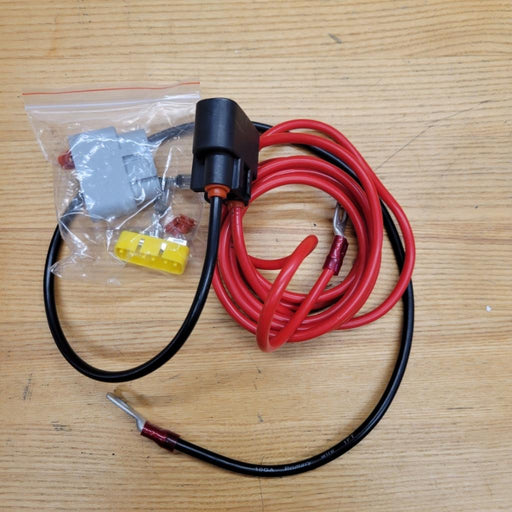
Designed to move the voltage regulator from under the hood to under the seat. Requested by you and built by Scooter's Powersports. Allows for elimi...
View full details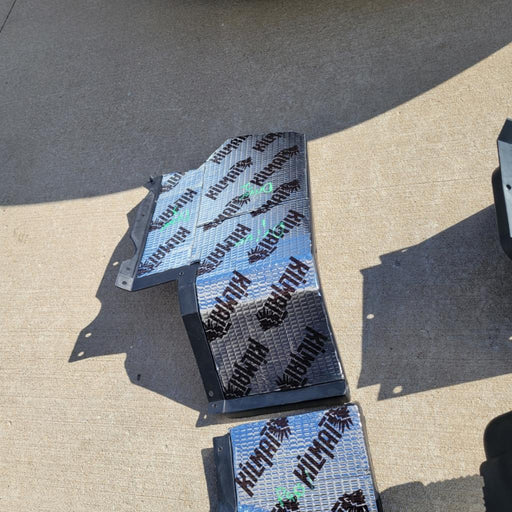
If the noise inside the cab of your ODES UTV has ever bothered you, this. is your solution. Now you can get one of our best selling shop services a...
View full details


ODES Industries recommends an engine oil change at 25-hours of run time or 1000 miles. (We won’t tell if you turn that down to once every 50-hours ...
View full details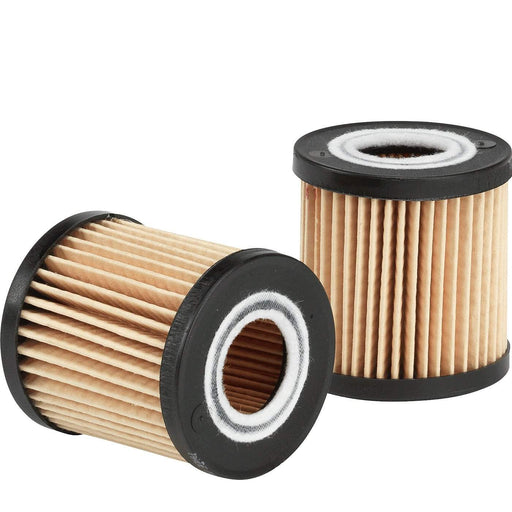
High-performance aftermarket ODES oil filter. Compatible with 800cc and 1000cc ODES engines. Be sure to select your make and model before adding to...
View full details
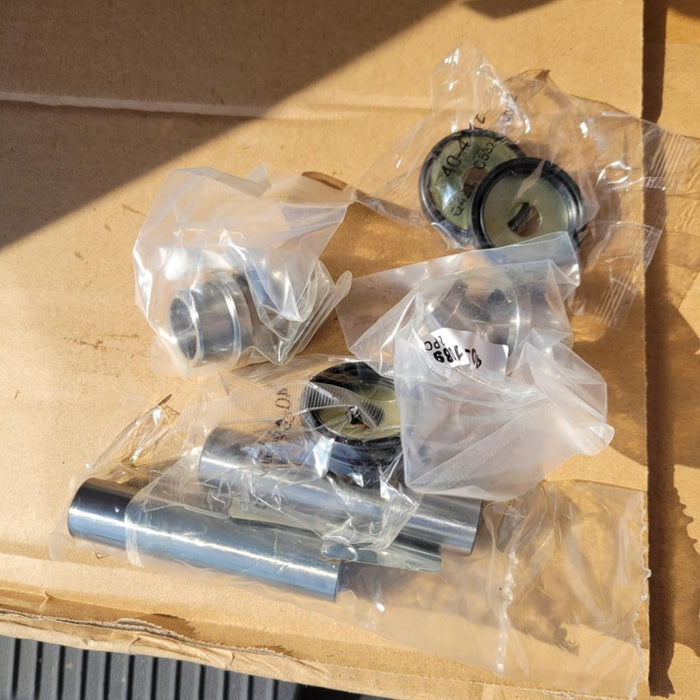
Pivot Works wheel bearing kit for 2012+ 800cc and 1000cc UTVs from ODES Industries. Fitment includes the Short Travel (Standard) suspension and the...
View full details
Our very own Air Filter Relocation kit for ODES UTVS. Designed and manufactured by Scooter's Powersports. Unlike some ODES Air Filter Relocation K...
View full detailsOEM air filter for ODES 800cc engines. Vehicle Fitment This part is compatible with the following vehicles 2012+ ODES Dominator 800 2015+ ODES Dom...
View full details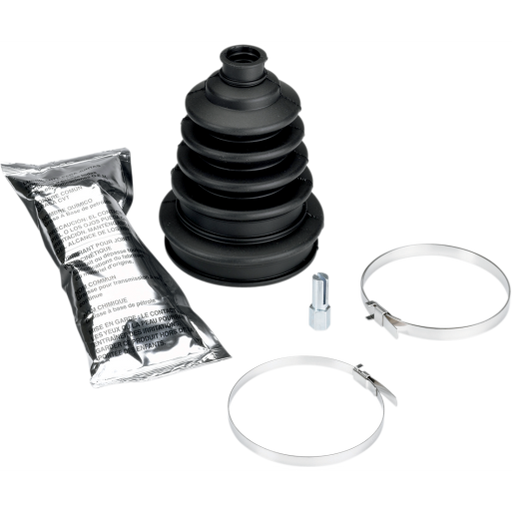
Extremely heavy duty CV boot that fits virtually all ATVs and UTVs. Additional rib to allow boot to expand for larger joints Improved clamp retain...
View full details
ODES ball joint kit for 800cc and 1000cc ODES UTVs. ODES Ball Joint Kit Includes (1) Ball joint (1) Circlip (1) Cotter pin (1) Nut Each kit provi...
View full details