 Unfortunately, this was the week before our new camera arrived. I'm not sure if there was something wrong with our old point and shoot or if I just have no skills. Either way, this should be the last week featuring photos that make you want to get your eyes checked. We promise. After a trip to literally every parts store in town, we were forced to special order a kit. Of course, this means we have to push back getting the motor in the bike. Bummer. When the kit arrived a week later, it was the wrong size. Not wanting to wait ANOTHER week, we were forced to improvise. Luckily, Scott remembered the aluminum welding rods we had picked up at a local farm show last year. We haven't seen these kits anywhere in stores, but if you're interested, here is a link to the Dura-Fix website. The kit we purchased at the farm show is the smallest and cheapest kit available but they have a pretty large variety of packages, the largest including three pounds of aluminum and a torch. You can purchase directly from their site but if you happen to be at a farm or boat show anyway, we recommend searching out the Dura-Fix booth to save some dough on shipping.
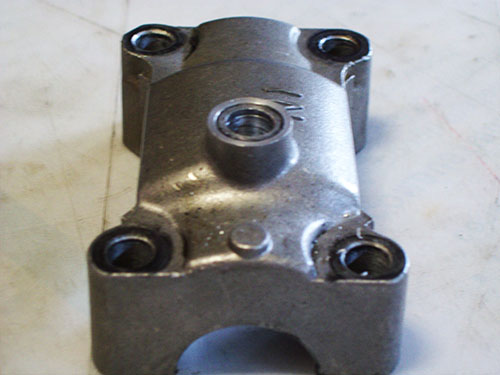
 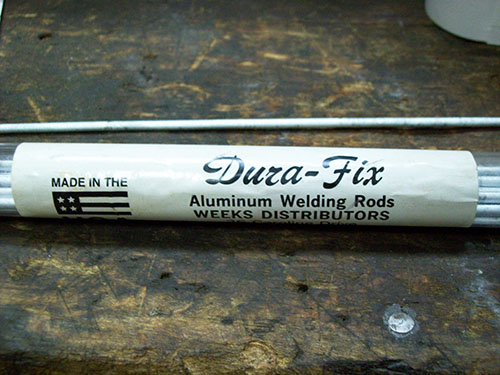 We started out by pre-drilling through the thread we wanted to repair. We had already done that step in preparation for our thread repair kit that ended up being the wrong size. If you were to skip the kit and jump straight to welding, you'd still want to pre-drill to make room for the added aluminum. Unfortunately, I don't have any photos of this step, but we used a drill press to keep our threads as straight as possible. You don't want your bolt going in at an angle. Additionally, you want to be careful when choosing the drill bit you use. You don't want to use a bit that's too large. Aim for about a size larger than the bolt you are making room for.
 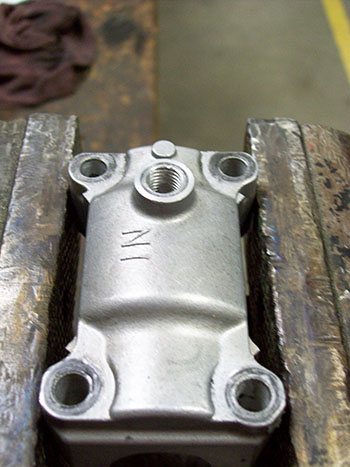 With the cam cap held securely in a vice, we were ready to start. And seriously, I can't stress the need for a vice enough. That thing got HOT and it's not something you'd want to bump and send flying through the room. Especially with your wife loitering in the trajectory.
 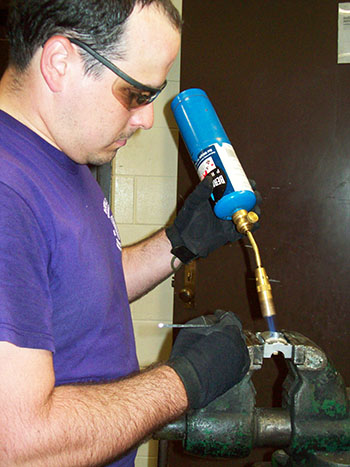 Scott alternated between heating the aluminum rod and the thread, touching the rod to the thread as he worked.
  In the meantime, I got way too close trying to take photos.
 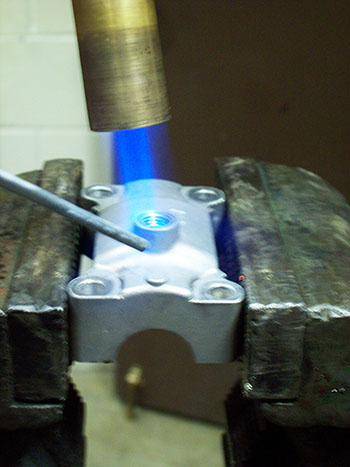 After about five minutes of welding, Scott set some washers on top of the thread and positioned the bolt. Since this is the bolt that goes through both the cam cap and the valve cover, the the washers helped to give the thread some added height and to ensure that the bolt remained straight.
 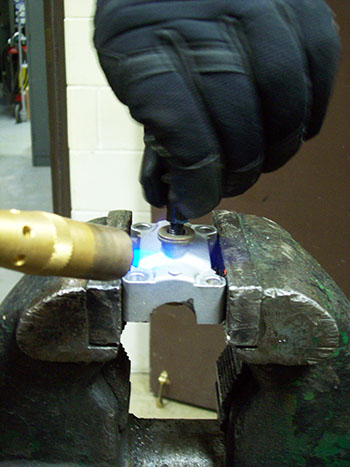 Once he was sure the bolt was straight, he quickly torqued it into place. Notice the second set of hairy hands; I assure you, they are not mine. Aluminum is great at dissipating heat, but with this application it means you have to work quick. Having a second set of hands here was incredibly helpful. Thanks Steve!
 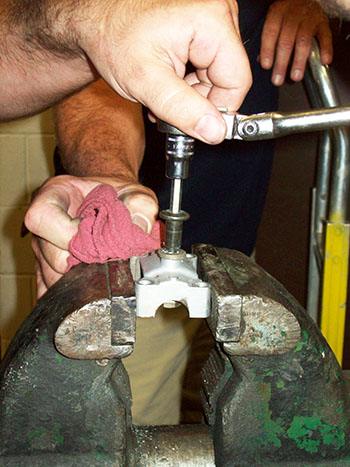 Because aluminum cools so quickly, we had to get the cam cap back in place and torqued down in a hurry to avoid any warping.
 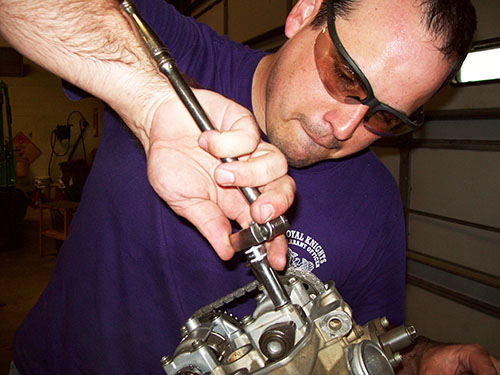 Once the cam cap was securely back in place, we got to relax a bit while it cooled. Not that it took long...
 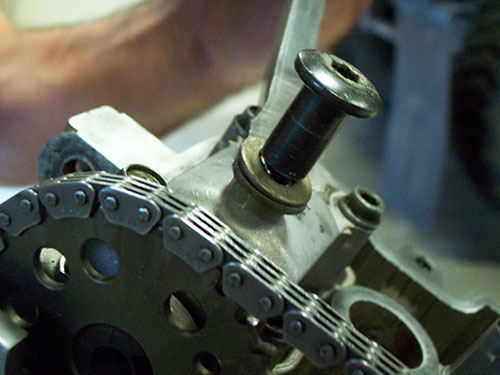 When everything had cooled, we removed the cam cap so that we could work without making a mess all over the motor. The bolt removed pretty easily (since now it had threads and was able to twist out) but removing the washers took a few minutes of alternating filing and some gentle prying. Just in case you're wondering, the bolt and washers were easy to remove because while our cam cap and welding rod are aluminum, the bolt and washers are not. Therefore, they weren't welded into place. Kind of like how a cake pan isn't actually part of the cake. The threads on the bolt acted as a mold for the new aluminum to form around. Am I the only one who didn't get that at first?
 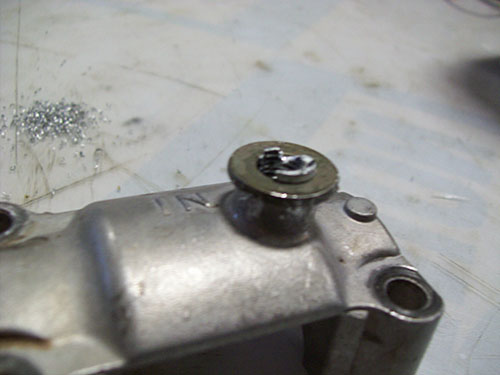 We also made sure to remove the drips of aluminum from the underside of the cam cap.
 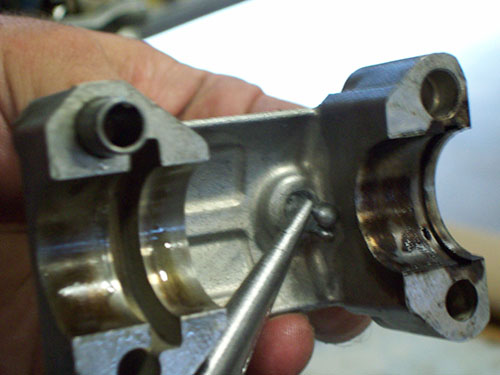 Once everything was removed there was some more filing. It didn't take long, just enough to get everything flush and smooth.
 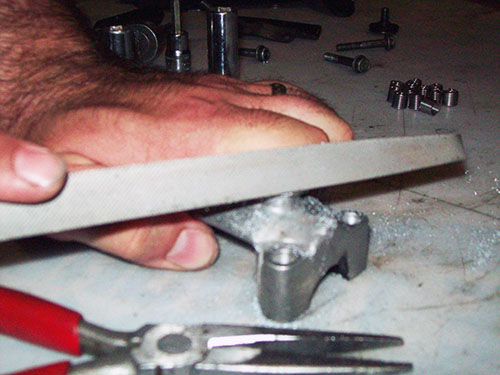 And here is our finished product! I wish so badly that we had our new camera while we were working on this project. But even with the poor photo quality, you can see that the threads are now well defined and that the excess aluminum on the top has been filed smooth.
 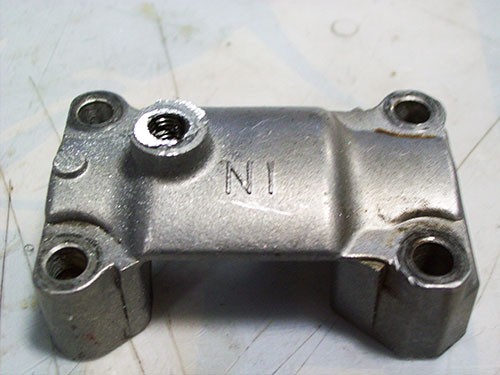 We were so excited when we finally got to place the valve cover! It is amazing to me that something as small as a stripped thread could cause so much headache. Because the thread was stripped, the cam cap and valve cover were no longer forming a tight seal, which caused the motor to leak oil. Notice the blue in the photo below: that's residue from where the previous owner applied silicone to try and stop the leak. You can see where it had been applied heavily around the bolt that holds the valve cover to the cam cap (where our problem was). We don't know the person who owned this ATV previously or the circumstances which led them to using silicone. But we think if you've got the time, it's well worth taking a close look at all of the components before busting out the icky blue stuff. It may work temporarily, but it's only a band-aid (both in the sense that it's a temporary fix and a pain to remove). And the good news? If the problem is a stripped thread, now you've got one more tool to fix it.
 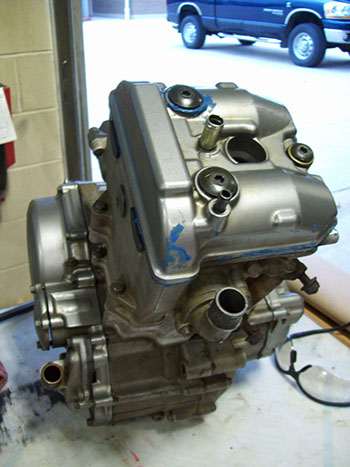 When we were finished, we cleaned up as much of the remaining residue as we could (the bulk of it peeled off pretty easily, what you see in the photo above is the stuff that was leftover) then made the trip to install it. And we're incredibly happy to report that there were no more leaks! So while our method may have been a bit more time consuming than traditional thread repair kits, the outcome worked just as well. A thread repair kit would have been nice, but with an odd bolt size, our custom order being wrong, and facing a deadline that had already been moved once, we were thankful to have had another option. If you're interested in aluminum welding and have some free time, we recommend you swing by the Dura-Fix site where you can read about more uses and instructions. And don't worry, we're not being payed or comped at all. In fact, we bought our welding kit over a year ago, well before we started our blog. This was our first practical application of aluminum welding. Have you ever welded aluminum? Do you have any tips for us? What about our odd bolt size/deadline dilemma; have you ever been in a similar situation? How did you handle it?
Our very own Air Filter Relocation kit for ODES UTVS. Designed and manufactured by Scooter's Powersports. Unlike some ODES Air Filter Relocation K...
View full details
Designed to move the voltage regulator from under the hood to under the seat. Requested by you and built by Scooter's Powersports. Allows for elimi...
View full details
If the noise inside the cab of your ODES UTV has ever bothered you, this. is your solution. Now you can get one of our best selling shop services a...
View full details

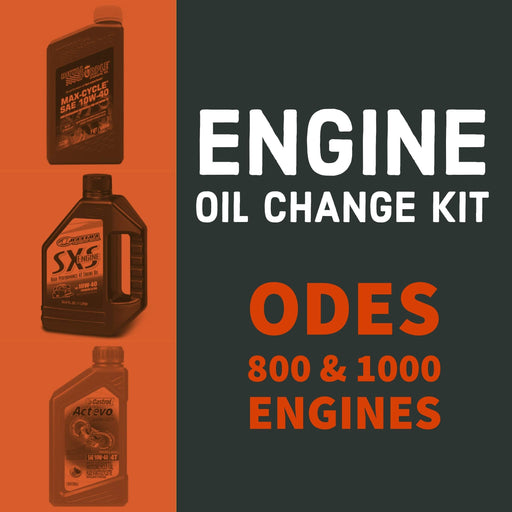
ODES Industries recommends an engine oil change at 25-hours of run time or 1000 miles. (We won’t tell if you turn that down to once every 50-hours ...
View full details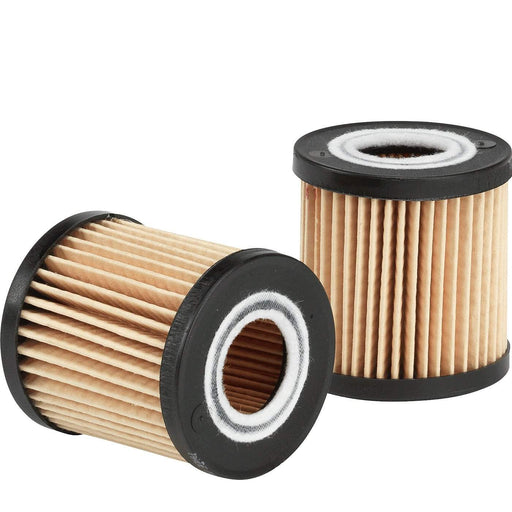
High-performance aftermarket ODES oil filter. Compatible with 800cc and 1000cc ODES engines. Be sure to select your make and model before adding to...
View full details
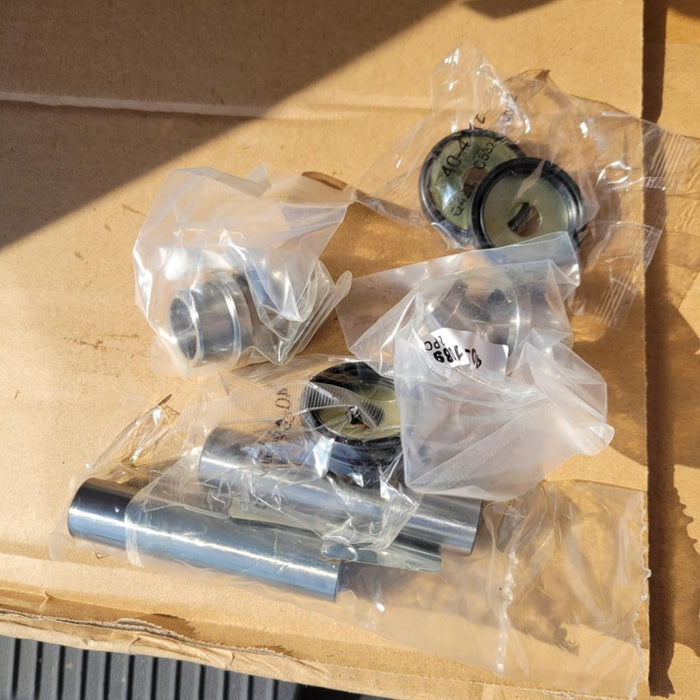
Pivot Works wheel bearing kit for 2012+ 800cc and 1000cc UTVs from ODES Industries. Fitment includes the Short Travel (Standard) suspension and the...
View full details
Our very own Air Filter Relocation kit for ODES UTVS. Designed and manufactured by Scooter's Powersports. Unlike some ODES Air Filter Relocation K...
View full detailsOEM air filter for ODES 800cc engines. Vehicle Fitment This part is compatible with the following vehicles 2012+ ODES Dominator 800 2015+ ODES Dom...
View full details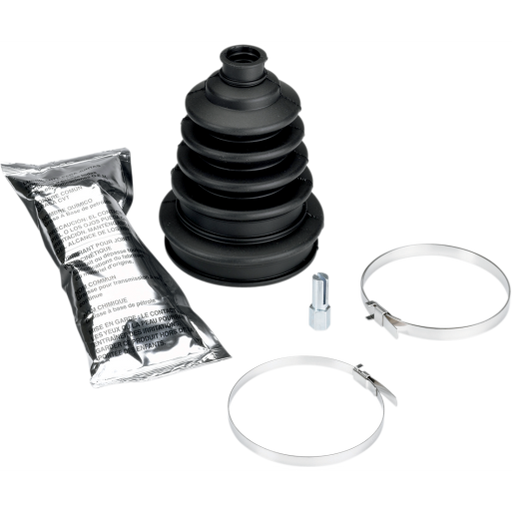
Extremely heavy duty CV boot that fits virtually all ATVs and UTVs. Additional rib to allow boot to expand for larger joints Improved clamp retain...
View full details
ODES ball joint kit for 800cc and 1000cc ODES UTVs. ODES Ball Joint Kit Includes (1) Ball joint (1) Circlip (1) Cotter pin (1) Nut Each kit provi...
View full details