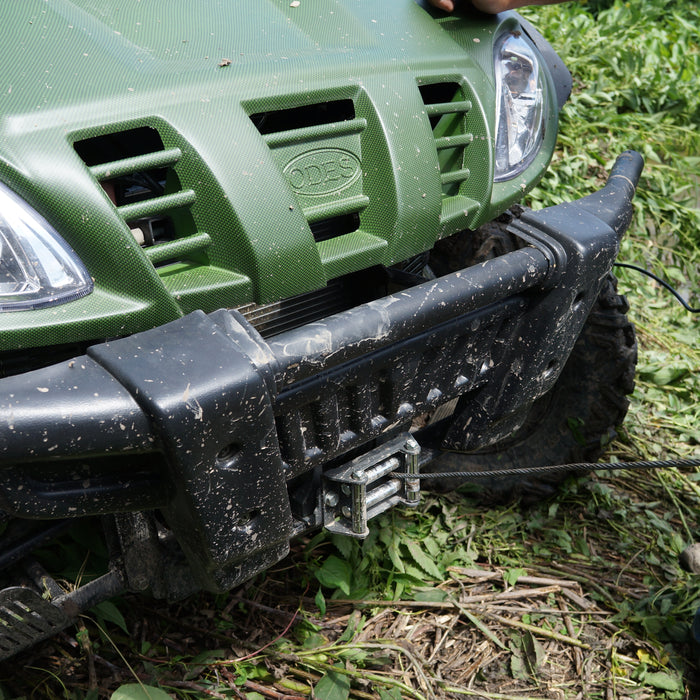
 Needless to say, it had seen better days. So now what? We've mentioned before that since my Warrior is a 1999, it can be difficult to find aftermarket accessories. Fortunately, he didn't just rip off the skid plate without having a plan - we were going to build a DIY skid plate. And it all started with a piece of scrap metal.
 I believe it was an old radio mount. We buy a lot of items from government auction sites (that's where we got the trailer seen in so many of our photos) so it's not uncommon for us to repurpose scrap metal pieces. In the photo above, you can see that it's just a flat piece of aluminum with the ends curved upward (or at least upward for the way we're using it).
 First, Scott bolted them to the frame not only to make sure that they fit, but so that we could get an idea of where to weld them onto the skid plate.
  At first we had some issues with welding the brackets and we were getting a little frustrated. So we shifted our focus. As we were trying to get an idea of how everything would line up, we realized that we were going to need to bend the rear of the plate so that it curved upward. To give us a break from welding, we decided to start working on adding some curves (which is why in the next several photos there is only one bracket welded to the plate).
  When Scott suggested bending the skid plate, I was really nervous. I had no idea what that would entail but he had it done fast! He started off by marking a line where he wanted the bend to be. Then the plate went into a vice and he used a propane torch to heat the metal while he pulled the top of the plate toward him.
  In around five minutes, we had a really nice profile and I was starting to see the potential. Next we needed to notch out the front of the skid plate to make room for the frame. We actually used a 2x4 to trace the area we wanted to cut out then moved the plate back to the vice. Scott used a grinder to cut along the lines we traced.
  We had originally thought we would cut the entire square out but when we held it up to the frame for a second time, we decided we might try to bend it up towards the frame instead. After a following the same steps as the first bend, we had an entirely different profile.
  Of course, this whole process was not an exact science. There was a lot of test fittings and our plans changed more than a few times. On our test fitting after we bent the front of the skid plate, we decided that we needed one more bend to make things as form fitting as possible. So it was back to the vice and the torch. Because this bend was a little more complex, we used a bolt as a place holder to help us make the secondary bend.
  It's slight, but when we hold the bolt straight against the piece that we bent, you can see the subtle curve.
  Once we had our bends all worked out, we got back to welding. We started by cleaning the bracket that snapped off.
  And this time we were super vigilant with cleaning the skid plate before we started. You want to brush the plate extremely well before welding. Since we had already attempted this once, we made sure to heat our plate as well to get off any residual aluminum.
  Our second attempt at welding went much smoothers. And just FYI, if you've never welded aluminum before (we've just started toying with it ourselves) it's awesome. We are still on our original package of Dura-Fix aluminum welding rods that we picked up from a local farm show last year.
  Being able to weld with aluminum has come in pretty handy. Aside from using it on my new skid plate, we've also used it to repair threads. Since the brackets in the front won't take as much abuse as the ones in the back, we opted to bolt them on instead of welding.
  With the front bolts on, we were ready to install. Overall, we're really happy with how the new skid plate turned out.


Our very own Air Filter Relocation kit for ODES UTVS. Designed and manufactured by Scooter's Powersports. Unlike some ODES Air Filter Relocation K...
View full details
Designed to move the voltage regulator from under the hood to under the seat. Requested by you and built by Scooter's Powersports. Allows for elimi...
View full details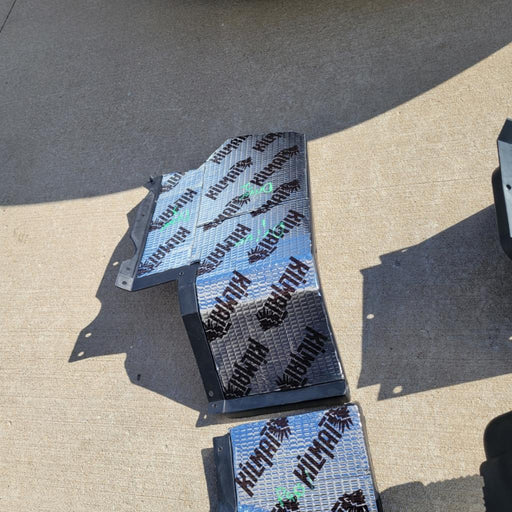
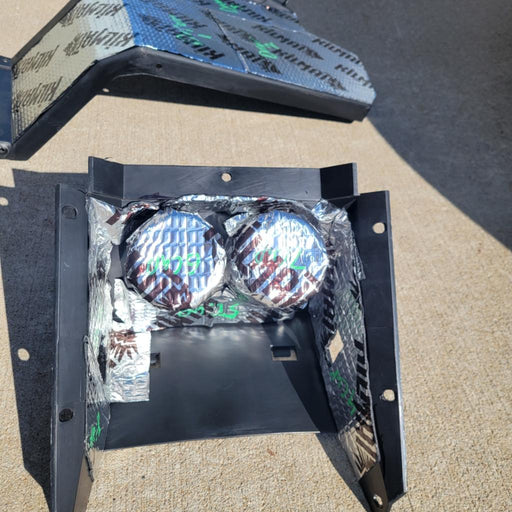
If the noise inside the cab of your ODES UTV has ever bothered you, this. is your solution. Now you can get one of our best selling shop services a...
View full details

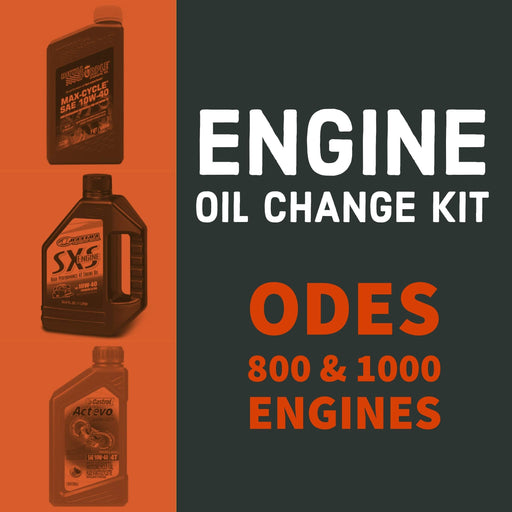
ODES Industries recommends an engine oil change at 25-hours of run time or 1000 miles. (We won’t tell if you turn that down to once every 50-hours ...
View full details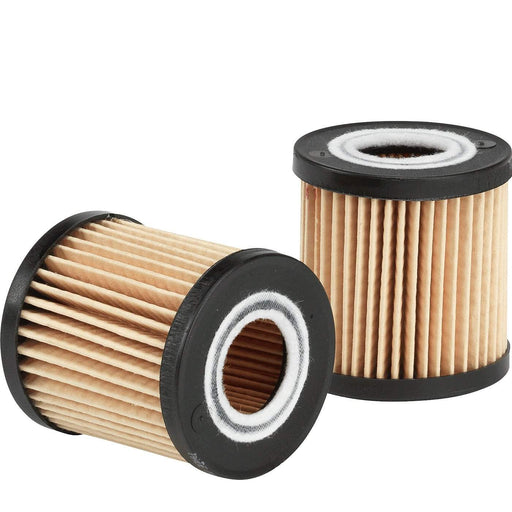
High-performance aftermarket ODES oil filter. Compatible with 800cc and 1000cc ODES engines. Be sure to select your make and model before adding to...
View full details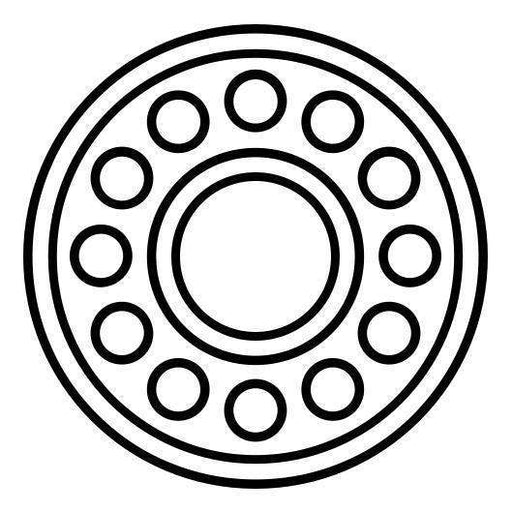
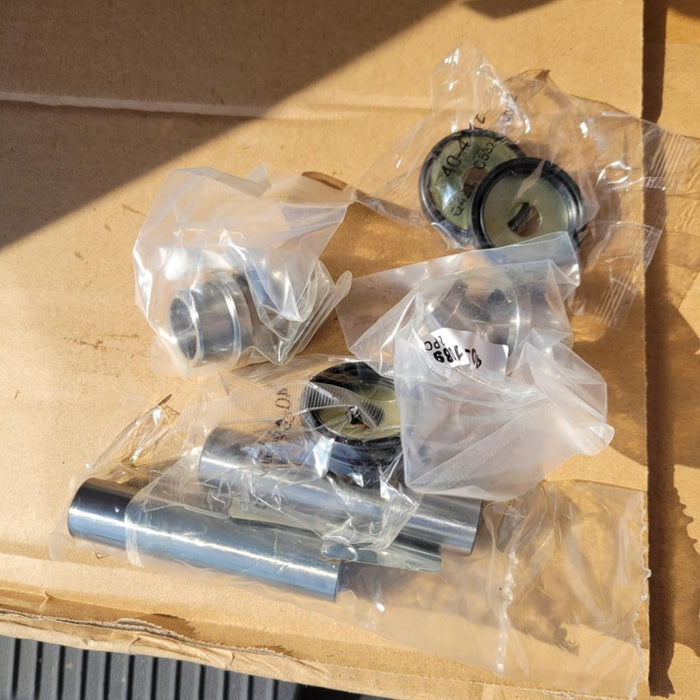
Pivot Works wheel bearing kit for 2012+ 800cc and 1000cc UTVs from ODES Industries. Fitment includes the Short Travel (Standard) suspension and the...
View full details
Our very own Air Filter Relocation kit for ODES UTVS. Designed and manufactured by Scooter's Powersports. Unlike some ODES Air Filter Relocation K...
View full detailsOEM air filter for ODES 800cc engines. Vehicle Fitment This part is compatible with the following vehicles 2012+ ODES Dominator 800 2015+ ODES Dom...
View full details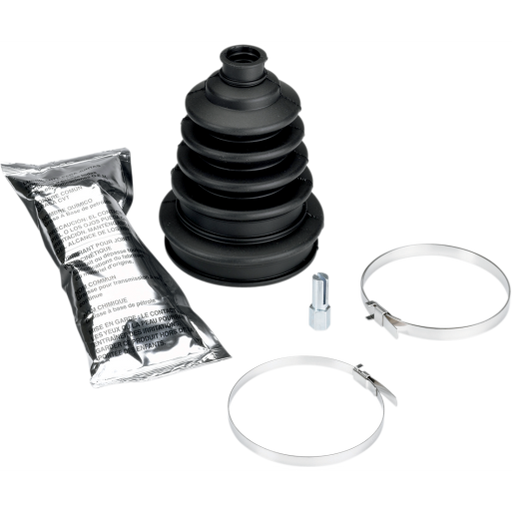
Extremely heavy duty CV boot that fits virtually all ATVs and UTVs. Additional rib to allow boot to expand for larger joints Improved clamp retain...
View full details
ODES ball joint kit for 800cc and 1000cc ODES UTVs. ODES Ball Joint Kit Includes (1) Ball joint (1) Circlip (1) Cotter pin (1) Nut Each kit provi...
View full details