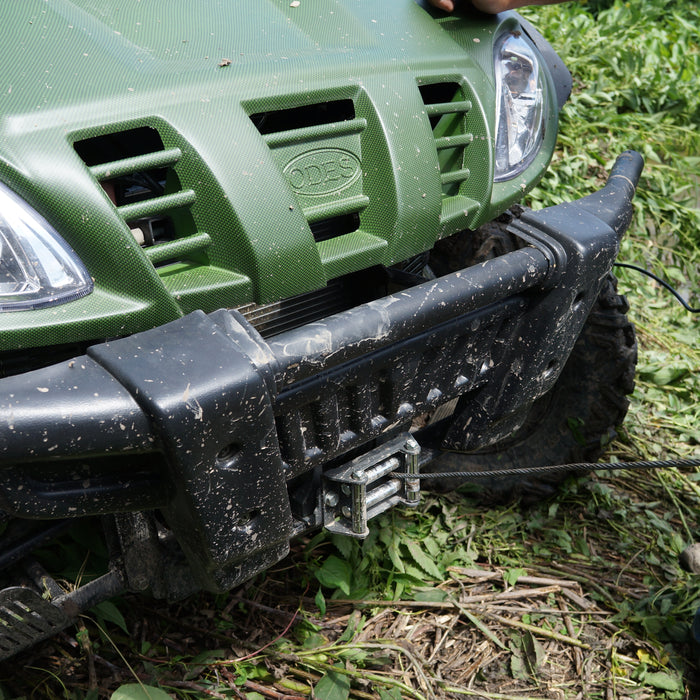
Preventative Maintenance Checks and Services for Spring
It is that time of year again and if you’re like us, the wheelers have been sitting inside for the last few months. We’re big on preventative maintenance in this house, especially in the early spring. It’s easy to get excited by the idea of getting out and riding again, but if you take the time to give your ATV a proper inspection, you can save yourself some major headaches (and in some cases, cash) later in the year. For a lot of people, a spring inspection can be something they dread, but it doesn’t have to be overwhelming. Here are a few tips for getting them out and ready for the season so you can head off some problems early on.
Right off the bat, one of the first areas to address is the fuel. The gas we have today is not very high quality and will quickly go stale if not properly treated and stored. To combat this issue, I like to use an additive called
Sea Foam. I put a little in every fuel can I own. For good measure, I also add it to the tank when I fill up. If you do not usually add anything to your fuel, I would recommend doing so before trying to start this season.

Be sure to read the label, but for most brands, after you add the additive to the tank, you will need to drain the old fuel from the carburetor. Start by finding the small hose coming from the bottom of the carburetor; this is where the old fuel will drain. For this, I recommend you get a small cup. Plastic will work fine, but absolutely do not use a foam cup as the gas will cause the cup to dissolve. There should be a small screw above the hose. Once you’ve got your cup and located the hose and the screw, make sure your fuel tank is in the on position (for some it will be the prime position). Turn the screw out and let all the old fuel drain from your carburetor into the cup. The old fuel is normally yellow in color and has a pretty nasty smell. Once the old fuel has drained, it will turn clear and have a normal gas smell. Then just tighten the screw back up and you are done. This one simple step will greatly help in getting your ATV to start for the first time.

Once you’ve taken care of the fuel, you should move on to the battery. If your ATV has not ran in the last few months, you will need to make sure the battery has a full charge. You may be tempted to skip this if the motor starts to turn over, but keep in mind that unlike in a car, an ATV motor will never properly charge the battery and will actually decrease the battery’s lifespan. If your ATV has been sitting for a while, my recommendation is to use a small low amp charger. They are fairly cheap and very simple to use. If you are in the market for a charger, a 3amp is about the right size. A 5amp would also be ok, but you won’t get a good charge with anything much bigger. Anything bigger than 5amp, will give you a fast charge, but it will cause the plates in the battery to calcify. This is bad. To prevent this issue, I have (thanks to a great birthday present) a two-port battery maintainer. So when I pull the ATVs in from riding, I just plug them in to the outlet hanging from my wall and it does the rest. As with everything, make sure you follow the instructions that come with the charger.
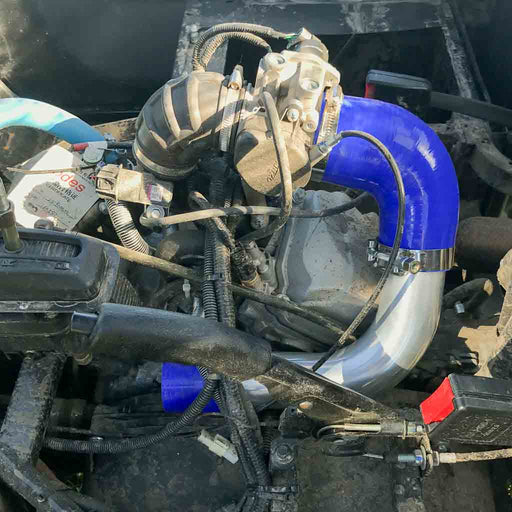
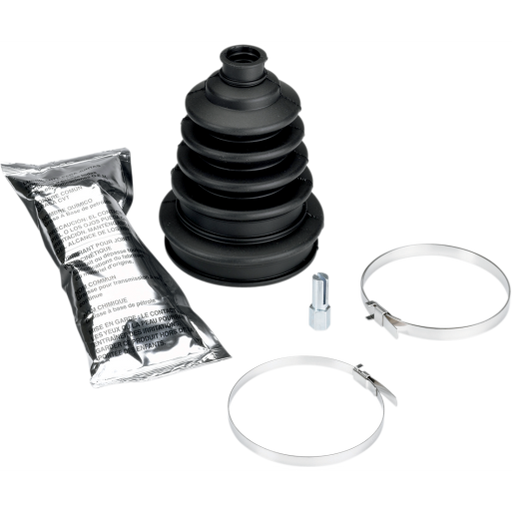
It's also important to take care of the little things before you ride. Do you remember last fall when you went for one last ride, gave it a quick wash, and then shoved it in the corner and said, “I will come back and clean it better in a few weeks.”? Well, here we are three or four months later (well that’s what always happens to me) and a good once over is long overdue. As a mechanic and a technical inspector, it is my job to be thorough. But fortunately, you can just give everything a quick look. I recommend that you start at the front and work your way to the back, going down one side, coming back up underneath (although if you have skids, there won’t be much to see), and finally back down the other side. Keep your eyes open for anything that looks broken, cracked, oil soaked, is leaking, or loose.

When I say, “quick look”, I don’t mean with your hands in your pockets. You need to feel the oil, smell the fluids, and grab, shake, and pull on things. Granted, you want to make sure that you’re not yanking on little wires with lots of force, be within reason. You will be amazed how many little bolts, nuts, and wires that are loose or missing. Small leaks are common as well. By tightening and adjusting everything now, you can save yourself a headache and money later down the road.

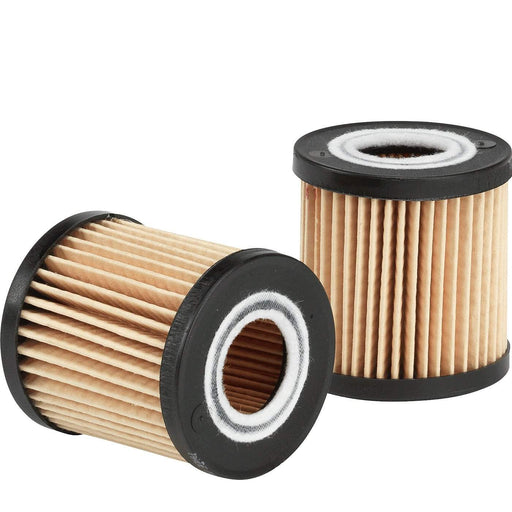
This inspection is the perfect time to do the final checks and lubrications that need to be done such as changing the oil, checking the coolant, greasing any grease fittings, and lubing the chain. Because these steps can vary so much between make, model, and even year, you really want to refer to your owner’s manual for this. If you do not have the original manual, a quick Google search should get you one. Most operators’ manuals and some shop manuals are available on line for download.
It seems counterintuitive, but the last thing you should check is the tires. I know that the flat tires were the first thing that you saw when you went to pull it out, but if the rest of the stuff we talked about does not work then the tires aren’t going to do you much good, which is why I saved them for last. Every ATV should have a data plate listing the correct tire pressures. If not, you should be able to use Google to find the correct pressures for your specific model, but most are very low, around five to seven pounds. Once you have properly inflated your tires check for cracks, splits and objects. There is nothing worse than getting three or four miles out and finding that a crack in your tire just became a gash. Because most ATVs do not have a spare, this can take a huge chunk out of your riding time.

If you are still not comfortable in doing some or any of this maintenance that is fine, but you will need to find a local dealer or shop to give your ATV a checkup every year. I am not saying that will be a cheap thing to do but your safety and having a good time is worth every penny. We hope that you’ll keep reading and if you’ve never worked on an ATV before, you gain the confidence to tackle some of these maintenance steps yourself. We will be adding lots of other articles to our site so check back often. We are planning on doing step-by-step guides on maintenance, technical repair, and troubleshooting. Got any questions or requests? Contact Scott
here.