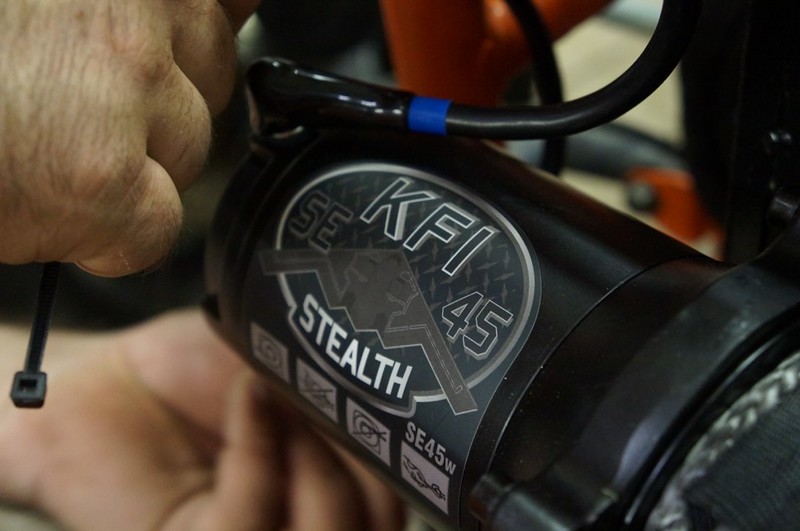
Recently, we were excited to tell you about our experience working with KFI Products. With their help, we chose the brand new, SE45W Stealth Winch. The engineers at KFI are really great to work with. They helped us find the mount that would best allow us to use our new winch on the Sandrail. Let me tell you, this is a totally custom installation and finding a way to mount this winch was no small task. Not only are we impressed with the winch (we can’t wait to talk about that next week), but the guys at KFI are great to work with.
Disclaimer: This is a custom installation. Even though we worked with KFI to develop a solid plan for this installation, there were still moments when we held our breath. While this was easy enough that anyone could repeat our process, nervous types might be better off to take this installation to a dealer or a qualified shop. As always, the following is the process that worked best for us.
The first part of this installation was removing the hood from the Sandrail. 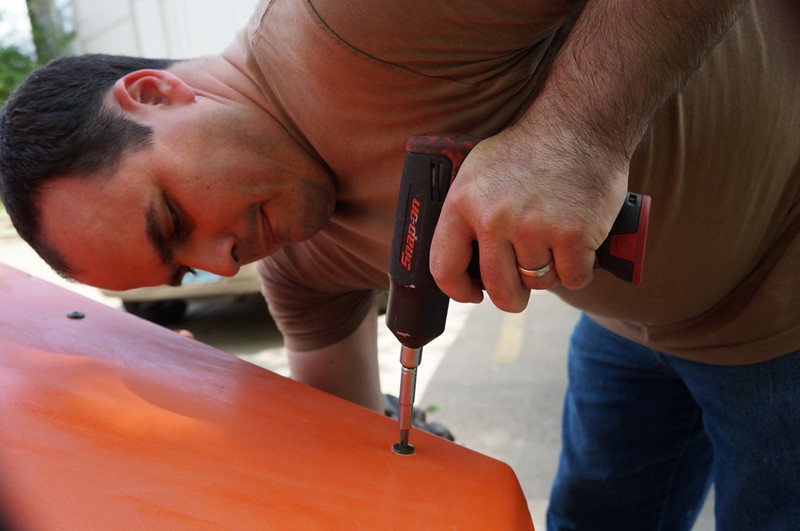 Before we got started drilling, we wanted to test fit the mount. Remember, currently there is not a mount available for the Odes Sandrail. Based on the photos and measurements we sent KFI, they recommended the mount for the Kubota RTV900 Wide Mount (100470). Since KFI didn’t have the Sandrail and we didn’t have the mount, this was the first time the two were getting together.
 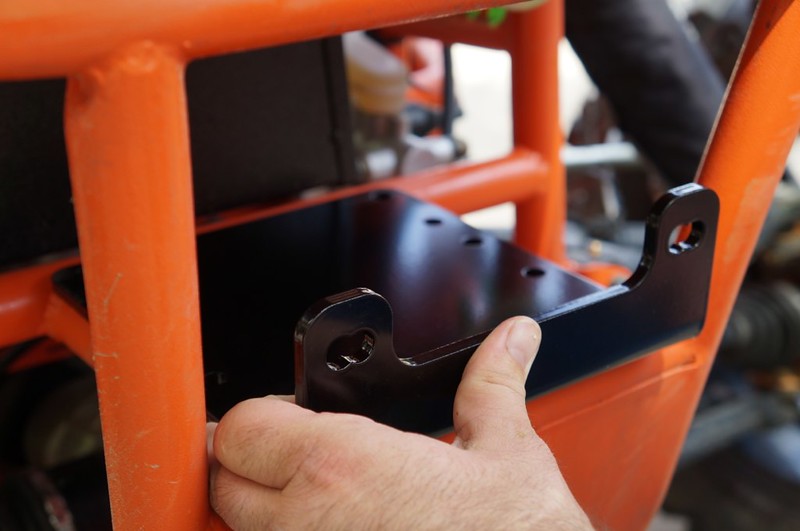 It was a perfect fit! To install the mount, we needed to first drill holes through the plate on the Sandrail.
 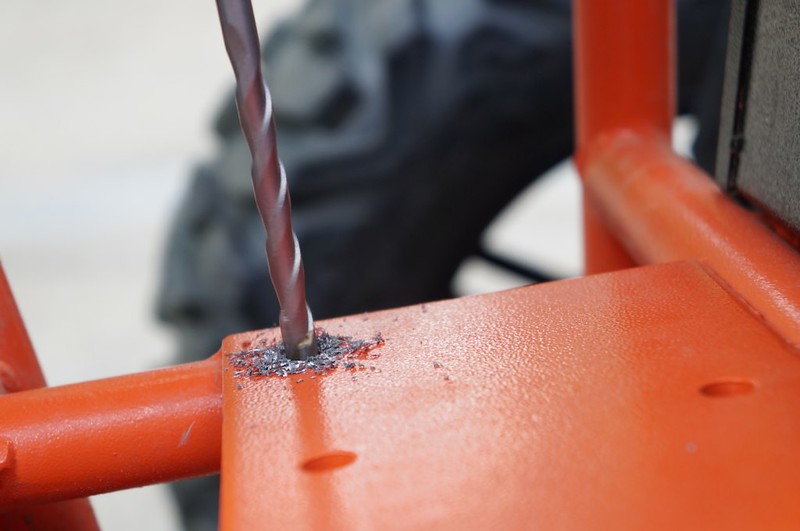 This is where the custom part is killer; we almost messed up and drilled the holes in the wrong spot. We did not think about the placement of the bolts in relation to the where the winch was going to mount. If we would have put them ½ inch to the left, I would not have been able to tighten the bolts for the mount because they would have been under the winch. Fortunately, we lucked out and they are going to work. That was a close one but it just goes to show that with these custom jobs, you really have to think of every angle before you start drilling. Like the saying goes, “measure twice cut once.” We set the mount back in and marked the two spots that lined up with the holes we just drilled in the Sandrail.
 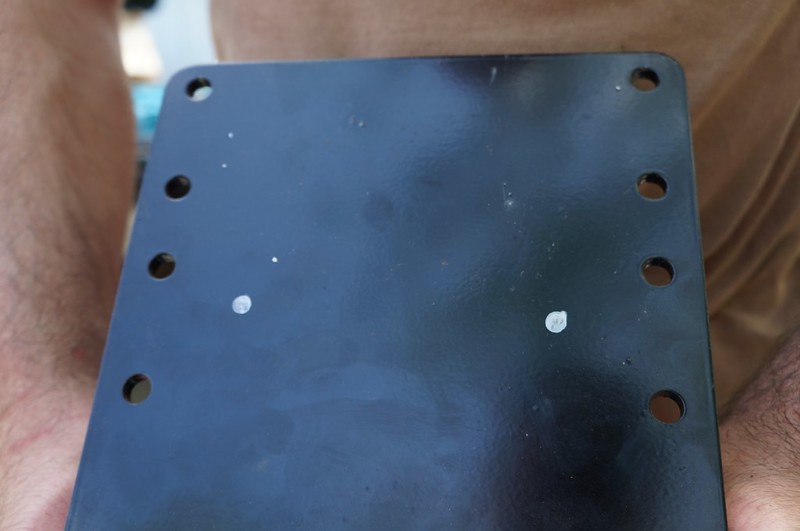 Using a center punch before drilling holes into the mount made the process go smoother. The punch gives the bit a place to sit and keeps it from walking when you're trying to get started. Because there's no walking, the chances of error in hole placement are reduced.
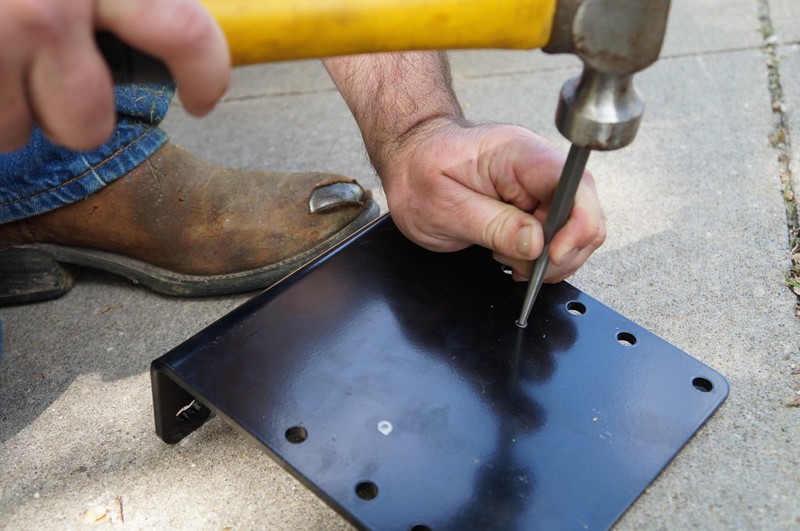
 After drilling holes into the mount, we placed the mount back onto the Sandrail and made sure everything lined up. Once we were sure everything was good, we used a larger bit to countersink the two holes in the KFI mount.
 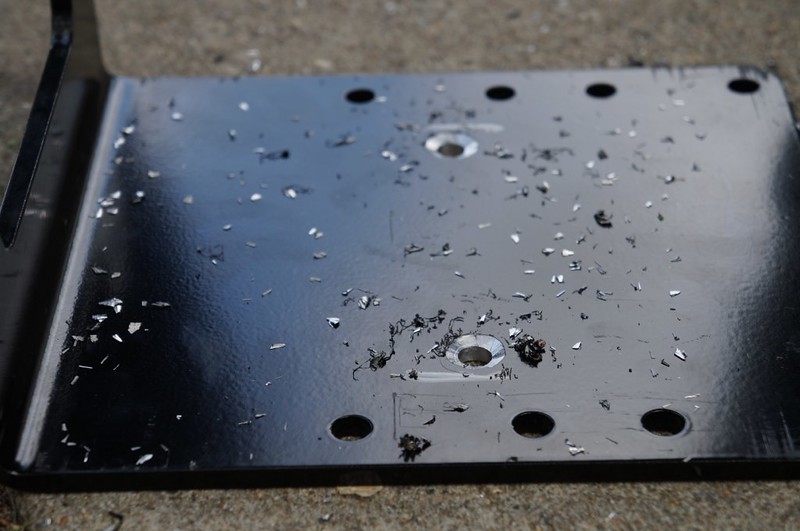 Whenever you attempt a custom installation like this for the first time, there's always a lot of back and forth. When we finished the first two holes on the KFI mount, we moved back to the Sandrail to see where we wanted the second set of holes.
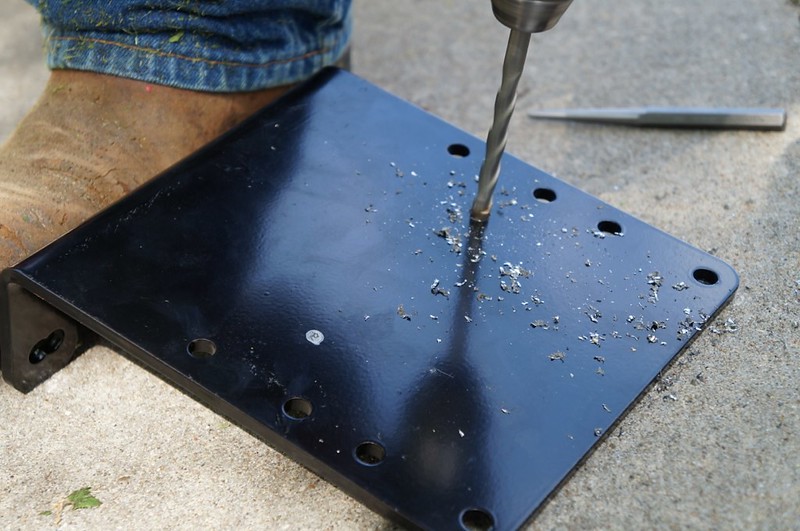
 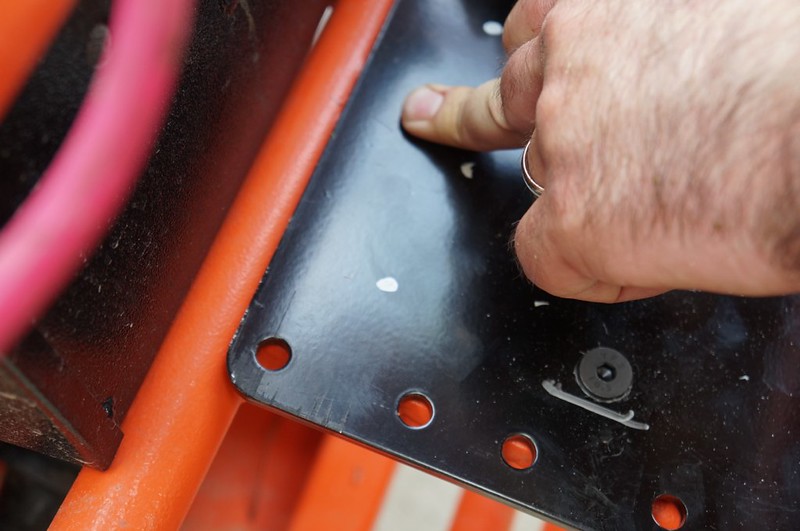 The line you see in the photo above is where the edge of the winch would sit. We needed to make sure that once the winch was mounted to the bracket, we could still access to bolts that would secure the mount to the plate on the Sandrail. With the new marks on the plate, we repeated the same process as above. Center punch, drill, test fit.
 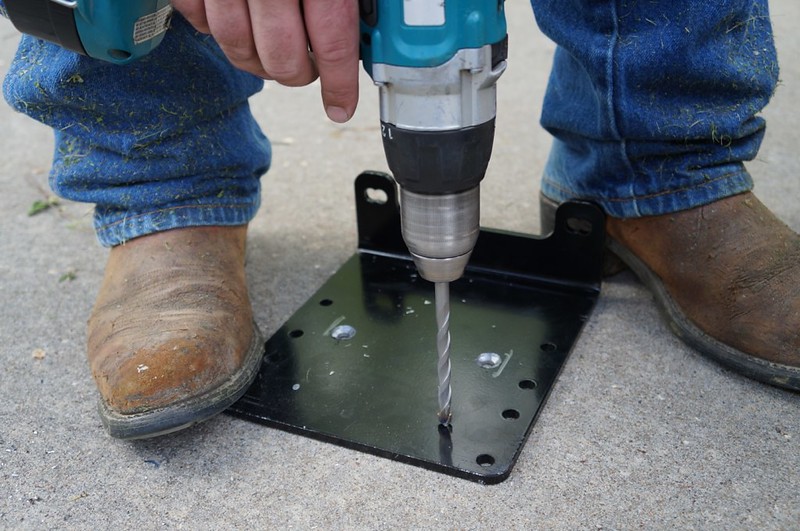 We used the new holes in the KFI winch mount to mark the plate on the Sandrail. Once the holes were marked, we center punched and drilled the plate.
 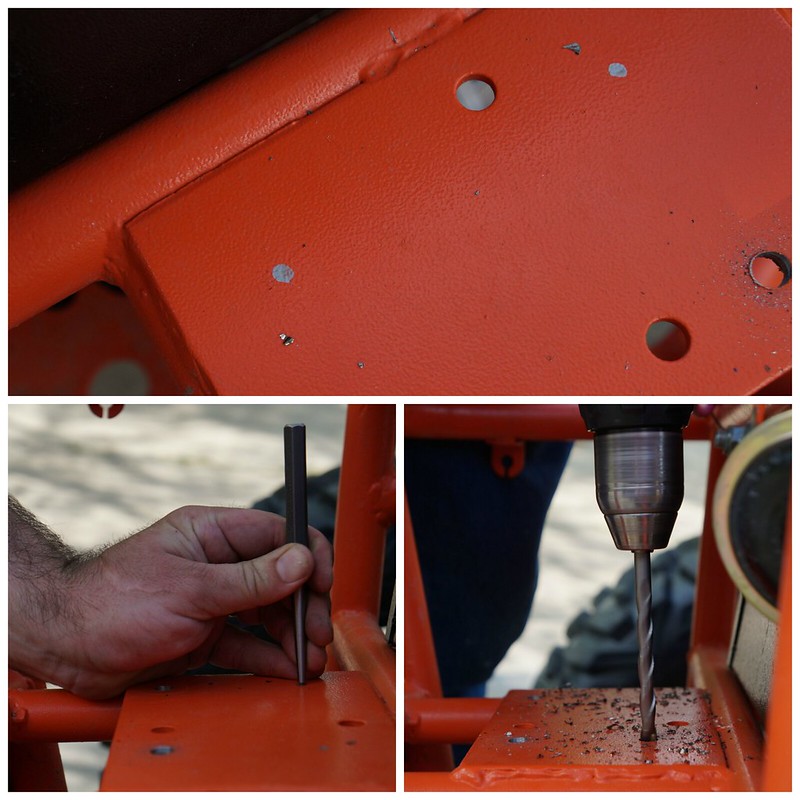 When we finished, we had a total of four holes in the winch mount (all of which were countersunk), and four holes drilled into the plate on the Sandrail. We lined everything up for about the 1000th time, dropped a few bolts in, and confirmed that everything fit as it should. The next step was to countersink the holes that the winch would sit on in the mount. A lot of times, where the winch sits on the mount is more of a personal preference. In this instance, we opted to move the winch back as far as possible. But within days of completing our installation, we sold the same winch in the standard width to another Sandrail owner. For that installation, we opted to bring the winch closer to the front. There's not really a right or wrong position here.
 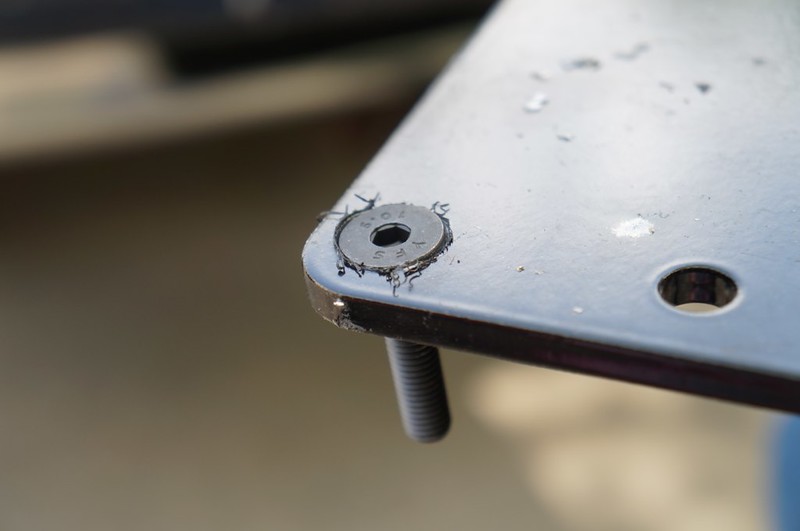 After countersinking all of the holes for the winch to mount to the bracket, we were ready to join the two. First we had to slide in the bolts that would sit below the winch (the ones that mount the bracket to the Sandrail). Then we were able to bolt the winch to the mount.
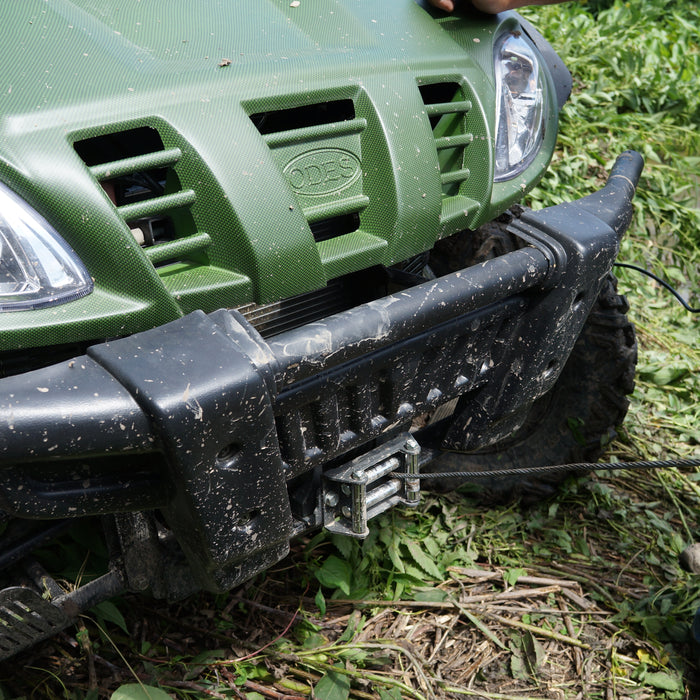
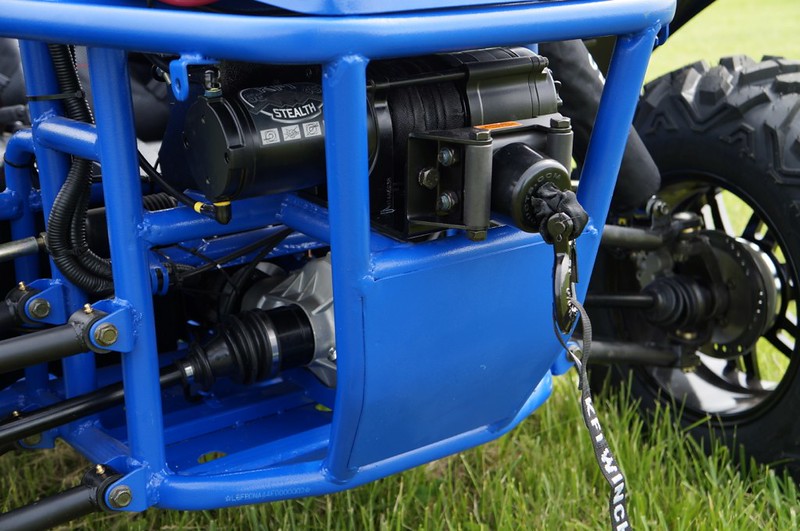
 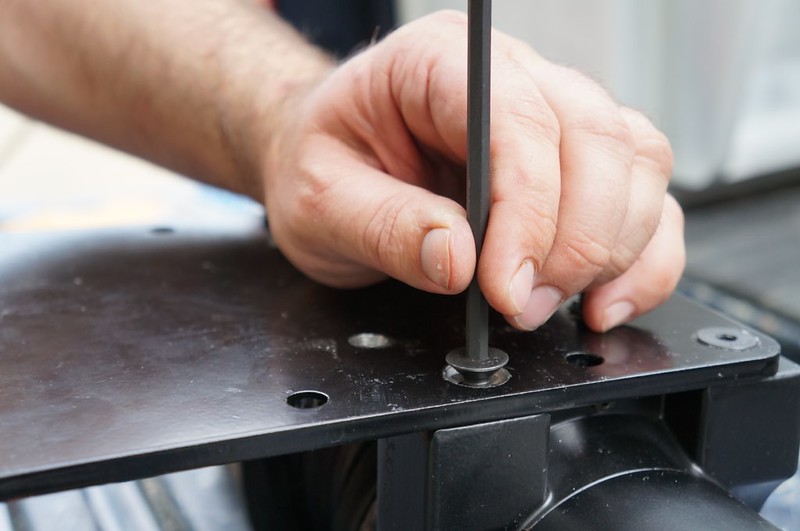 Finally, we were able to get an idea of what we were working toward. We set the entire winch and mount assembly onto the Sandrail plate and got to work tightening everything down.
 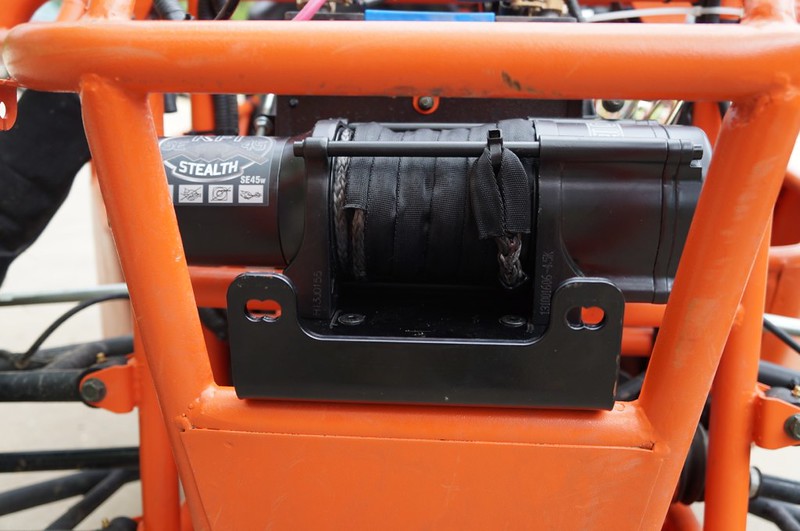 Once everything was tightened down and secured, we needed to choose a location and mount the contactor. The contractor is sort of the "brain" of the winch and it's where all of the wiring meets.
  Because the Sandrail is a little crowded up front, we found it easier to remove the battery completely.
 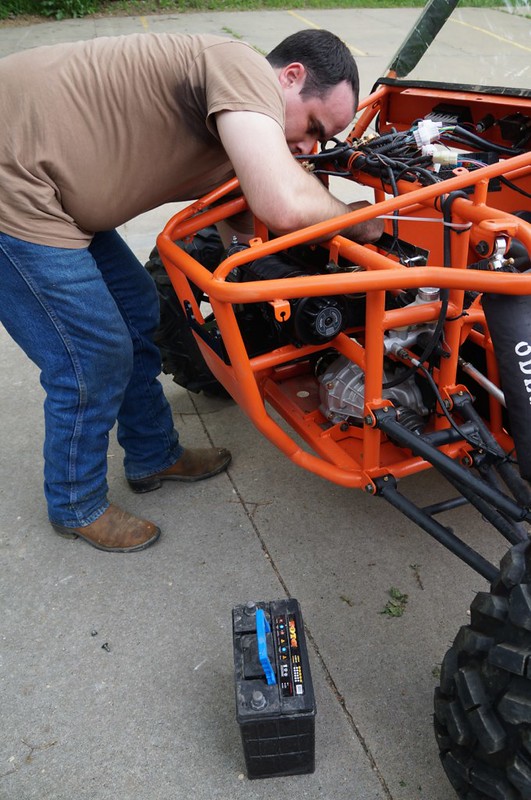 With the battery removed, it was a lot easier to get in and find a spot for the contactor. On the Sandrail, there are lots of obvious places to mount accessories. We probably would have had an easier time if we had chosen a different location, but we have several upgrades planned and we want to save space for future accessories. So instead of behind the dash or the big empty spot on the plate right next to the voltage regulator, we opted to mount the contactor directly below the voltage regulator and the CDI box, utilizing the small surrounding areas for our bolts.
 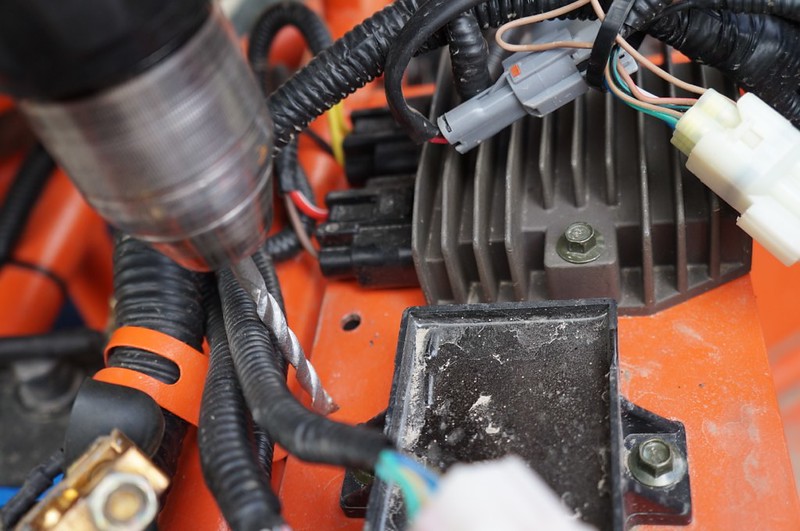 A word of caution: if you don't plan to ever add any additional accessories, you may be better off to mount to a surface that's a little easier to access.
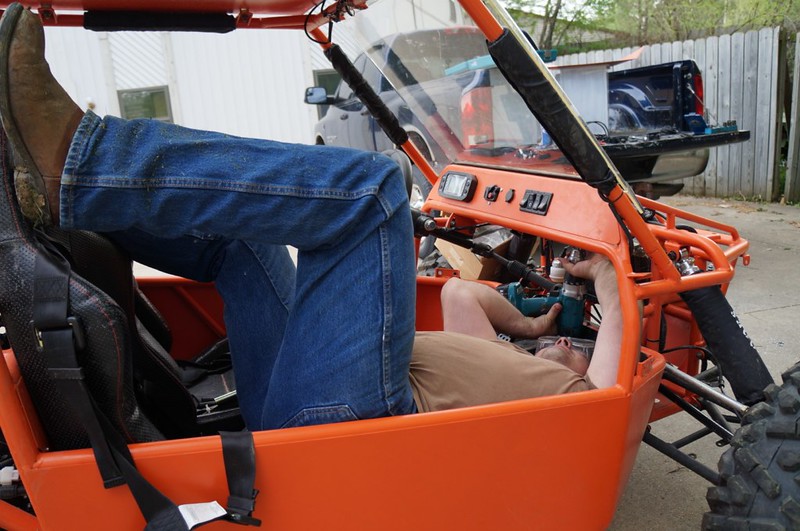
**Yes, that really was the easiest way to mount the contactor in the location we chose.**
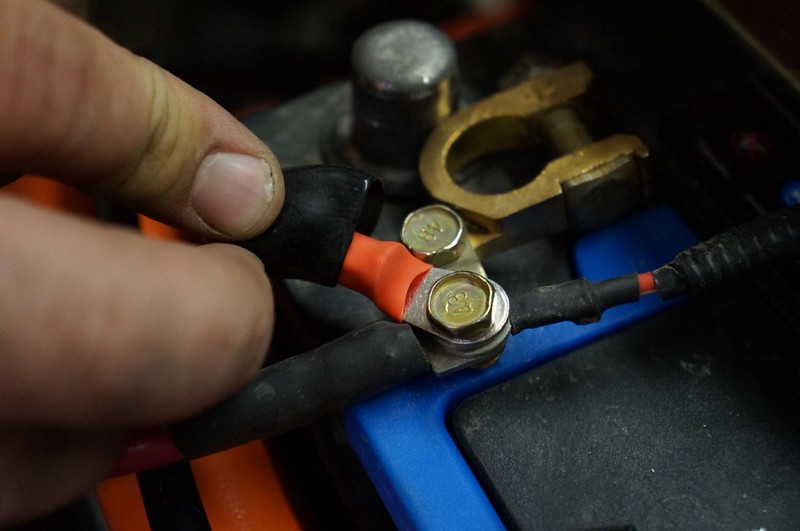
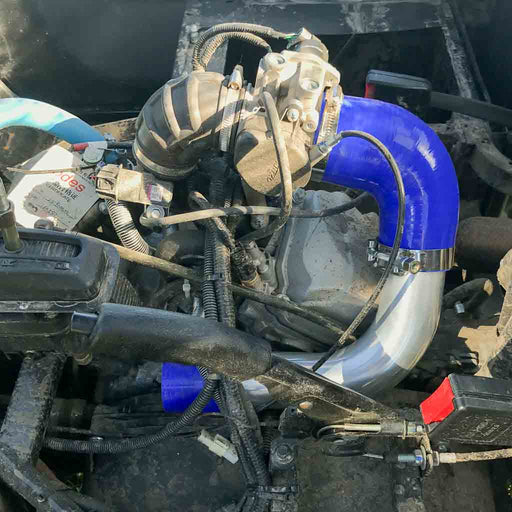
From here it was time to do the wiring. The big cables are very easy; everything is color coded. The red cable goes to the positive battery terminal (which is also red) to the red terminal on the contactor. The same is true of the black cable. It really is foolproof.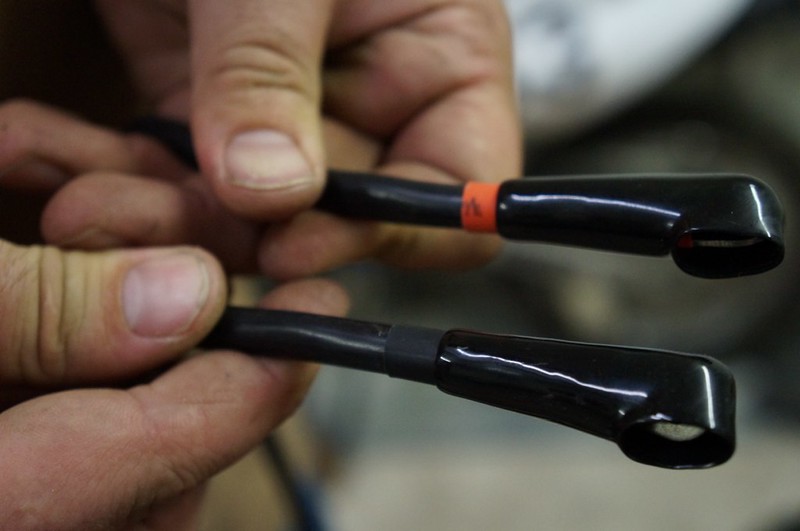
 The blue and yellow cables connect the contactor and the winch.
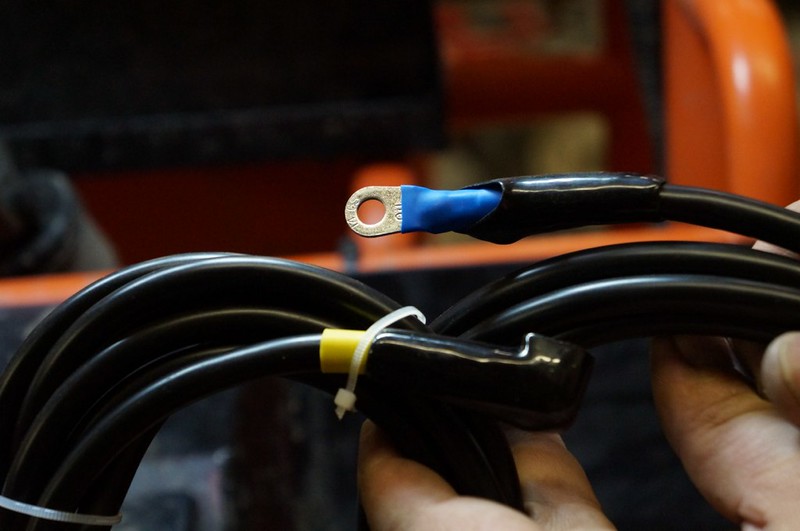
 When you're routing these cables, you'll want to make sure that they are tied up. To prevent any rubbing and to keep the cables from being burned by moving parts, we used zip ties to secure everything to the frame. (Note: KFI winches include EVERYTHING you need for installation, including a generous amount of zip ties.) One thing is for sure, KFI is not stingy with their wiring. By the time that we finished with all of the connections and zip ties, we had an abundance of excess cable. Enough so, that we could have installed the winch on the rear and still had plenty of room. But that's another can of worms entirely...
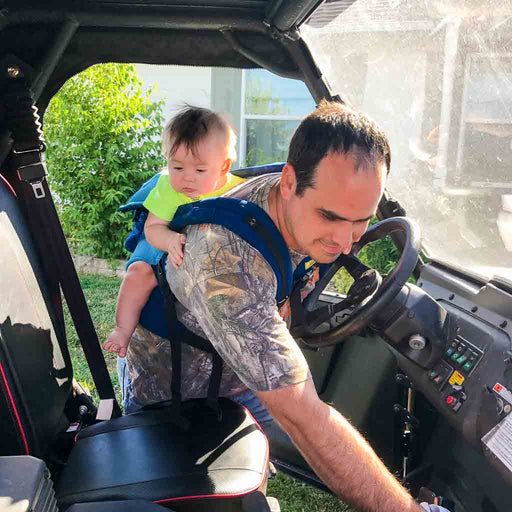
  Now in order to be able to use the winch, we needed to install the switch. KFI provides both a handle bar mount and a bracket for the switch. For our purposes, we only needed the bracket. We wanted to be able to access the switch from both the driver's seat and the passenger's seat. We also knew that we didn't want to take up space on the dash (again, future upgrades plus it's hard to reach the dash when you're wearing a four-point harness). In the end, we thought the console behind the shifter was the most convenient location. Installing the switch in the console was pretty easy. We first removed the plastic, then installed the bracket. For the switch, we drilled a slightly larger hole to feed the wiring though.
 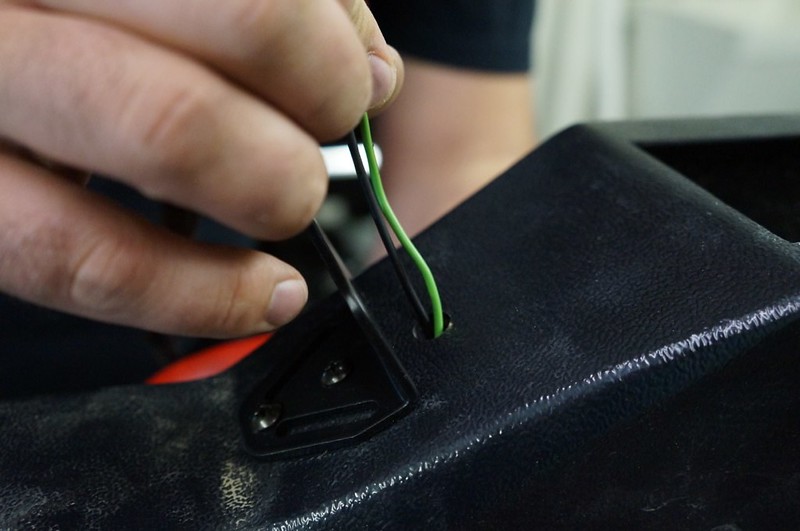 When the cable was all the way through, we mounted the switch to the bracket.
 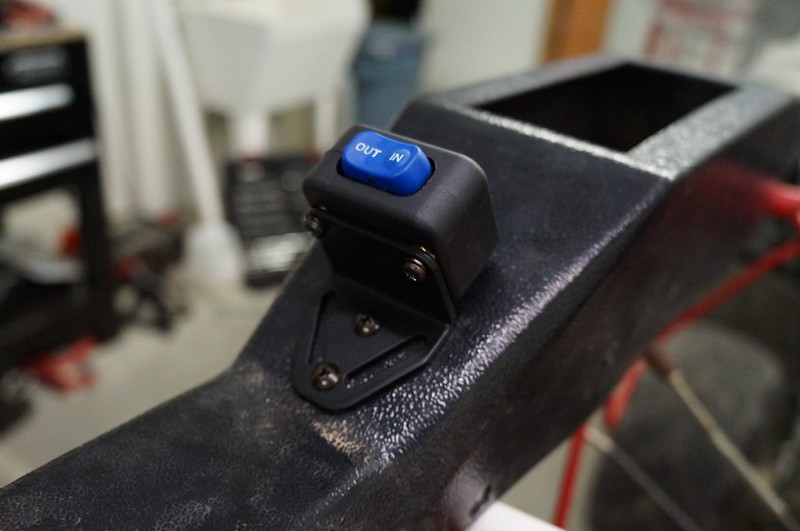 Then reinstalled the console, making sure to zip tie the cable to the frame as we ran them up to the contactor.
 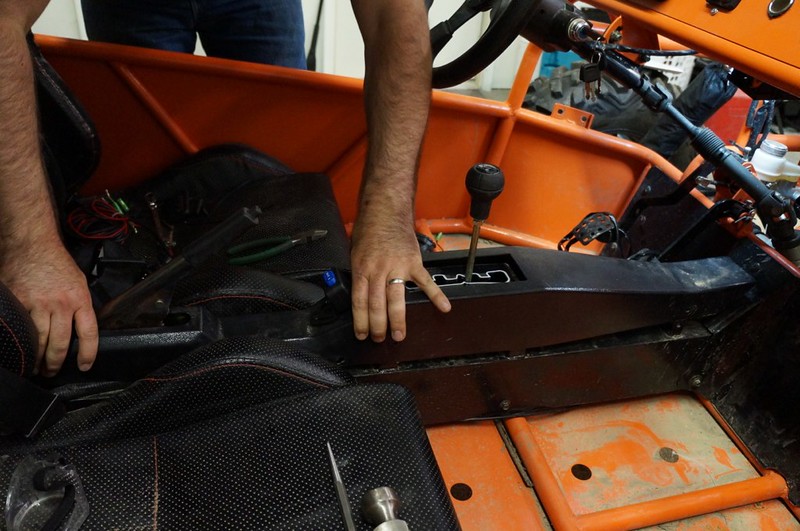 Because we wanted the winch to run only when the key was turned, we needed to tap into some wiring. After testing a few options, we found that the 12V power outlet in the dash only comes on with the key. We used the wire taps provided by KFI to join the positive wire coming from the 12V and the positive wire coming from the winch switch.
 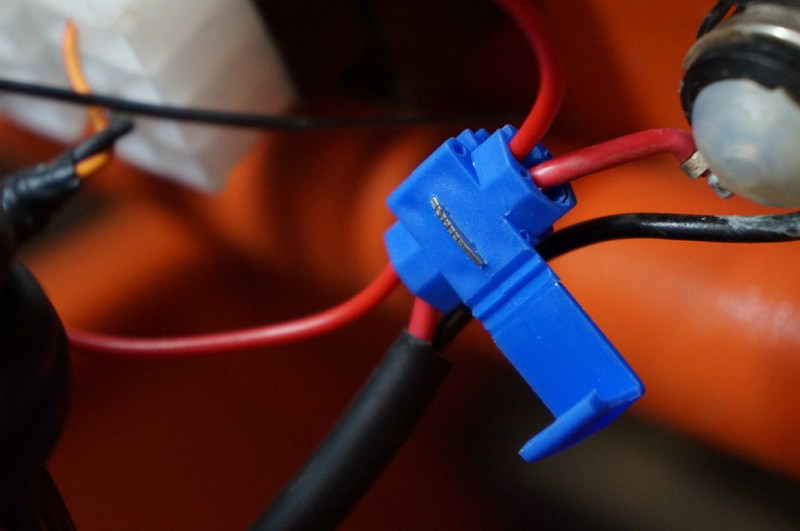 The wire taps are incredibly easy to use and we were happy that they were provided with the winch. You just join the two cables, push down on the metal tap (we used pliers for this), and then close the cover. And you're done! The last thing we needed to mount and hardwire in was the remote outlet. Again, we didn't want to use valuable real estate in the dash. Instead we opted to install the remote outlet outside of the Sandrail, on the hood. Out came the hole saw...
 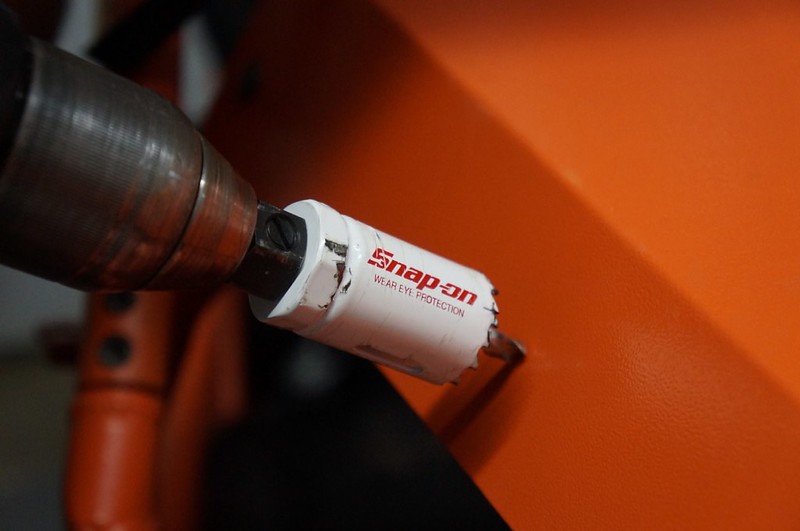 When we were finished, we had a hole that would fit the outlet perfectly and allow it to sit flush with the outside of the hood.
 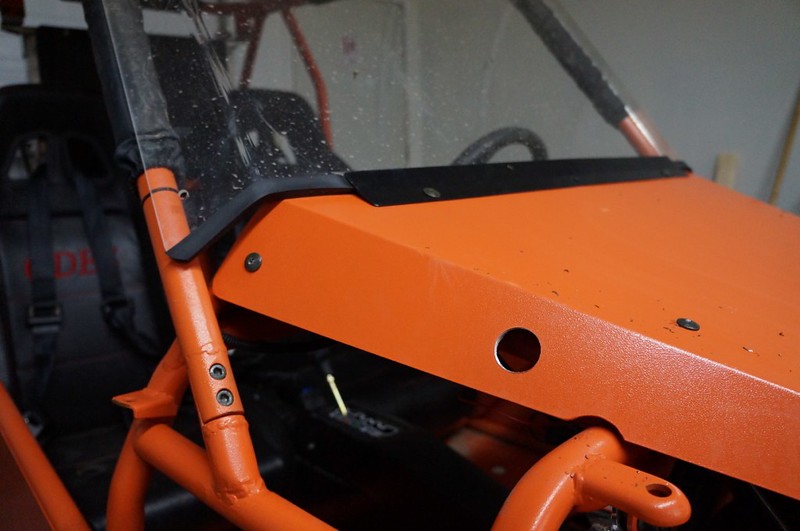 Just like with the switch, we fed the wire though the hood and made all of the connections with the contactor and the 12V outlet. Then we installed the outlet itself. To secure the outlet to the hood, we drilled two more holes and then installed the bolts provided by KFI.
 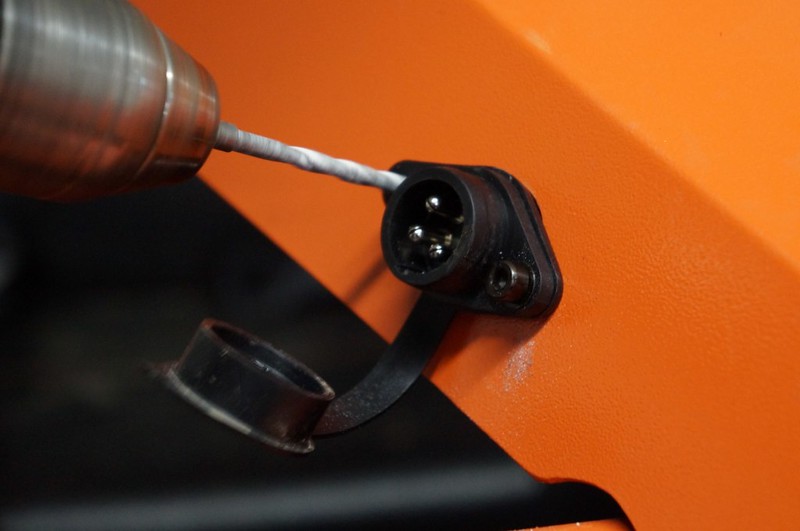 We really like the look of the remote outlet on the outside of the hood. And since the idea behind a remote is that you won't be using it in the cab anyway, we think it's more practical to keep it on the outside. This way, we can use the winch from outside the Sandrail and without the need to climb into the cab to plug in the remote.
  Once we finished the wiring, we just had a few finishing touches left. We mounted the roller fairlead to the front of the winch mount.
 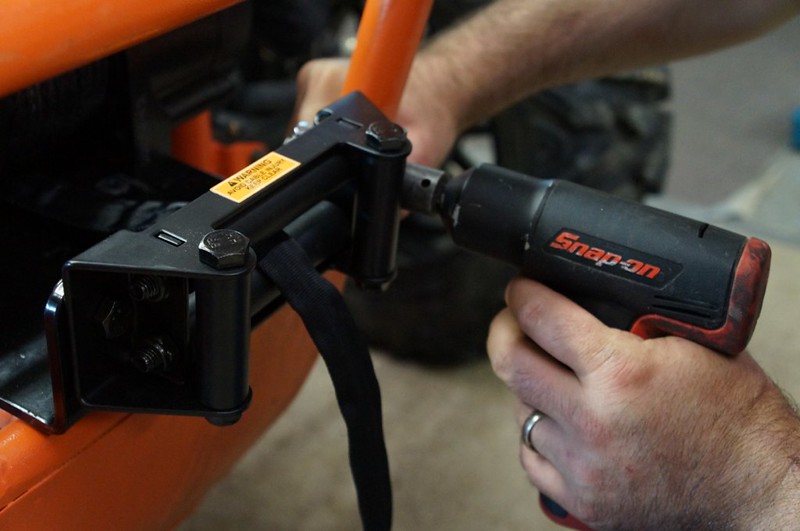 We attached the cable stopper to the end of the cable.
 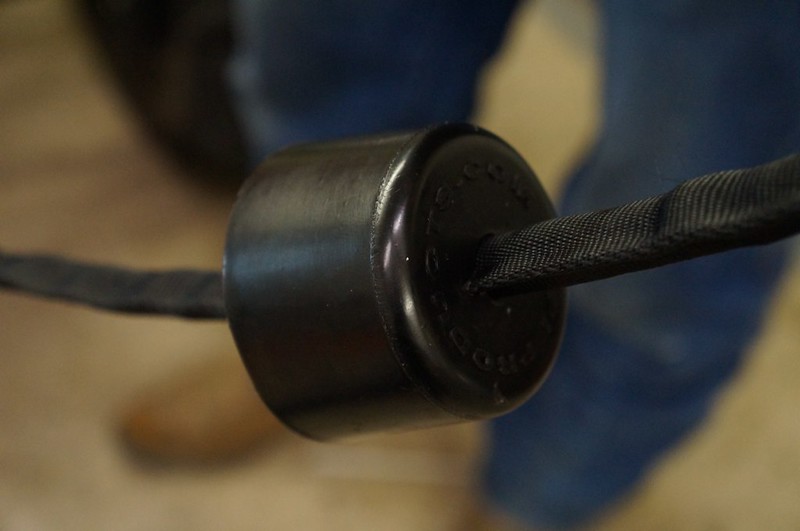 And attached the cable hook.
 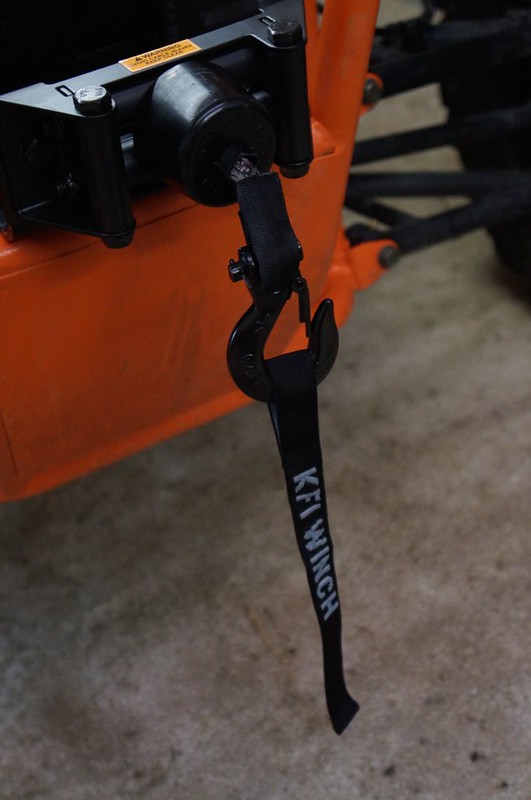 And just like that, we were ready to get stuck! This was a really fun installation, and we're so happy that KFI helped make this work for us. Without their help and planning, I'm not sure what we would have done. But I can't imagine the installation going as smoothly. It really is apparent that they've put a ton of thought into their product line. Not only was there a generous amount of cable, but they made wiring foolproof. And we're impressed that they included so many extras. We never once had to stop to run out for wire taps or zip ties; all small items that are easily taken for granted until you have to stop what you're doing to run into town to grab some. Kudos to KFI for taking the extra step to include the extras that make installation that much easier. Recently, we had a chance to do this exact same install on another Sandrail for one of our customers. The first installation was pretty simple (honestly, we spent most of the time trying to decide where to mount everything). The second installation was a piece of cake. And not that looks have much to do with performance, but Beth insists I mention that the Stealth winch looks amazing.
 We're still itching to get out and play, and we can't wait to update you on performance details.
Our very own Air Filter Relocation kit for ODES UTVS. Designed and manufactured by Scooter's Powersports. Unlike some ODES Air Filter Relocation K...
View full details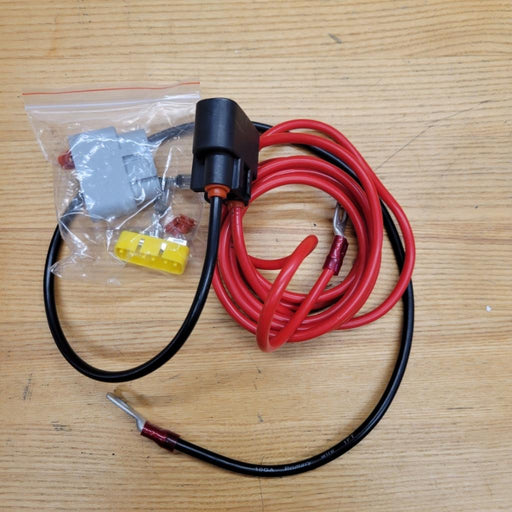
Designed to move the voltage regulator from under the hood to under the seat. Requested by you and built by Scooter's Powersports. Allows for elimi...
View full details
If the noise inside the cab of your ODES UTV has ever bothered you, this. is your solution. Now you can get one of our best selling shop services a...
View full details


ODES Industries recommends an engine oil change at 25-hours of run time or 1000 miles. (We won’t tell if you turn that down to once every 50-hours ...
View full details
High-performance aftermarket ODES oil filter. Compatible with 800cc and 1000cc ODES engines. Be sure to select your make and model before adding to...
View full details
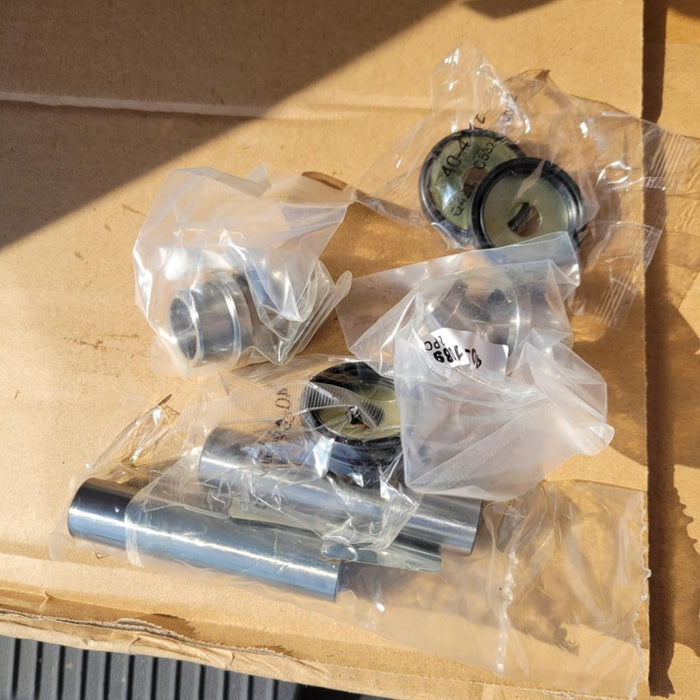
Pivot Works wheel bearing kit for 2012+ 800cc and 1000cc UTVs from ODES Industries. Fitment includes the Short Travel (Standard) suspension and the...
View full details
Our very own Air Filter Relocation kit for ODES UTVS. Designed and manufactured by Scooter's Powersports. Unlike some ODES Air Filter Relocation K...
View full detailsOEM air filter for ODES 800cc engines. Vehicle Fitment This part is compatible with the following vehicles 2012+ ODES Dominator 800 2015+ ODES Dom...
View full details
Extremely heavy duty CV boot that fits virtually all ATVs and UTVs. Additional rib to allow boot to expand for larger joints Improved clamp retain...
View full details
ODES ball joint kit for 800cc and 1000cc ODES UTVs. ODES Ball Joint Kit Includes (1) Ball joint (1) Circlip (1) Cotter pin (1) Nut Each kit provi...
View full details