 Don’t worry, we aren’t going to be using this 70+ year old model. I’m a little higher tech than that. But before we go into too much detail, you might want to have a multimeter in front of you. Fortunately, they are very common and the web is filled with digital multimeters ranging anywhere from $6.00 to thousands. If you are looking for a very basic multimeter, I like this model you can find on Amazon. My current multimeter is an older Craftsman model 82175.


 For almost everything in the automotive world; i.e., cars and ATVs, you will touch the black lead to the negative (- or ground) and the red lead to the positive (+ or power). If you have good contact and the system has live power, this should give you a reading. If your meter shows a negative reading, you most likely have the leads crossed. Adjust the leads and try again.
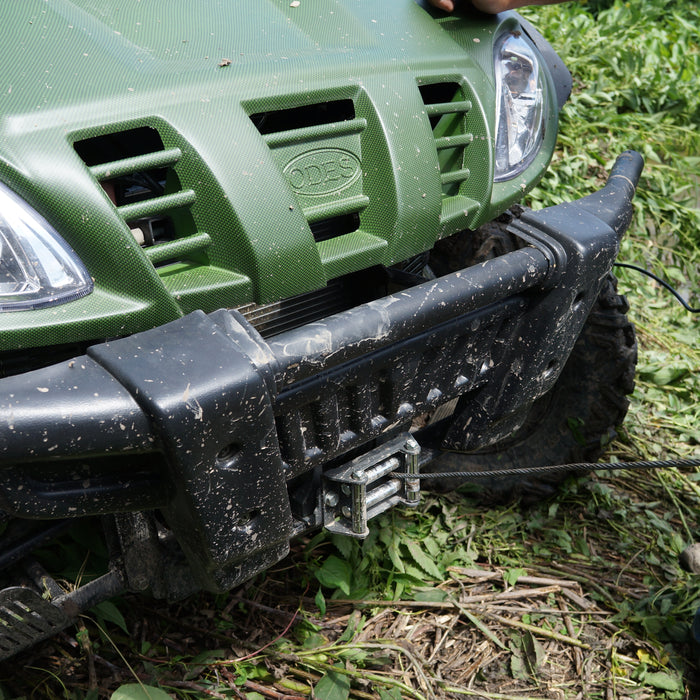
  Most of the time (key word: most) you can use any of the frame, engine, or any metal part on your ATV for the black lead. If you have an off brand (Chinese) ATV, keep in mind that some of them do not use frame ground. I have found two so far and you can imagine the confusion and time it took trying to figure out what the problem was. The exception to this is if you are testing a wire for ground, in which case the black lead will be used as the test lead and the red lead will need to be on the positive terminal. That may seem obvious, but sometimes when we're comfortable working it can be the simplest mistakes that cost us time when we want to get out and ride!
 The OHM setting is used to see if you have the ability to flow electricity through an object or wire and how much resistance that object has. In laymen’s terms, you can use the OHM setting to determine if your wire has any breaks. Normally your leads will stay in the same ports as the volts. On an autoranging multimeter, you do not have to play with ten different settings, but you will have to pay attention to the readout. Autoranging multimeters are meant to be dummy proof. They automatically adjust the units to the one that best suits your reading. For example, if you buy a $5 hamburger, the guy at the counter will say, "That'll be $5." If he had said, "That'll be 500 cents," you would probably look at him funny. Well, so would an autoranging multimeter.
  When you get your reading, keep in mind that the k stands for Kilo or 1000, the M stands for Mega or 1,000,000, and the Ω is straight ohms. So when you are reading your autoranging meter, if the display is 1.5 k Ω then the reading is 1500 Ω. If it is 1.5 M Ω, then it is really 150,000 Ω. And lastly, if it is 1.5 Ω , then there is no conversion. Not all multimeters support both kilo and Mega readouts. Like the hamburger example above, It doesn't really matter because it's just more than one way to represent the same number. Just keep an eye on the readout to make sure you are using the most accurate information. Something as simple as missing an M or a k could cause you to replace parts that don't need to be replaced (don't ask us how we know!).

 In my day-to-day use, I have never used the mA (mili amp) setting. That small of a draw is nothing that I am ever looking for. Most everything will have at least a few mA draw. This is normal and is not usually enough to drain your battery. What I am looking for when I use this is amps of draw. So I always start with the 20A setting on my meter. On some meters, the setting will be 10A or 15A, my meter is a fairly high one.
  To test the draw on the battery, you will need to put your meter in line. By in line, I mean that it will be part of the circuit and will give you a reading of how many amps or the amount of flow that is going out of the battery. To put your meter in line you will disconnect the negative cable from the battery, touch the cable to your red lead on your multimeter, and touch the black lead to the battery post (the - or negative terminal).
  This will give you a reading as long as you do not go over your fuse size. Again, this is an especially useful setting if you have a battery that is going dead very quickly. Even on multimeters with the most basic of settings, you can see how this one tool can be extremely useful in diagnosing your ATV. When you’re shopping for a multimeter, don’t get too hung up on having all the bells and whistles. At work we use a multimeter that has over 50 different settings on it and cost over $1800. I still don’t know how to use half of them because even in my line of work I never have a use for them. Know what you will use your multimeter for and purchase one that has only the features you need. It may be one of the most valuable tools you own, but it’s how you use it, not how much money you spend on it. And seriously, we’re dying to hear your thoughts. What model of multimeter do you use? What setting do you think you use the most? Are you brand conscious when you are shopping? Tell us in the comments below!

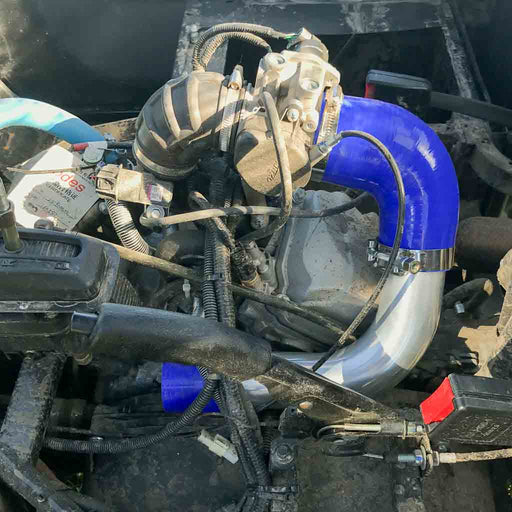
Our very own Air Filter Relocation kit for ODES UTVS. Designed and manufactured by Scooter's Powersports. Unlike some ODES Air Filter Relocation K...
View full details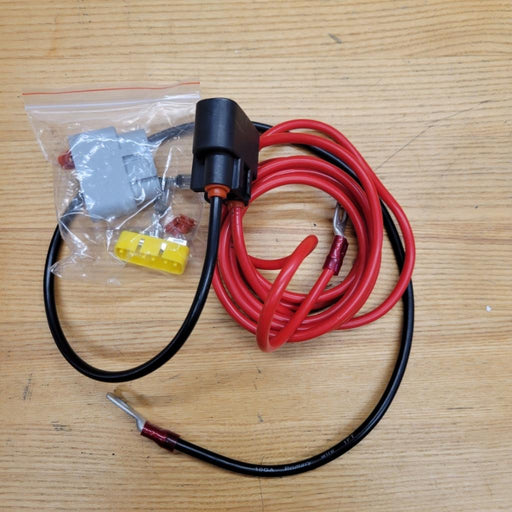
Designed to move the voltage regulator from under the hood to under the seat. Requested by you and built by Scooter's Powersports. Allows for elimi...
View full details
If the noise inside the cab of your ODES UTV has ever bothered you, this. is your solution. Now you can get one of our best selling shop services a...
View full details


ODES Industries recommends an engine oil change at 25-hours of run time or 1000 miles. (We won’t tell if you turn that down to once every 50-hours ...
View full details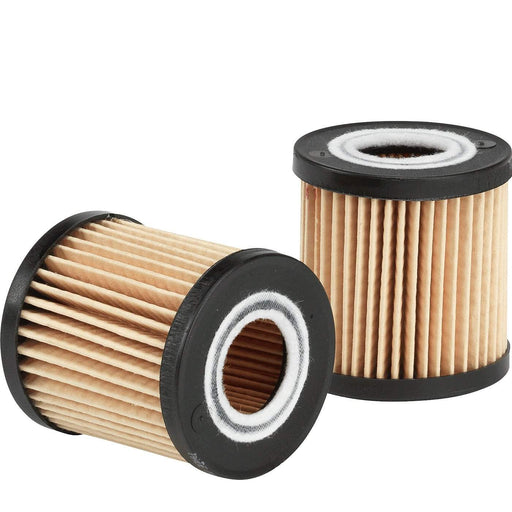
High-performance aftermarket ODES oil filter. Compatible with 800cc and 1000cc ODES engines. Be sure to select your make and model before adding to...
View full details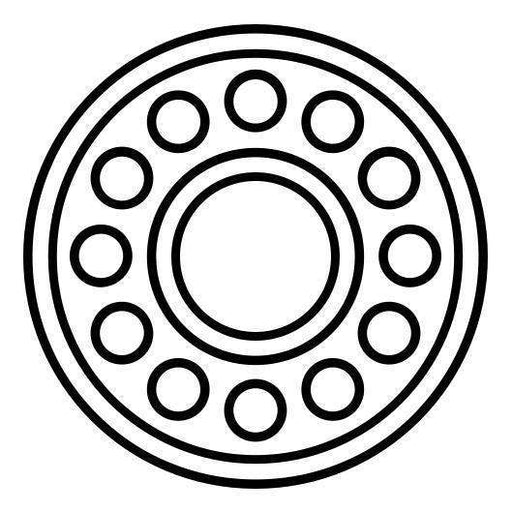
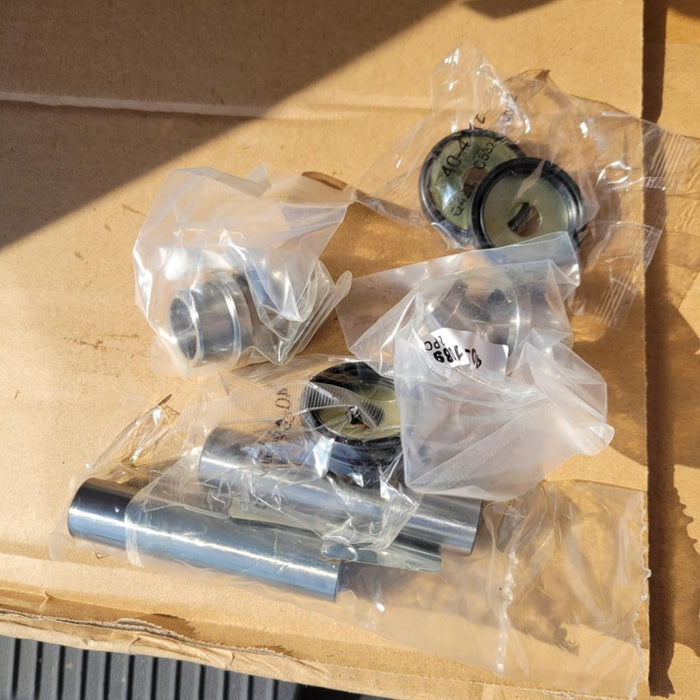
Pivot Works wheel bearing kit for 2012+ 800cc and 1000cc UTVs from ODES Industries. Fitment includes the Short Travel (Standard) suspension and the...
View full details
Our very own Air Filter Relocation kit for ODES UTVS. Designed and manufactured by Scooter's Powersports. Unlike some ODES Air Filter Relocation K...
View full detailsOEM air filter for ODES 800cc engines. Vehicle Fitment This part is compatible with the following vehicles 2012+ ODES Dominator 800 2015+ ODES Dom...
View full details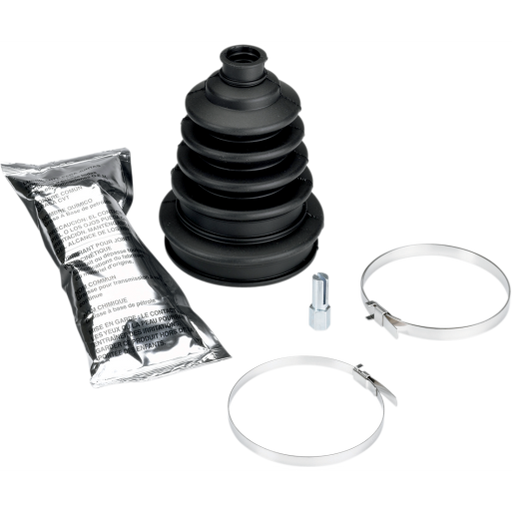
Extremely heavy duty CV boot that fits virtually all ATVs and UTVs. Additional rib to allow boot to expand for larger joints Improved clamp retain...
View full details
ODES ball joint kit for 800cc and 1000cc ODES UTVs. ODES Ball Joint Kit Includes (1) Ball joint (1) Circlip (1) Cotter pin (1) Nut Each kit provi...
View full details