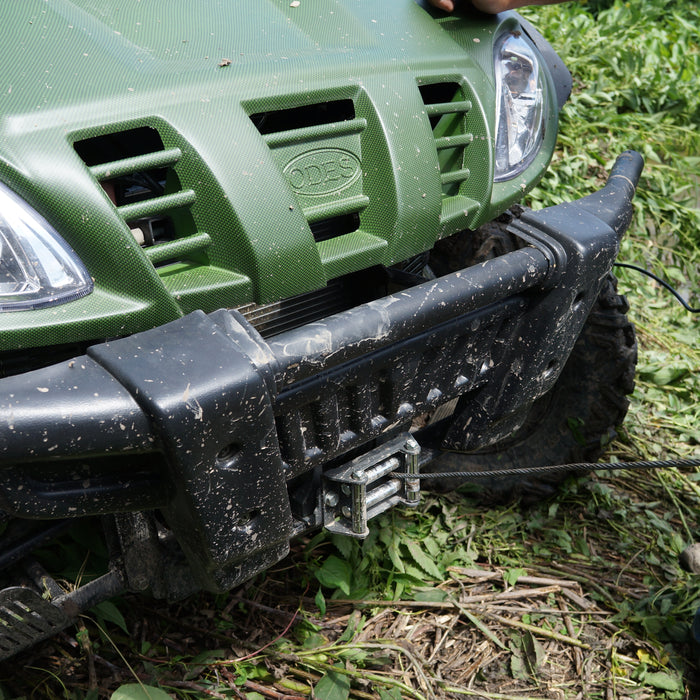
After a long day of riding through mud, a good clean up is in order. It's not uncommon for us to do a quick spray, throw the batteries on the charger, and bring them out again in the morning for a more thorough cleaning. So if you're batteries don't look brand new, don't worry. You won't get any judgement from us!
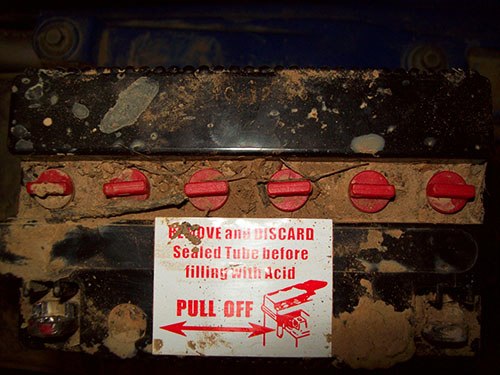
The next clue that you have a wet cell battery will be the vent tube that lets the battery breath. Wet cell batteries normally have a tube running out of the battery compartment.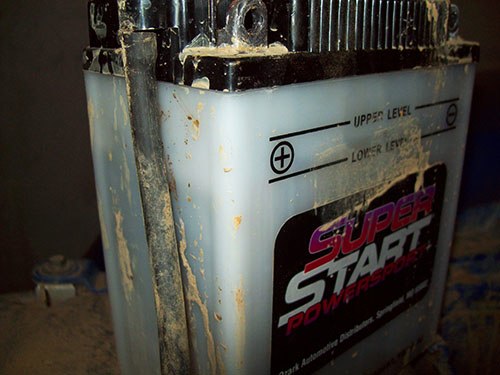 If you determine that you have a wet cell battery, you will want to charge it in a well-ventilated area. The charging will cause the battery to heat up, which will produce a gas. This is normal but because the gasses are flammable, you don’t want them contained in a small area. You can use any charger on these batteries but as we pointed out back here, you do not want to quick charge these batteries. To keep from overheating and calcification, a 5amp charge is as high as you want to go. For example, the average ATV battery is 6amp hours. At a 5amp charge, it would take 1.56 hours to be fully charged. As the amperage increases, the time drops but the amount of heat rises. The dramatic rise in heat is what causes the battery to boil, which causes the acid to evaporate leading to calcification. (As well as smelling really really bad.) With a quick charge, not only is the acid being wasted, but the build up of calcification can cause the battery to short internally. If you are unsure what amperage and how long to charge your battery, try this charging calculator. (For reference, 1 amp = 1000 milliamp) After you have calculated the rate for your battery, charge accordingly, and let the battery rest. If it still will not stay around 12.6 volts, the battery is probably bad. (Remember, at this point we're still talking about a wet cell battery.) I would still recommend you have it checked at your local battery supplier. If you do need a new battery, and you purchase another wet cell, it will normally not be filled. You will need to add the acid and charge the battery. Some sellers will do this for you so be sure to ask if they will. If you do have to fill the battery yourself, make sure you do not over fill or under fill.


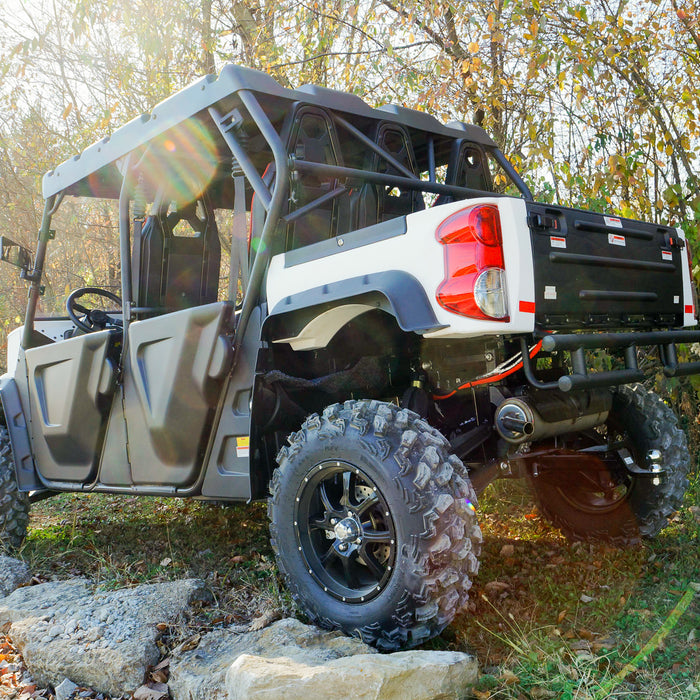
I highly recommend a battery maintainer and I love our model. It is a very simple and plug and play. Most come with a hard mounted plug in that attaches to your ATV. Then when you get back from riding all you have to do is plug your bike in and you’re done.

If you do not want to mount the other ends on the ATV, most models also come with a set of clamps to put on the battery temporarily.


Our very own Air Filter Relocation kit for ODES UTVS. Designed and manufactured by Scooter's Powersports. Unlike some ODES Air Filter Relocation K...
View full details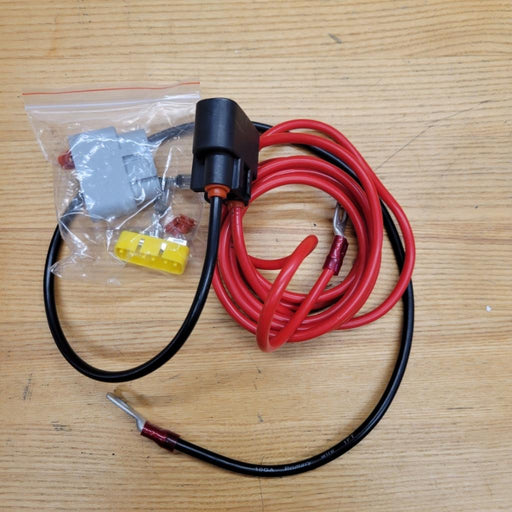
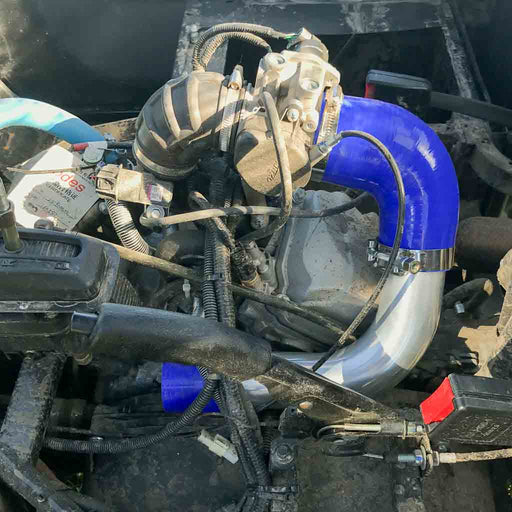
Designed to move the voltage regulator from under the hood to under the seat. Requested by you and built by Scooter's Powersports. Allows for elimi...
View full details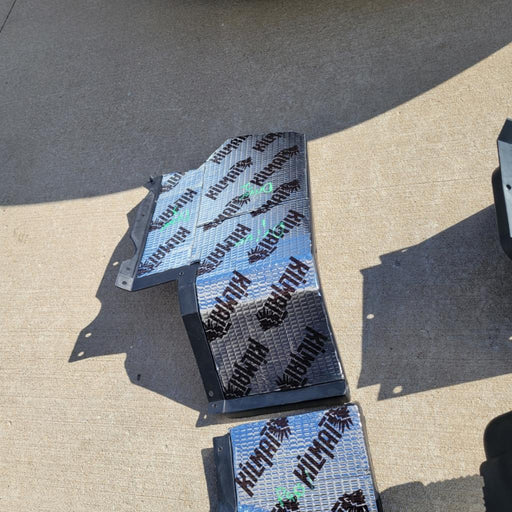
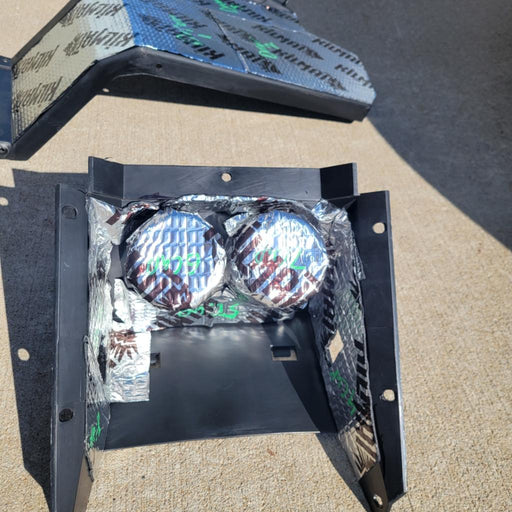
If the noise inside the cab of your ODES UTV has ever bothered you, this. is your solution. Now you can get one of our best selling shop services a...
View full details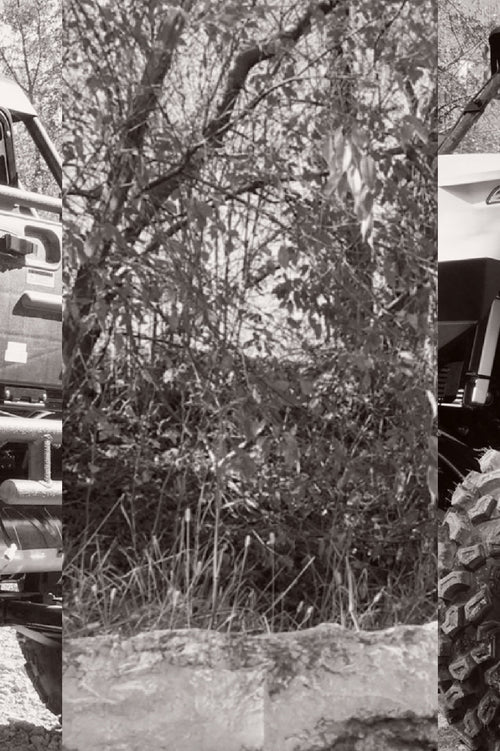

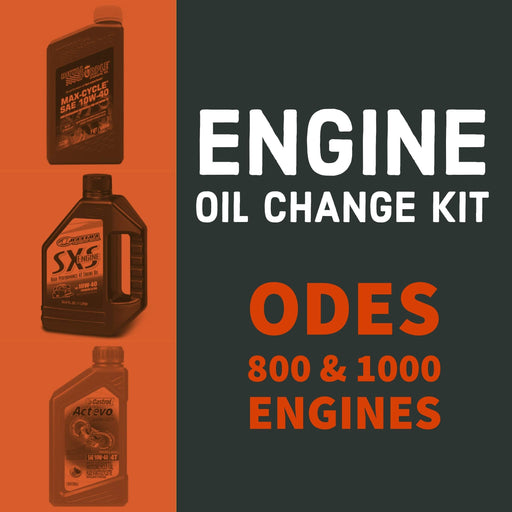
ODES Industries recommends an engine oil change at 25-hours of run time or 1000 miles. (We won’t tell if you turn that down to once every 50-hours ...
View full details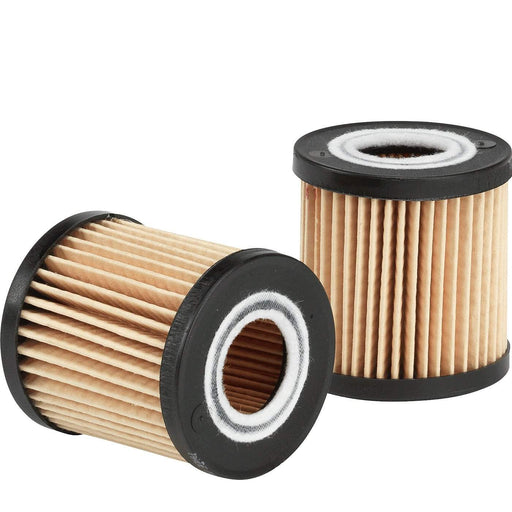
High-performance aftermarket ODES oil filter. Compatible with 800cc and 1000cc ODES engines. Be sure to select your make and model before adding to...
View full details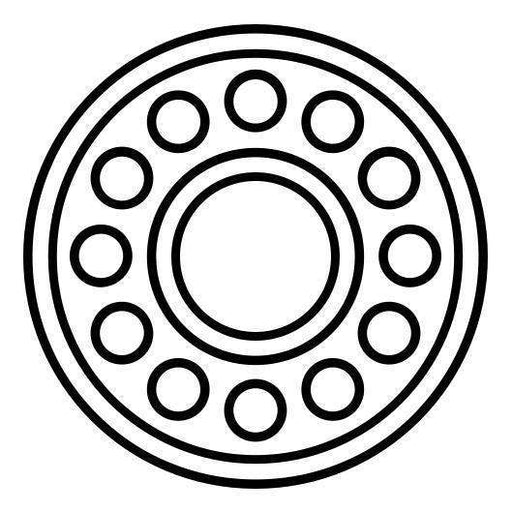
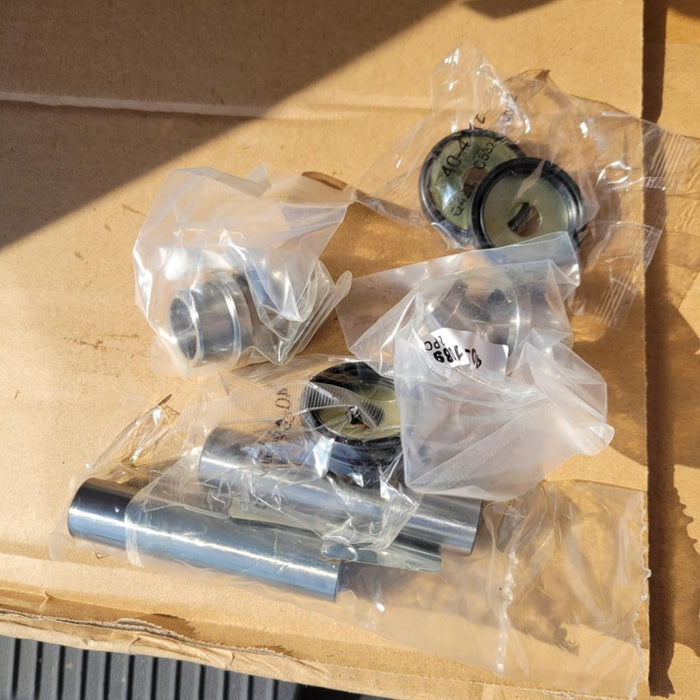
Pivot Works wheel bearing kit for 2012+ 800cc and 1000cc UTVs from ODES Industries. Fitment includes the Short Travel (Standard) suspension and the...
View full details
Our very own Air Filter Relocation kit for ODES UTVS. Designed and manufactured by Scooter's Powersports. Unlike some ODES Air Filter Relocation K...
View full detailsOEM air filter for ODES 800cc engines. Vehicle Fitment This part is compatible with the following vehicles 2012+ ODES Dominator 800 2015+ ODES Dom...
View full details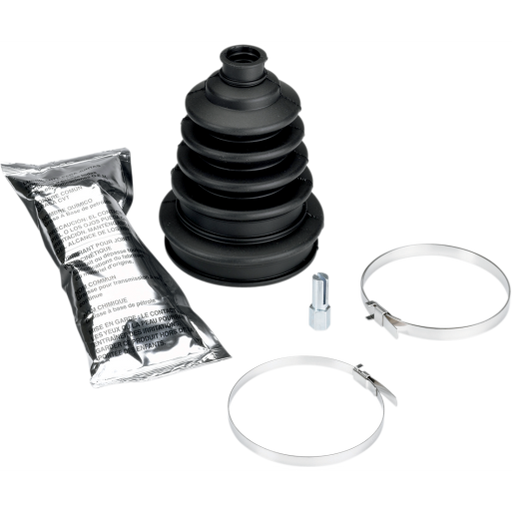
Extremely heavy duty CV boot that fits virtually all ATVs and UTVs. Additional rib to allow boot to expand for larger joints Improved clamp retain...
View full details
ODES ball joint kit for 800cc and 1000cc ODES UTVs. ODES Ball Joint Kit Includes (1) Ball joint (1) Circlip (1) Cotter pin (1) Nut Each kit provi...
View full details