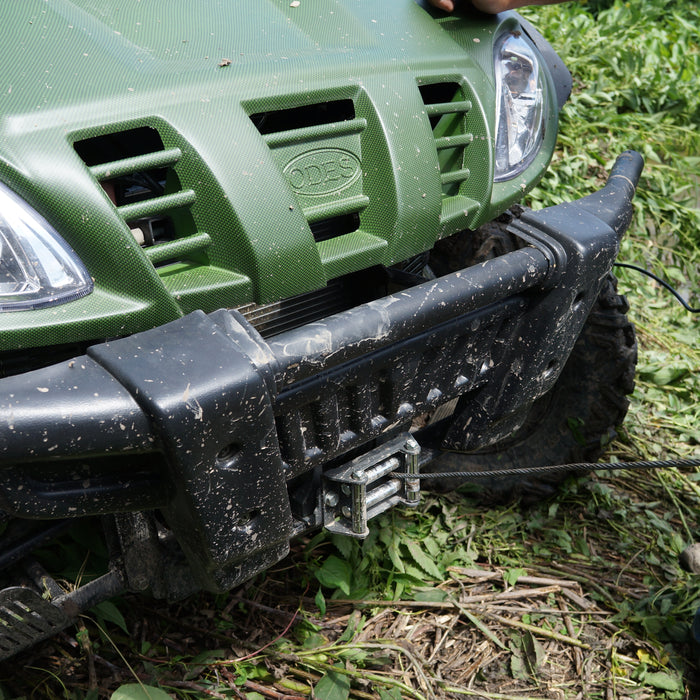
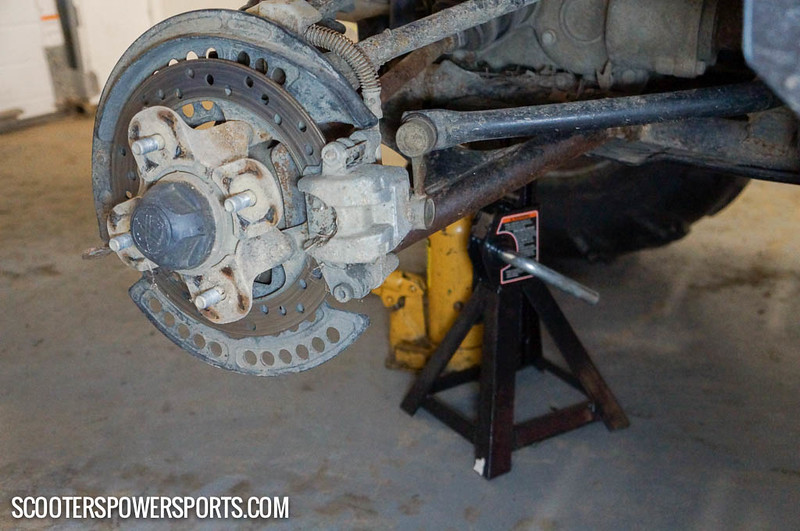
If you have the time, changing your own brake pads is a relatively simple process. This post might sound a little self-explanatory, but it's something we get a lot of questions about. Here we are replacing the rear brake pads on a 600 Yamaha Grizzly. First, let me jump on my soapbox. Before you start anything, raise your ATV and make sure it is properly supported. I know there are a lot of people out there who think a jack may be enough, but when you're working on a tight bolt it's easy to knock the rig off the jack. Use a jack stand from the get go and you won't run into those problems. Now onto the meat and potatoes... Once the ATV was jacked up and PROPERLY SUPPORTED, we removed the wheel.
 Next we removed the caliper mount bolts. These are located behind the rotor. If you haven't checked out our Anatomy of an ATV on Brake Calipers yet, I strongly recommend it.
  Then we removed the caliper from the rotor. I used a pry bar to GENTLY nudge the caliper loose.
 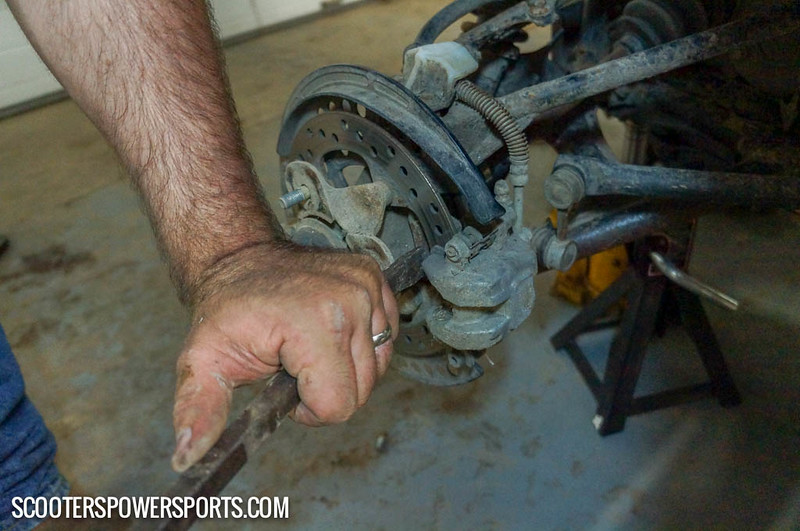 Removing the caliper from the rotor can take a little work. In our case, the caliper was still clamped and the rotor had not been rolled. We used a little elbow grease to loosen things up. With the caliper removed, you can see that the pads were getting down there. They weren't gone completely, but they were on their last leg.
 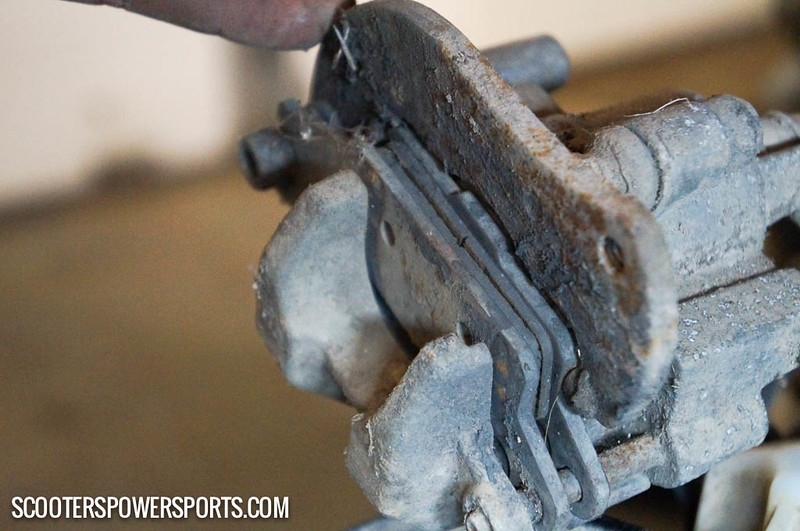 Next I cheated and used a c-clamp to compress the pistons back in to the caliper.
 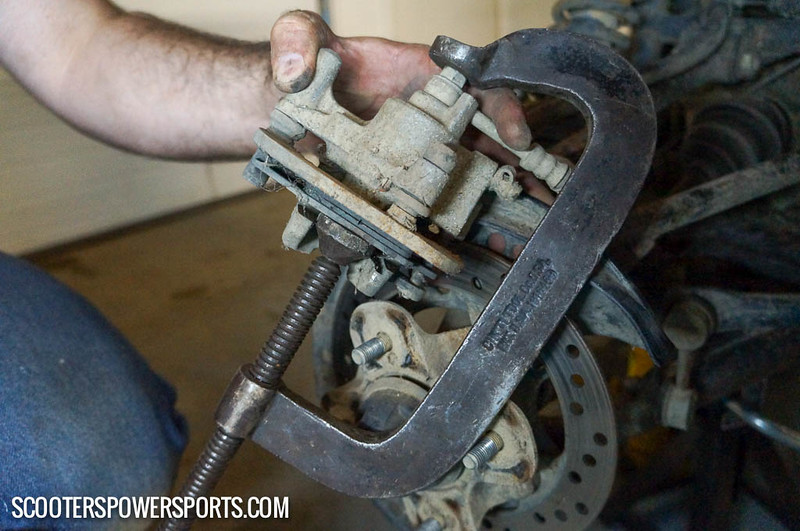 After that we needed to remove the caliper slide pins. These are located along the bottom edge of the caliper.
 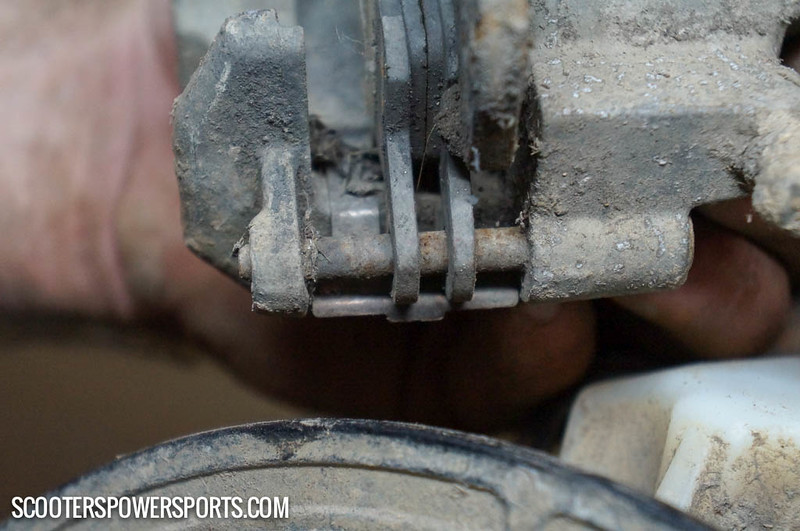 The caliper pins allow the brake pads to slide freely as the caliper piston applies pressure to the inner pad. First thing out was a little plug that covers the bolt head. If your caliper doesn't have this, don't worry. It's pretty uncommon and like all things, it will vary by make and model.
 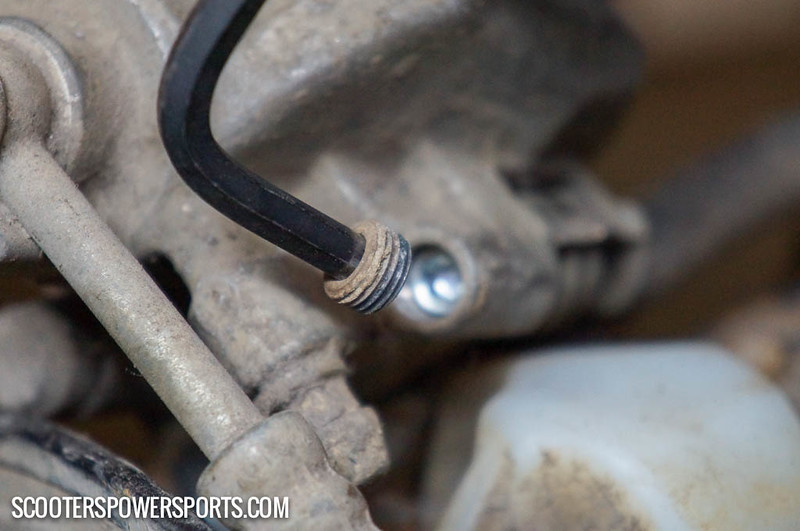 Then we removed the slide bolt. With this style of caliper, we didn't need to remove the pin. We just slid it out about half way. Less parts on the floor is always a good thing.
 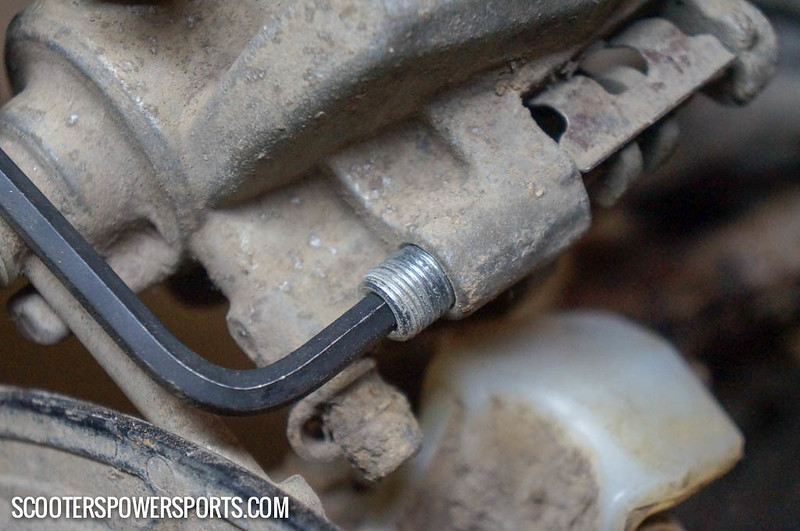 With the slide bolt out of the way, we removed the outer brake pad...
 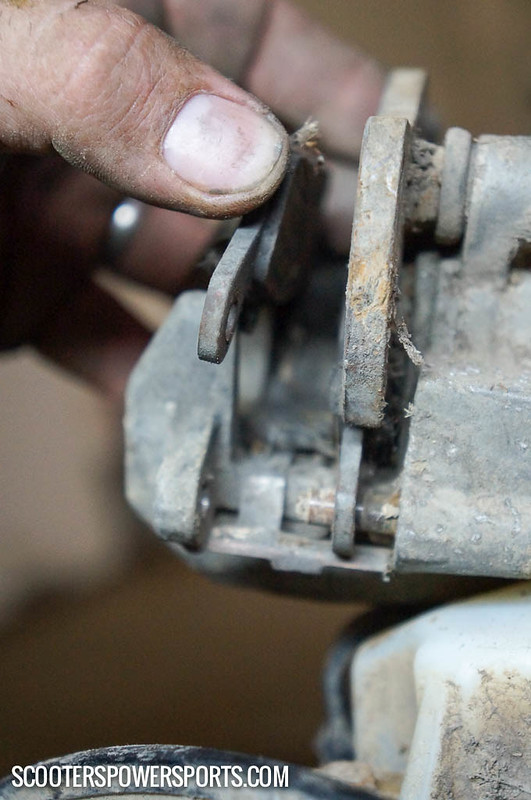 With semi-mettalic pads, you'll occasionally find magnetic residue. Make sure to clean as much of that out of the way as possible. We won't judge you if you spend a few minutes playing with it before moving on.
 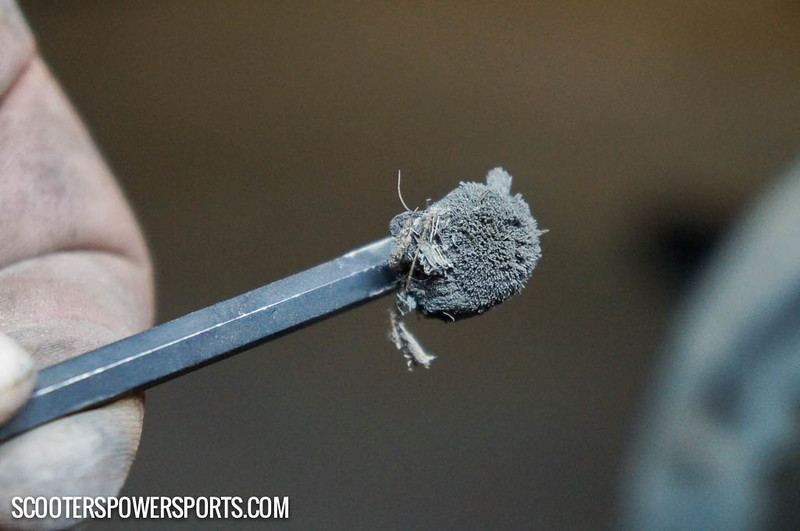 After taking a break to play with the magnetic residue, we got back to work. We removed the inner brake pad.
 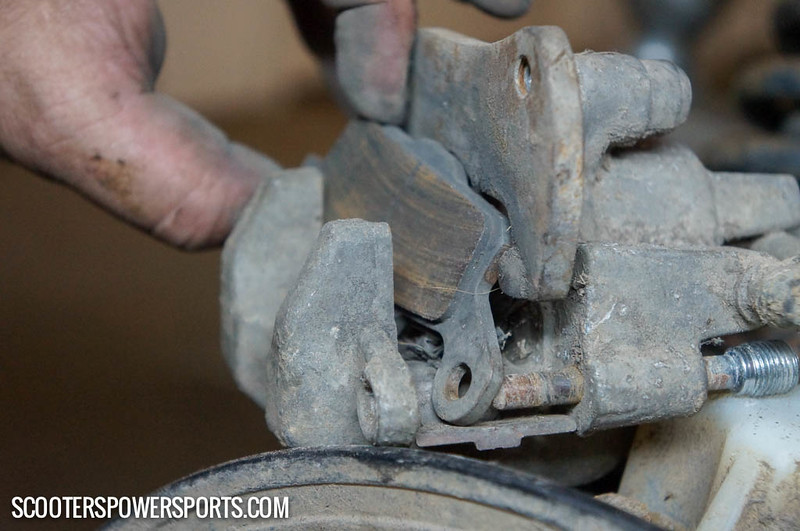 Of course, we can't do anything around here without comparing the old parts to the new ones. The old brake pad is on the left, the new one is on the right. Yea, I'd say they were about do for a changing.
 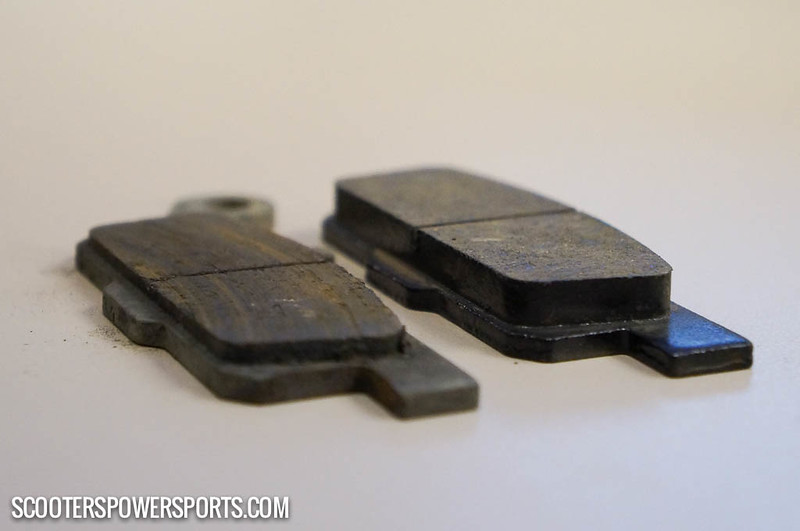 We slid the new inner brake pad into place...
  Followed by the new inner brake pad. With the inner pad, we first hooked one end of the pad onto the caliper and then lowered the whole pad on its side into the caliper. Again, this will be different with every make and model.
 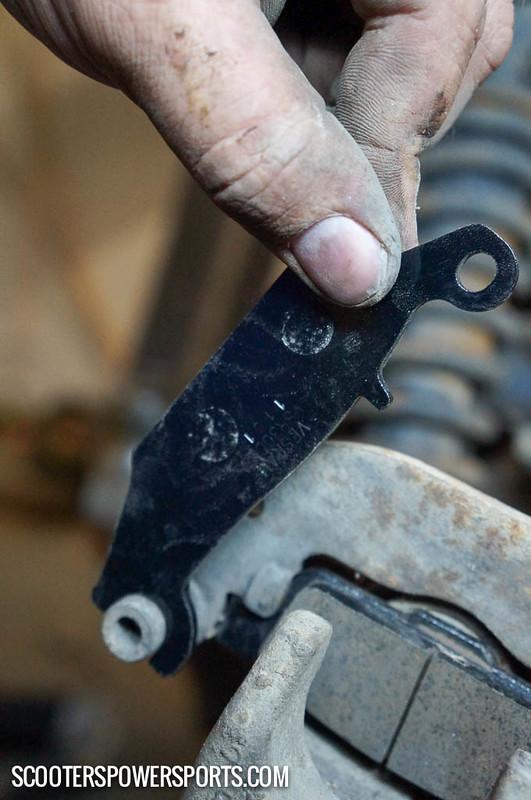 With the new pads in place, we replaced the slide pin and the retaining cap screw.
 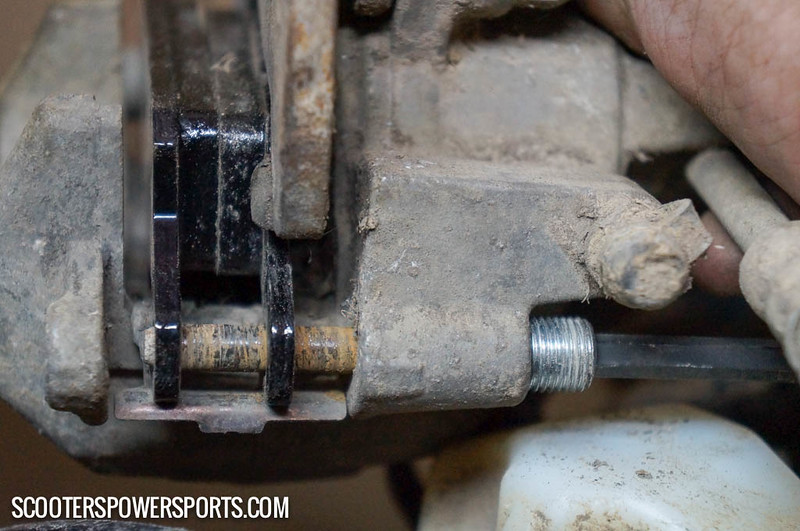 Now that the caliper is fully assembled, we placed it back on the rotor. Make sure you have the mount bolts tight. And just like that, you're all done!
 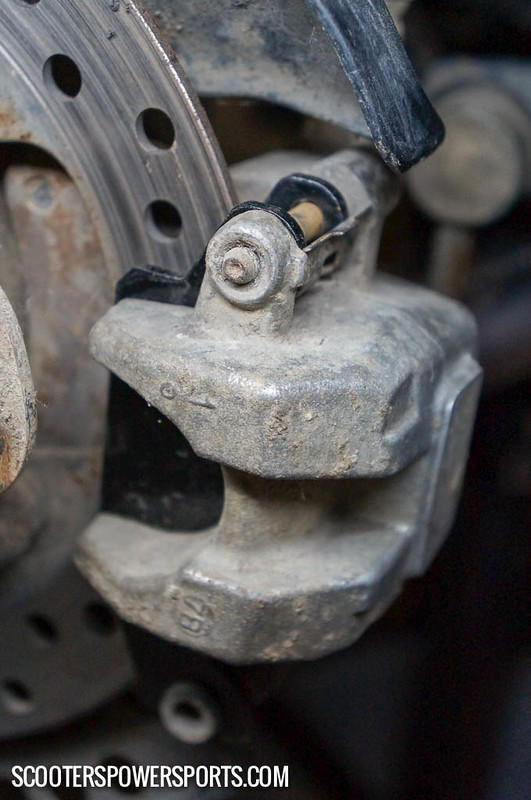 It would feel incomplete not to remind you to replace the wheel.
  Congratulations, you've just replaced your brake pads. In this particular instance, we went on and did this three more times. Each scenario is different. Some ATVs might have a single brake caliper in the rear while some may have two. Also, it's worth noting that in some instances the brake pads might be different all the way around. Our Grizzly has four separate sets of brake pads and while they're all similar, no two are alike.
Our very own Air Filter Relocation kit for ODES UTVS. Designed and manufactured by Scooter's Powersports. Unlike some ODES Air Filter Relocation K...
View full details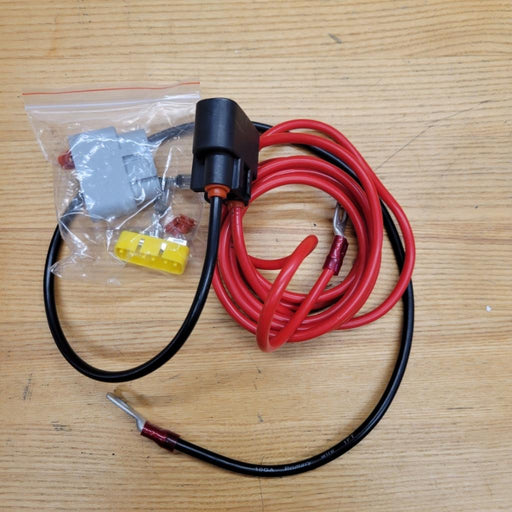
Designed to move the voltage regulator from under the hood to under the seat. Requested by you and built by Scooter's Powersports. Allows for elimi...
View full details
If the noise inside the cab of your ODES UTV has ever bothered you, this. is your solution. Now you can get one of our best selling shop services a...
View full details


ODES Industries recommends an engine oil change at 25-hours of run time or 1000 miles. (We won’t tell if you turn that down to once every 50-hours ...
View full details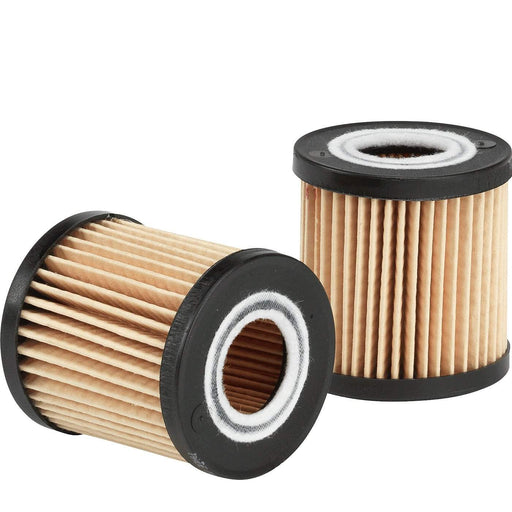
High-performance aftermarket ODES oil filter. Compatible with 800cc and 1000cc ODES engines. Be sure to select your make and model before adding to...
View full details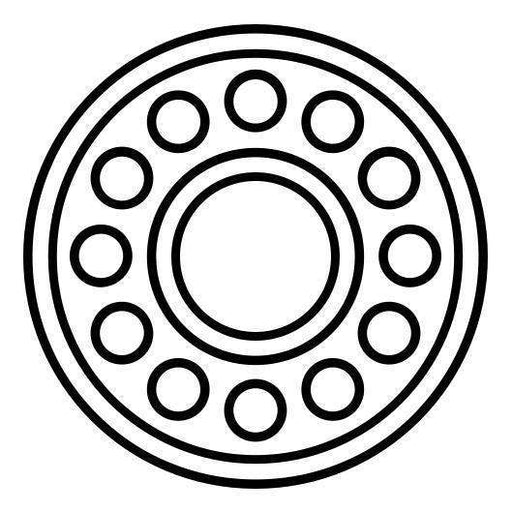
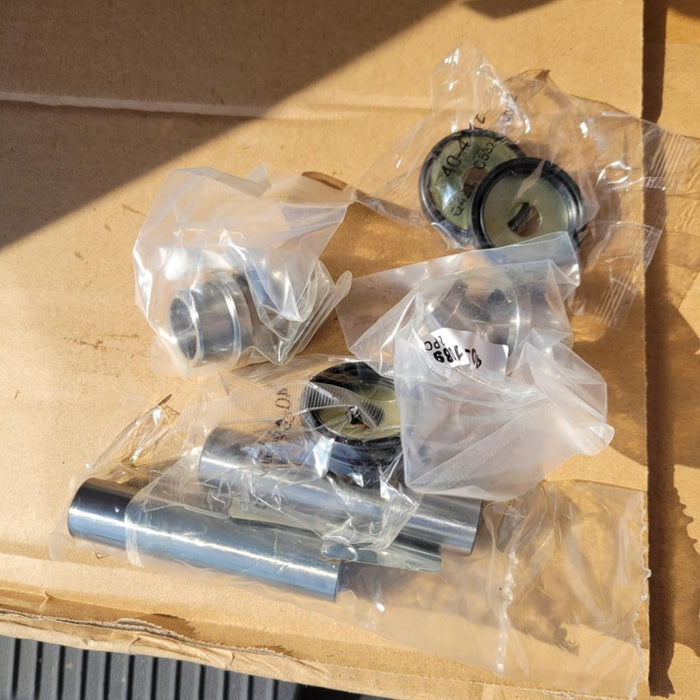
Pivot Works wheel bearing kit for 2012+ 800cc and 1000cc UTVs from ODES Industries. Fitment includes the Short Travel (Standard) suspension and the...
View full details
Our very own Air Filter Relocation kit for ODES UTVS. Designed and manufactured by Scooter's Powersports. Unlike some ODES Air Filter Relocation K...
View full detailsOEM air filter for ODES 800cc engines. Vehicle Fitment This part is compatible with the following vehicles 2012+ ODES Dominator 800 2015+ ODES Dom...
View full details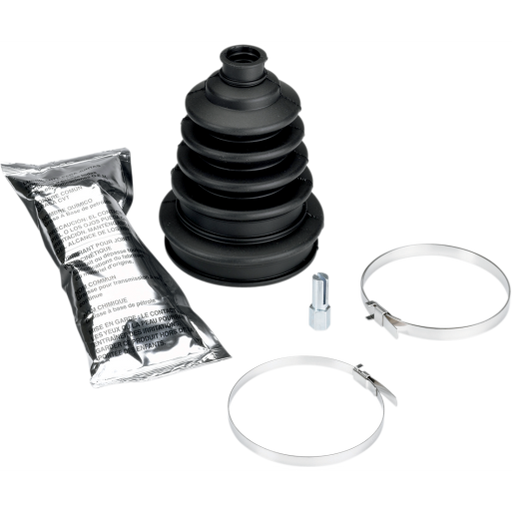
Extremely heavy duty CV boot that fits virtually all ATVs and UTVs. Additional rib to allow boot to expand for larger joints Improved clamp retain...
View full details
ODES ball joint kit for 800cc and 1000cc ODES UTVs. ODES Ball Joint Kit Includes (1) Ball joint (1) Circlip (1) Cotter pin (1) Nut Each kit provi...
View full details