When I set about repacking the wheel bearings in our trailer, the first thing I did was put the trailer on jack stands and remove the wheel.
SAFETY WARNING: Never raise anything and set to work without using jack stands. 
With the wheel removed, I started working on removing the bearing cap.  To remove the bearing cap, I used a chisel and drove it between the lip of the cap and the hub. After a few minutes of working the chisel around, the cap popped right off. Before you start, keep in mind that wheel bearing caps come in all different shapes and sizes. It’s a good idea to make sure you can get a replacement just in case it’s damaged during removal. And just throwing my opinion out there: The wheel bearing hub caps that have a grease fitting on the outside to lube the wheel bearing are a joke. You’ll use half a tube of grease in the hub and still not get the inner bearing packed right. For something that’s so easy to do in the first place, why take a shortcut and risk not getting it done right? Ok, now off my soapbox and on to the next step… Next I removed the cotter pin. You will need pliers to straighten out the legs and remove the pin.
  Then I removed the spindle nut retainer.
  After the retainer, I removed the spindle nut, washer, and outer bearing. Then I cheated - I put the spindle nut back on and pulled the hub out until I could feel it catch the rear bearing and gave it a little jerk.
  Most of the time, replacing the spindle nut and pulling the hub will pop the rear seal out of the hub without damaging it.
  Using this method is a great alternative to a seal puller, which requires that you replace the seal every time you use it. Since this seal is just a dust and moisture seal it can be reused as long as the metal case is not damaged and the rubber parts are still pliable.
  When everything is removed, it’s time to clean out all the old grease. I normally clean off the spindle and check it for any cracks or discoloration. Then clean out the hub doing the same. This can be done quickly by just wiping away the old grease with your hands and a grease rag.
  For the bearings it is a little different - You will need some type of cleaner with a brush to get the old grease out. So let me say this: if you do not have access to a parts washer of some kind you can just wipe the bearing off and pack it until the old grease is all pushed out and the new is in but if it is at all possible, you really want to clean them.
  I have access to a SmartWasher, which uses microbes that literally eat the petroleum-based products off the parts. Because it uses environmentally safe water-based cleaner, there is no smell and no need for gloves (in fact, it makes your hands softer). When I first heard of the SmartWasher a few years ago, I was skeptical and I never would have thought it would work as well as it does but now it’s my preferred washing method.
  After you clean the bearing, you will need to blow them out so that they are completely dry. [alert-announce] SAFTEY WARNING: NEVER, AND I REPEAT -- NEVER, SPIN A BEARING WITH AN AIR GUN. Instead, blow through the bearing as seen in the photo below. [/alert-announce]
  After the bearings were dry, I packed them. Because of my background, I have a very handy tool to pack bearings. It is very affordable. I have had mine for several years and it has paid for itself more than a few times. You can find a similar one on Amazon here. This is a great tool if you are going to do a few wheel bearings a year. Follow the instructions on how to fill the packer and then place the bearing in the tool with the tapper faced down. Then put on the cap and push down until new grease comes out of the top of the bearing.
  Of course, if for whatever reason you don’t have or don’t want the tool, then you can always pack your bearings by hand. It takes a little more time (although not much) and a little more cleanup, but it is very easy to manually pack a wheel bearing. To start, you’ll want to get a big glob of grease and put it in the palm of your hand. Then you’ll want to use the bearing to slice the grease, making sure that the large end of the bearing is facing down.
  Do this until the grease is coming out of the top of the bearing. Then rotate the bearing and repeat the process until you can see grease coming out all the way around the bearing.
  Regardless of which method you use to pack your bearings, you will also want to make sure to add grease around the outside. I usually just use my finger to smear it around the outside. Once both of my bearings were packed, I greased up the races of the bearings in the hub.
  Then I put in the inner bearing back into the hub and replaced the seal.
  I put the hub back on the spindle, inserted the outer bearing, washer, and nut.
  After I torqued the nut down, I replaced the spindle retainer nut and the cotter pin. To replace the cotter pin, I used a hammer to tap the pin legs through the spindle retainer and then used the pliers to bend the legs back out.
  Before replacing the wheel bearing cap, I added some new grease to the inside. Then I just tapped it back on with a hammer.
  The only thing left to do was replace the wheel.
  And of course, do it all over again on the other side. We really want to know your opinion. How often do you repack your wheel bearings? Do you own a packing tool, or do you prefer to pack your bearings by hand? And is there anyone else out there that has to drive two or more hours to the nearest ATV park? There’s gotta be someone out there who feels our pain…
Our very own Air Filter Relocation kit for ODES UTVS. Designed and manufactured by Scooter's Powersports. Unlike some ODES Air Filter Relocation K...
View full details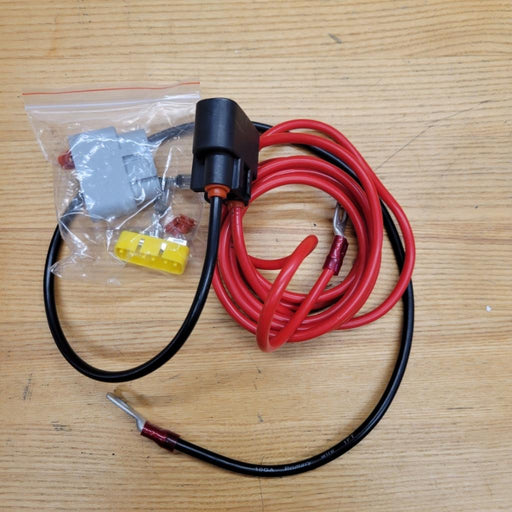
Designed to move the voltage regulator from under the hood to under the seat. Requested by you and built by Scooter's Powersports. Allows for elimi...
View full details
If the noise inside the cab of your ODES UTV has ever bothered you, this. is your solution. Now you can get one of our best selling shop services a...
View full details

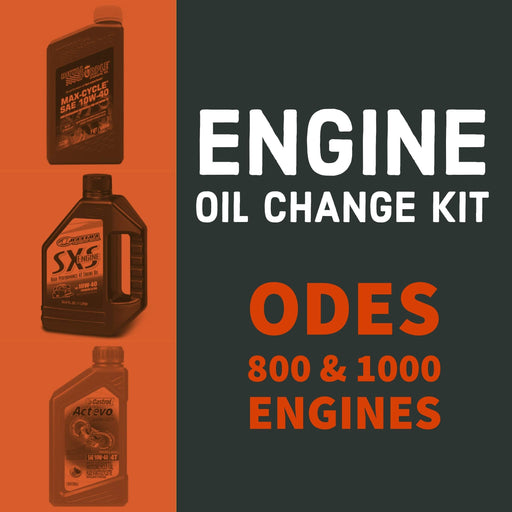
ODES Industries recommends an engine oil change at 25-hours of run time or 1000 miles. (We won’t tell if you turn that down to once every 50-hours ...
View full details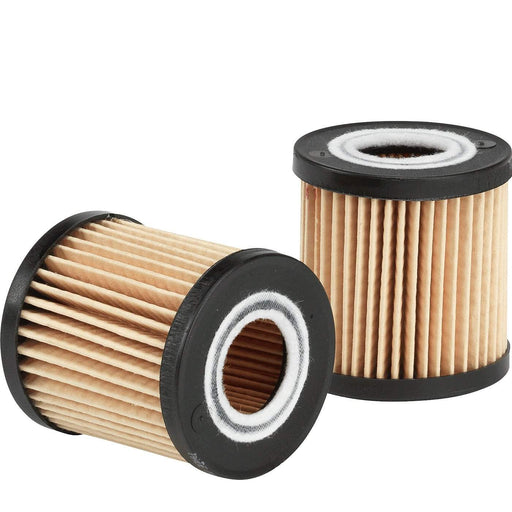
High-performance aftermarket ODES oil filter. Compatible with 800cc and 1000cc ODES engines. Be sure to select your make and model before adding to...
View full details
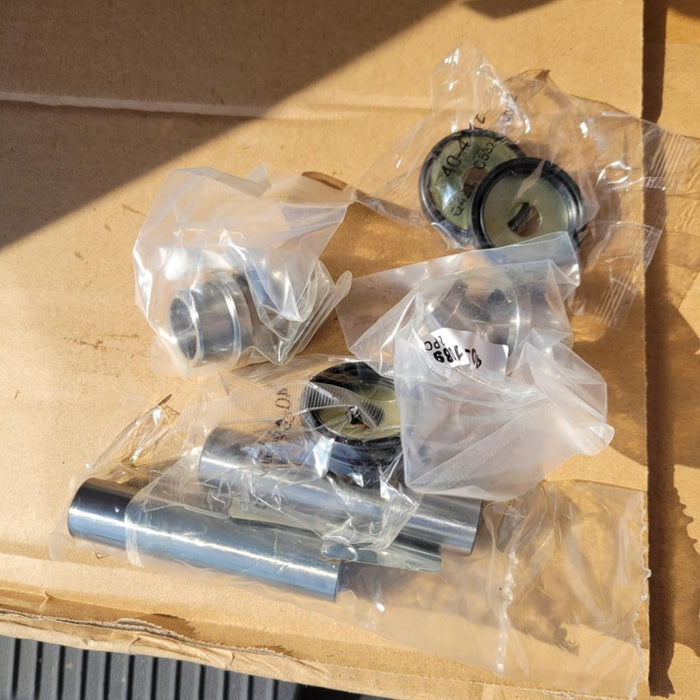
Pivot Works wheel bearing kit for 2012+ 800cc and 1000cc UTVs from ODES Industries. Fitment includes the Short Travel (Standard) suspension and the...
View full details
Our very own Air Filter Relocation kit for ODES UTVS. Designed and manufactured by Scooter's Powersports. Unlike some ODES Air Filter Relocation K...
View full detailsOEM air filter for ODES 800cc engines. Vehicle Fitment This part is compatible with the following vehicles 2012+ ODES Dominator 800 2015+ ODES Dom...
View full details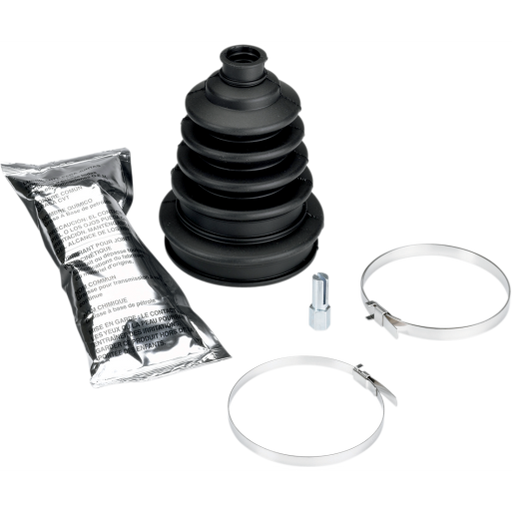
Extremely heavy duty CV boot that fits virtually all ATVs and UTVs. Additional rib to allow boot to expand for larger joints Improved clamp retain...
View full details
ODES ball joint kit for 800cc and 1000cc ODES UTVs. ODES Ball Joint Kit Includes (1) Ball joint (1) Circlip (1) Cotter pin (1) Nut Each kit provi...
View full details