 After that I removed the upper motor mount.
  Then I removed the valve cover and the carburetor...
  ...And I took off the exhaust head pipe. (In the photo below, it's still attached. But trust me, we removed it.)
  Now I had to remove the cams. I had done this in a previous post when showing how to set the timing. You can read about removing the cam shafts here (on this KFX) or here (on our Grizzly).
  Once the cams were out of the way, I could get to the head bolts. [alert-announce] Side Note: I have never had an issue with this, but they say that the head can warp if you do not break all the bolts loose quickly. I recommend not to stop once you start loosening them. There are only six on the KFX so this is not too much to ask but two of them are on the outside of the head. Make sure that you don't forget to look for them. [/alert-announce] After I got the head bolts out I had to take out the bolt holding the timing chain up. (We usually tie the timing chain off so it doesn't fall all the way down, in case you're wondering.)
  Now I was ready for the head to come off.
  I removed the final two bolts holding the cylinder (which is also commonly referred to as the jug).
  All that was left was to take the cylinder off the engine.
  We had a sneaky suspicion that we would need rings earlier, so we went ahead and ordered some since we knew we would be tearing down anyway and didn't want to wait for them.
  What I did not expect was that this had an aftermarket piston that did not take stock rings. So what we thought would be a huge time saver, ended up being us trying to return rings that didn't fit. More joys of being a mechanic and working on used stuff. (I do love the challenge.) But to verify that the low compression was caused by the rings, I am going to do a ring gap test with both the old rings and the new ones to see if the cylinder walls have too much wear. For this test you will need a feelers gauge, the cylinder cleaned, and the rings to test. I took the ring and carefully put it in the cylinder about an inch from the top.
  Then I took the feelers gauge to see what the ring gap was.
  The photo above is of the used ring and the biggest gauge was .030 and it was not big enough. The stock gap is no more than .014 so this got me worried that my cylinder was not stock. When I checked the new rings, I got .017. Ok, that is a lot better but still not perfect. It turns out that I do have some wear in the cylinder. So now what? Well, I could just slap in a stock piston with my new rings and send it out the door but that would not make me a very good mechanic or a very good friend. So I am going to send the cylinder out to be stripped and re-plated. Yes, the KFX 400 engine has a plated cylinder (Nickel Silicon Carbide composite) and can be stripped and re-finished back to stock. This is a super cool feature because you can go back to stock sizes and not have to worry about if it is bored out and finding non-stock parts. So until next time...

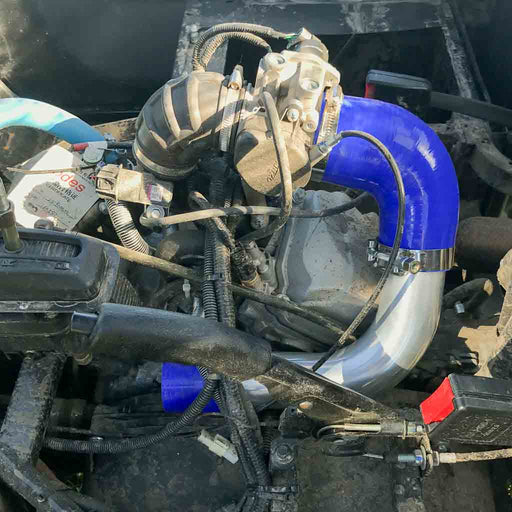
Our very own Air Filter Relocation kit for ODES UTVS. Designed and manufactured by Scooter's Powersports. Unlike some ODES Air Filter Relocation K...
View full details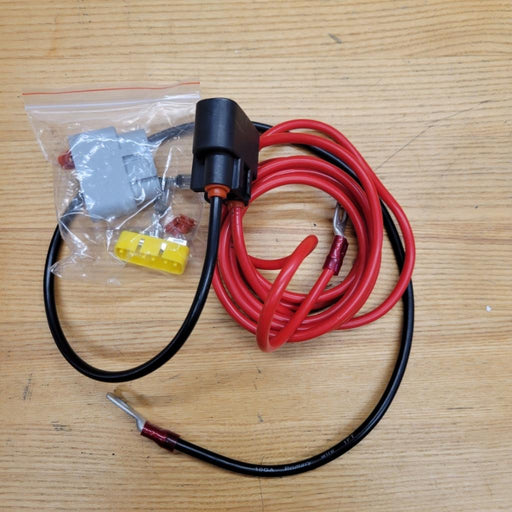
Designed to move the voltage regulator from under the hood to under the seat. Requested by you and built by Scooter's Powersports. Allows for elimi...
View full details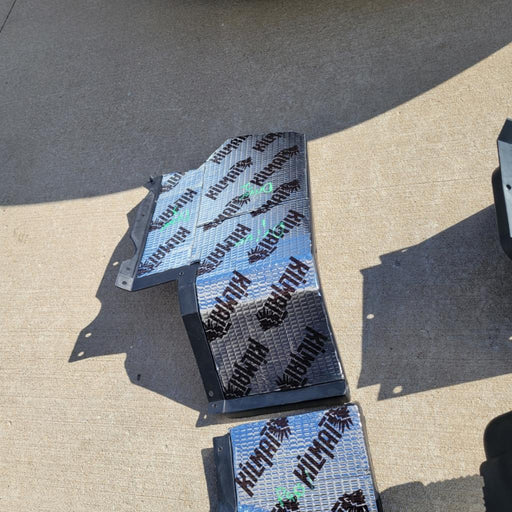
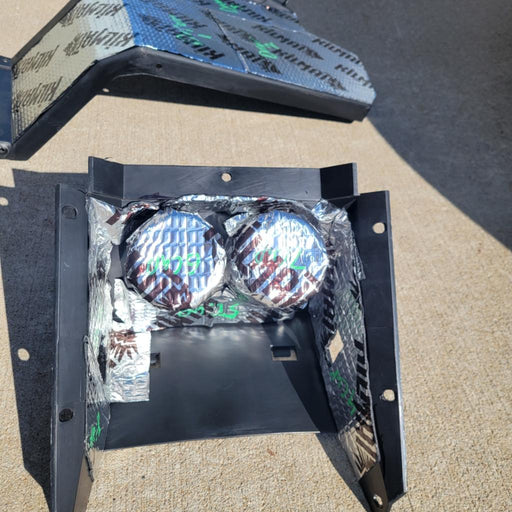
If the noise inside the cab of your ODES UTV has ever bothered you, this. is your solution. Now you can get one of our best selling shop services a...
View full details

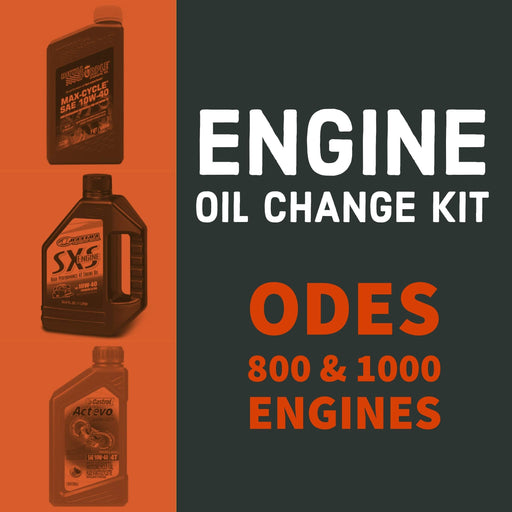
ODES Industries recommends an engine oil change at 25-hours of run time or 1000 miles. (We won’t tell if you turn that down to once every 50-hours ...
View full details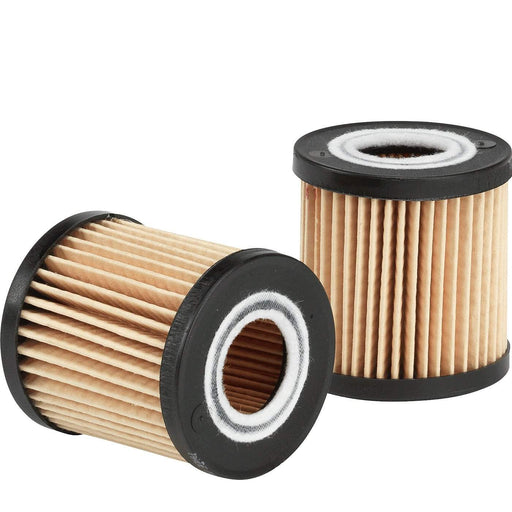
High-performance aftermarket ODES oil filter. Compatible with 800cc and 1000cc ODES engines. Be sure to select your make and model before adding to...
View full details
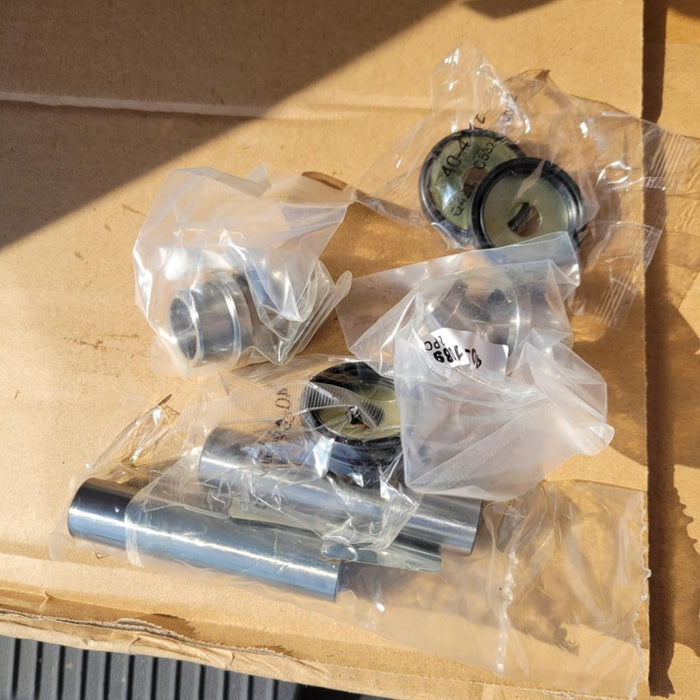
Pivot Works wheel bearing kit for 2012+ 800cc and 1000cc UTVs from ODES Industries. Fitment includes the Short Travel (Standard) suspension and the...
View full details
Our very own Air Filter Relocation kit for ODES UTVS. Designed and manufactured by Scooter's Powersports. Unlike some ODES Air Filter Relocation K...
View full detailsOEM air filter for ODES 800cc engines. Vehicle Fitment This part is compatible with the following vehicles 2012+ ODES Dominator 800 2015+ ODES Dom...
View full details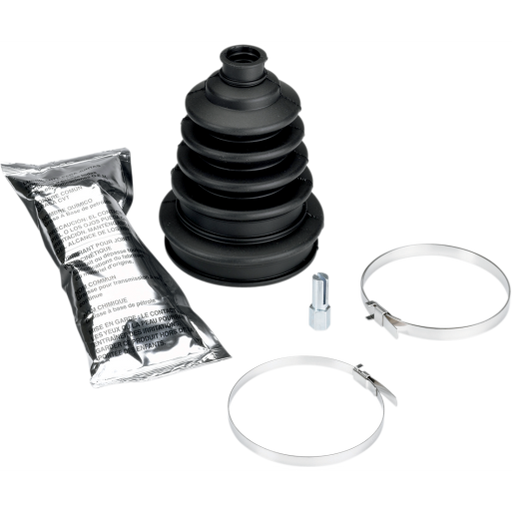
Extremely heavy duty CV boot that fits virtually all ATVs and UTVs. Additional rib to allow boot to expand for larger joints Improved clamp retain...
View full details
ODES ball joint kit for 800cc and 1000cc ODES UTVs. ODES Ball Joint Kit Includes (1) Ball joint (1) Circlip (1) Cotter pin (1) Nut Each kit provi...
View full details