*** This is a draft version of the installation directions. It’s not ideal but it was either you get to see it in progress or you have to wait for our webmaster to get time alone without kids. If you have any questions, please contact us.***
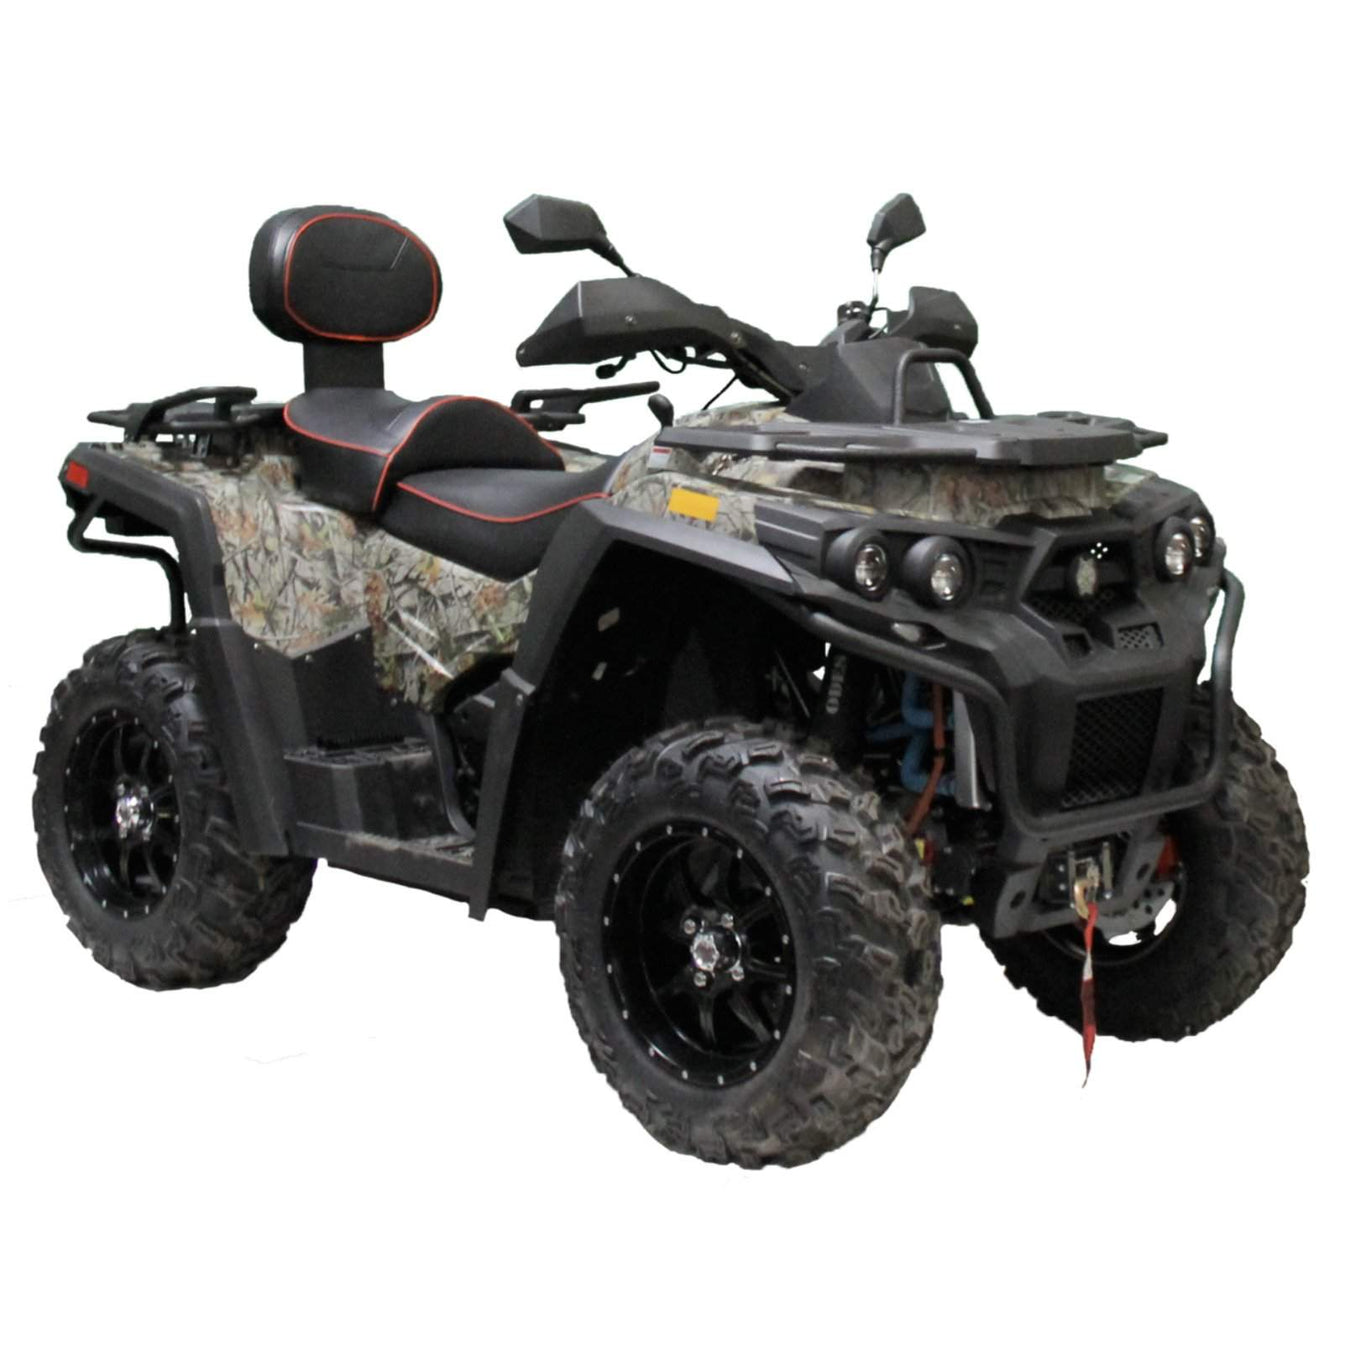
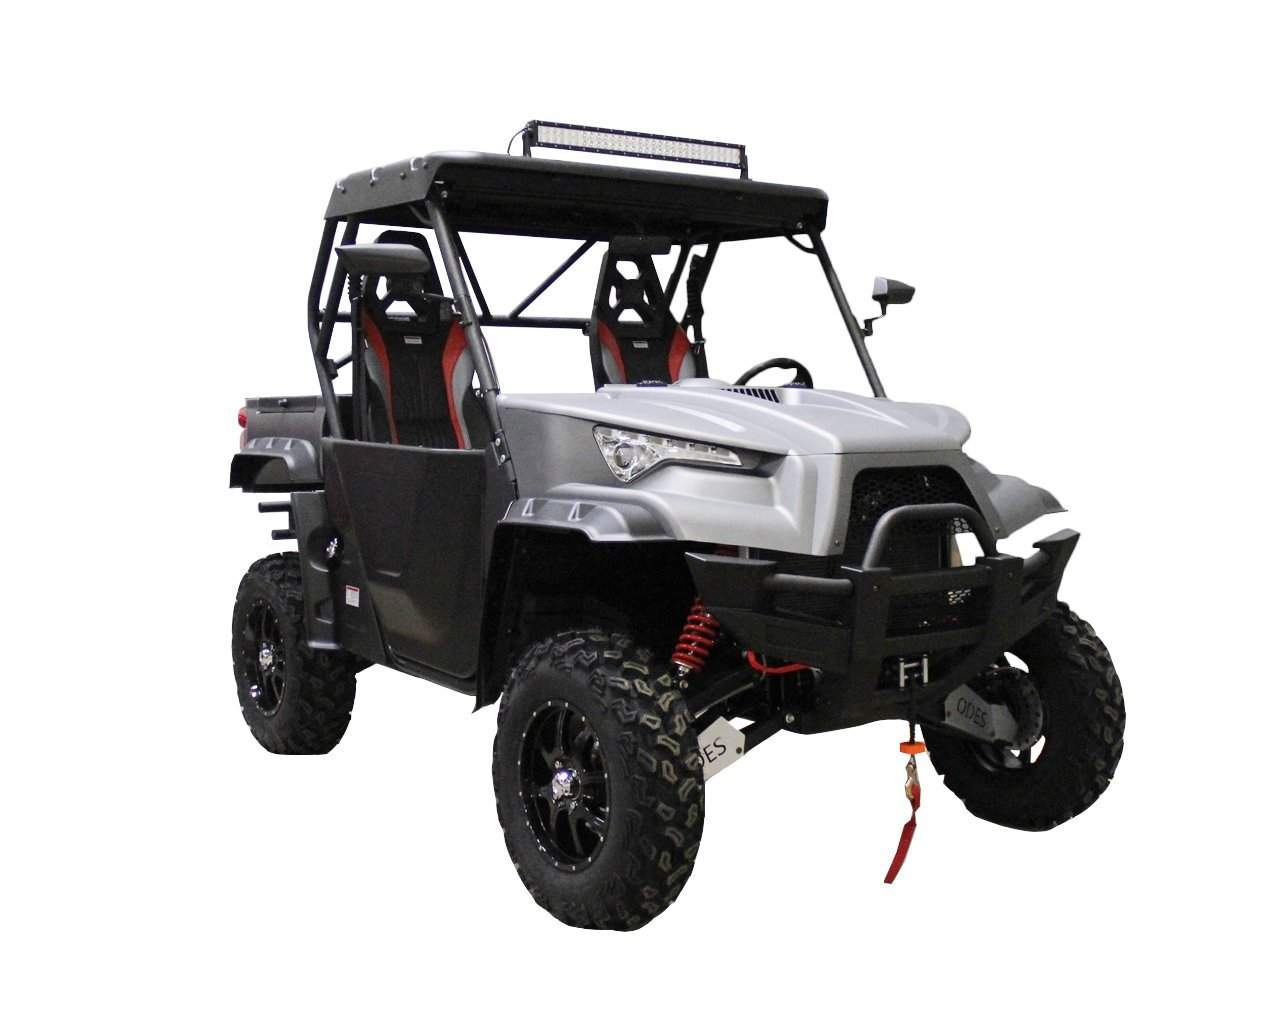
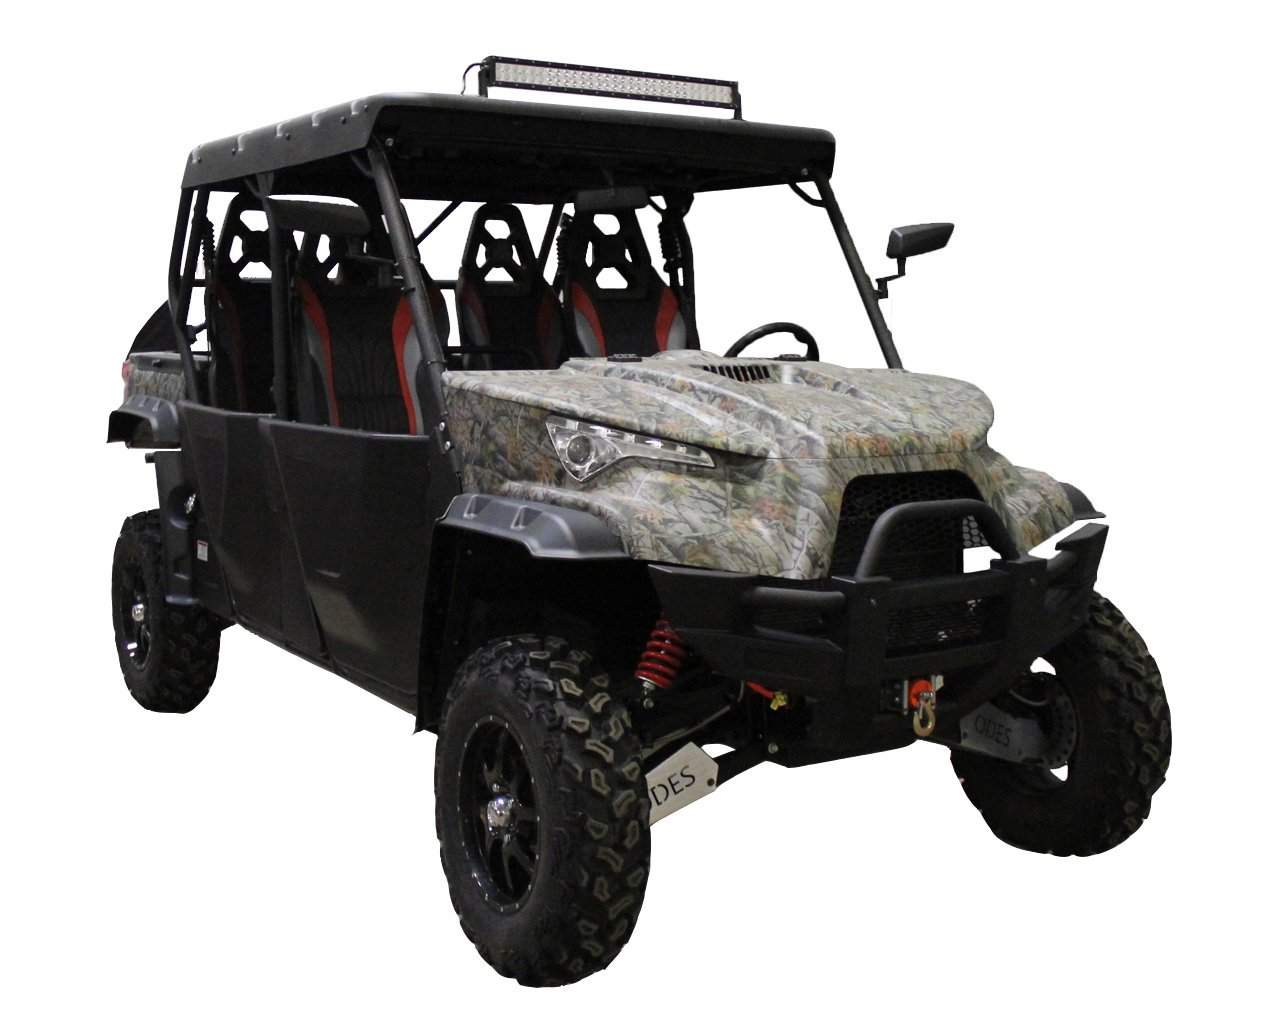
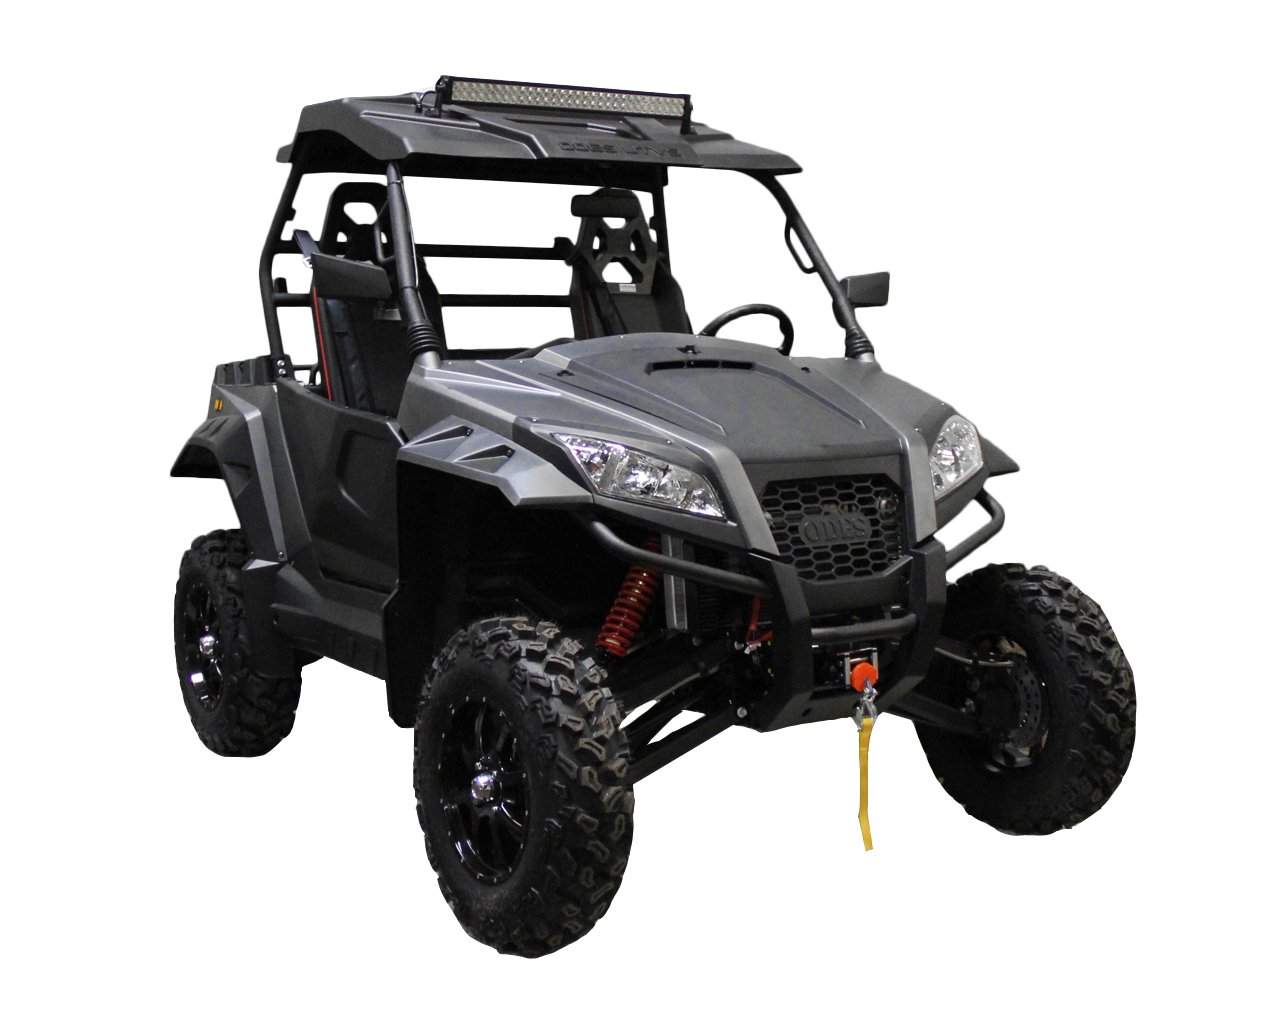
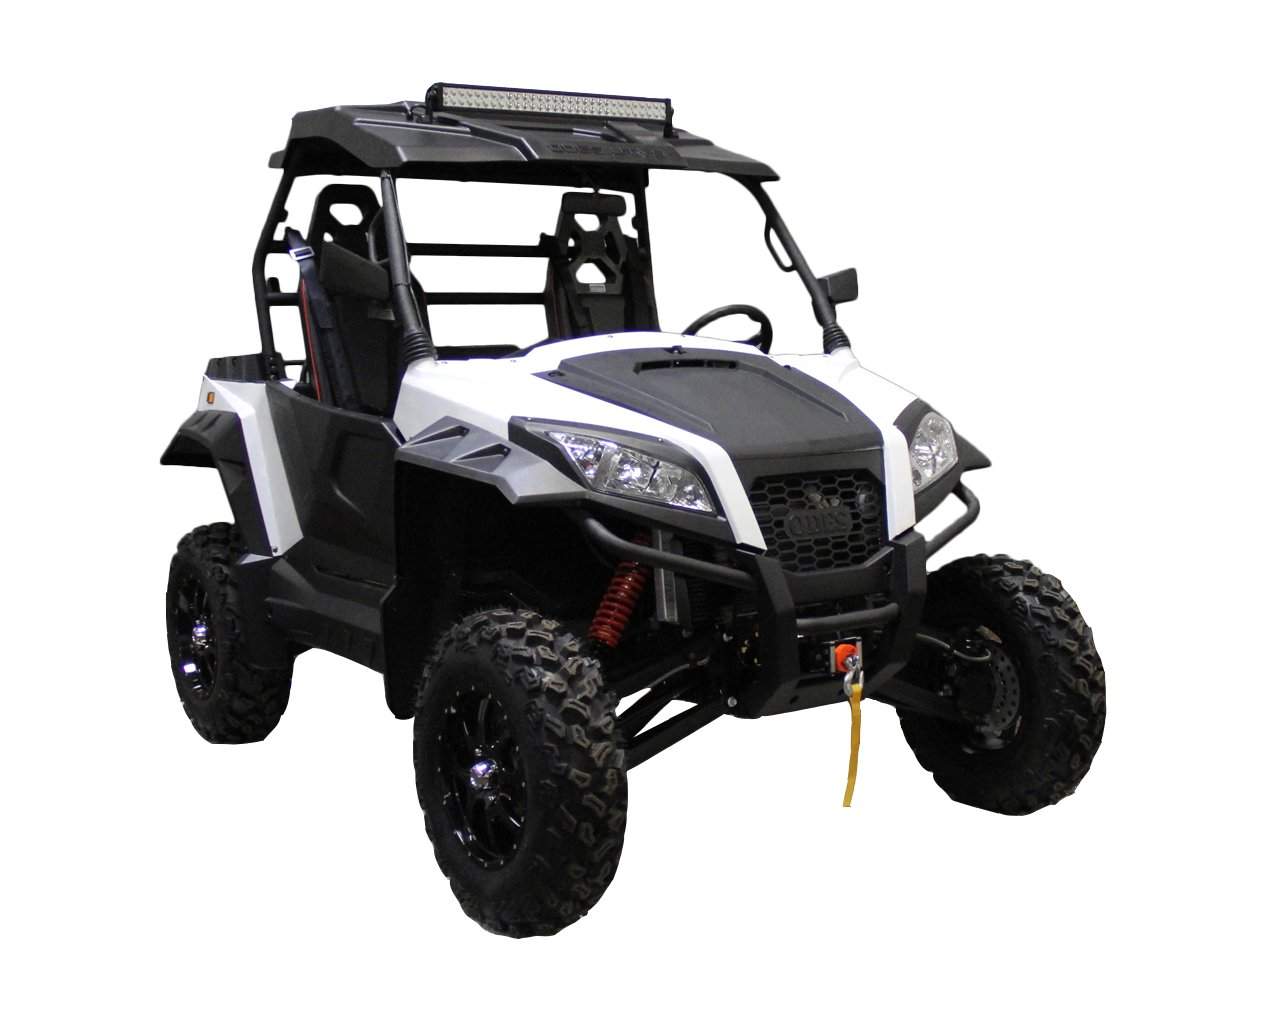
This is the installation directions for the Air Filter Relocation Kit for 1000cc ODES UTVS.
This kit is NOT COMPATIBLE with 800cc engines. If you have an 800cc ODES UTV, see the links below.
ODES 800cc Air Filter Relocation Kit by Scooter's Powersports
ODES 800cc Air Filter Relocation Kit Installation Instructions
Prep your ODES UTV for the Air Filter Relocation Kit.
Remove the seats and engine cover.
If you have heated seats, make sure you unplug them first. On the rear engine cover, you will need to remove two screws and the female end of the seatbelt. Don't worry about removing the shifter, just turn it 90 degrees. And prepare to remove approximately 8,352 plastic push pins.


Remove the air box.
This one's easy. One clamp, one hose, and three bolts. See the photos below.


Remove the cup holder and heated seat switches.
Reach from the rear and push the switches out to the passenger area of the cab. Unplug them, and tuck the harness back into the hole. Remove more push pins.


Remove the driver kick panel.
You can skip this step if you don't mind cuts and bruises and pulling on parts and cussing. We recommend you pull a few more push pins and one more bolt.

Pull the clutch vent pipe.
Remove the vent pipe that runs under the shifter and to the rear of the engine. We are going to re-route this so that it doesn't run directly over the exhaust and suck up hot air. It's just two bolts and a clamp. You can loosen the shifter if you need. We usually don't but you might find it helpful. This will be cut and turned 180 so it will go out the front in a later step.


Ok this is for the late 2022 and 2023 models only.
On these machines only they have a plate in the tunnel under the dash that will need to be removed. 

Working on photos now please contact us if you have any questions. Facebook messenger to Scott Swords is best but email works also. Support@scooterpowersports.com
Install the Air Filter Relocation Kit on your ODES UTV.

Item colors may very from the photo
Install vent hose in elbow pipe.
You'll need to remove the vent hose connector from the air box first. See the photos below.


Now install the rubber grommet in the hole on the u-shaped pipe and install the plastic elbow. Be gentle! If the rubber grommet gives you trouble, a little silicone grease or even saliva (not the band) will go a long way. Please, NO PETROLEUM based lubricants. Petroleum will deteriorate the rubber.

Trim the clutch vent pipe.
Ok there will be 2 versions of where the clutch breaker will come out we will call them versions cl1 and cl2. Cl1 brings the breather way up next to the air filter. Cl2 will take it below the air filter next to the battery box. Try cl1 first and if it seems it is just not right and not going to work then move on to cl2. There are many versions of the 1000 and they route things differently on everyone so it is next to impossible to know exactly what one you have. Now It is easier to try to it longer, cl1, then to add back on to the pipe.
This is cl1 Most of them have a wrap on them. We are going to trim off the area just above this wrap. If you don't have the wrap, measure down from the side with the closest to the bracket. Make your cut at 2.5 inches below the bracket on the pipe.


CL2 ok now you will cut the pipe quite a bit lower with this. It is about in the middle of wrap. Working on photos now but if you install it after cutting it for cl1 you will see where it need to be.
Connect the elbow to the airbox.
Loosen the intake clamp on the intake at the engine. We do this so the throttle body can move and twist a bit. Otherwise, it make have a bind or pull that can cause the rubber to crack out faster than normal.
Now grab the u-shaped pipe that you installed the vent hose connector to. The short end with the coupler needs to go on the intake side.


Pro-Tip: Put the clamps on and DO NOT TIGHTEN them until AFTER you have installed everything. Ask me how I know.
Now reconnect the vent hose.
Connect the flex tube.
Line up the flex tube with the end of the u-shaped pipe and push it under the shifter. Make sure you put the clamp on first, then secure the tube to the pipe.


Now you will want to install the clutch vent pipe that was cut in the previous steps. It will be 180 from how it was before. If useing cl1 it will stick out next to the the battery box and sit on or close to the support that has the vin tag on it.
Connect the pcv vent hose and the 45 degree aluminum pipe.
Next will be the 45 degree pipe. There is a short end and long end. We have used it both ways but normally works best shot end to the front. This will come in from under the hood and slide in to the flex pipe.
Last to install is the air filter it will go on the end of the pipe under the hood. You will need to adjust it down on the pipe until the hood does not hit when closed.
Now go back and tighten all the clamps and put the vent hose on the u pipe.
Once done with the clamp use the zip ties provided to secure the pipes from sliding around. You may need to put 2 together to get this done.
*Your install will look a little different at this point. In the photos above, we used version 1 of the Air Filter Relocation Kit, which originally had a shorter u pipe. New photos coming as soon as we get the chance. In the meantime, just line the flex tube up with the pipe, and slide it under the shifter.


