The Air Filter Relocation kit from Scooter’s Powersports is designed to reroute the air filter from the center console to under hood. The new air filter location is next to the battery box. This relocation is designed to reduce in cab noise. This is not a snorkel kit and is not designed to be used as a snorkel kit.
Parts List
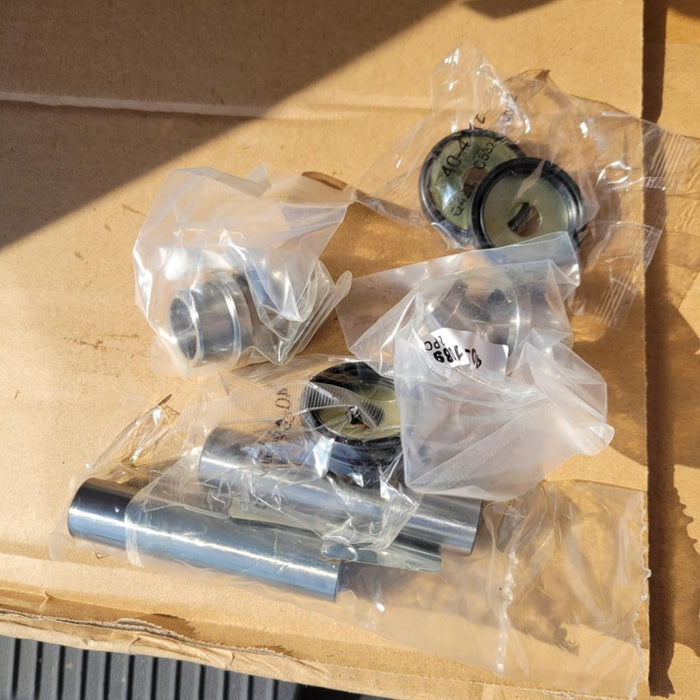
This kit ships partially assembled. Before you start, take a moment to review your components. The parts shown in the photo will be referred to as follows:

Remove Center Cover and Intake Tube
-
Remove both front seats.
-
Remove the two push pins on either side of the intake cover.
- With the cover removed, the intake is exposed. Remove the single bolt and allow the intake to hang in place.
- Remove the shifter handle by spinning it counter clockwise.
- Remove the center cover (doghouse). There will be ten pushpins to remove as well as two Phillips screws.

The following is for X4 models only. For installation on the X2, skip ahead to step six. Remove the two screws located on the rear of the center cover. (Behind the intake cover.)
Note: There are nuts located on the backside of these screws. Removing the screws without holding the nut will cause the nut to fall down into the skid plate.
Pro-Tip:The screws can be removed and the holes can be drilled to accommodate push-pins using a 3/8” bit.
- Remove the air filter at the throttle body.

-
Remove the rubber grommet from intake tube as shown. Set grommet aside as it will be reused during installation. Remove the air filter housing from the intake tube. Set all parts aside.
- Remove single bolt from belt air intake tube.
Intake Installation
-
Place straight tube onto 45 degree tube as shown in photo. Tighten clamp to secure. From inside the cab, slide the 45 degree bend up and through the center console. Place clamp at end of straight tube.Do not tighten.
-
Slide straight tube into coupling located on the lower portion of the double 90. Do not tighten.
-
Place provided air filter cover onto air filter housing. Reusing clamp from air filter housing, place air filter onto 45 degree tube. Tighten clamp to secure.

-
Adjust tube direction as needed to allow clearance for air filter housing to sit comfortably under hood.
Pro-Tip: Gently close and open the hood to check for air filter clearance. Adjust 45 degree tube as needed. Once proper clearance has been established, used provided zip ties to secure tube to frame above throttle body cable. Double check clearance.
-
Secure belt intake tube. The provided bolt and spacer can be used to provide additional clearance if needed.
-
Check shifter linkage for clearance. If plenty of clearance is available, move to the next step. If extra clearance is required, loosen the bottom clamp on the rubber 90 degree hose at the intake. With the clamp loosened, gently twist the throttle body clockwise to create clearance for the shifter linkage. Once clearance has been established, tighten clamp back to secure.

Tighten remaining clamps to secure relocation kit into place. Once clamps have been tightened, go back and double check that all parts are secure.
Use provided zip tie to secure double 90 tube to frame as shown in photo. Additional zip ties are provided for use elsewhere as needed.

The Fine Print
This Air Filter Relocation kit is provided as is without any guarantees or warranty. In association with the product, Scooter’s Powersports makes no warranties of any kind, either express or implied. Installation and use of the product by a user is at the user’s risk. This Air Filter Relocation kit is not a snorkel kit. It is not intended to be used as a snorkel kit. Use of this product as a snorkel kit is not recommended. All images used are copyrighted property of Scooter’s Powersports and may not be used without permission. This content may not be reproduced without express written permission from the manufacturer.