A couple weeks ago, when I was
changing the oil in both of our wheelers, I took some time to do my normal walk around to check for anything out of place. One of our earliest blog posts was about
the importance of PMCS (Preventative Maintenance Checks and Services). The gist is that by taking the time to do some basic maintenance and being on the look out for small issues, you can avert most major repairs. Case in point: As I was looking over Beth's
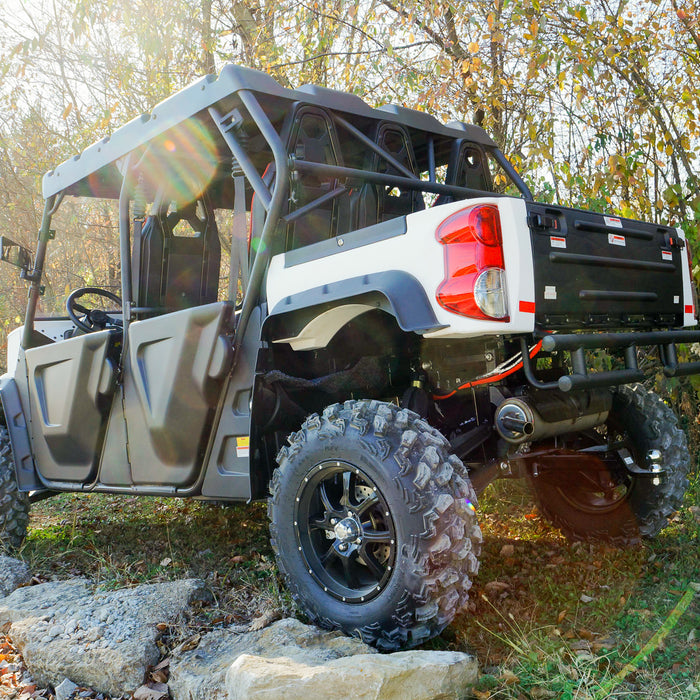
Warrior, I noticed that there was a tooth missing from the rear sprocket and that the chain was very loose.

The chain on her Warrior is an o-ring chain style chain. Notice the gaps in between the inner and outer link. The gaps that you see below are where the o-rings should be. I also noticed that the adjusters were just about maxed out, so I was not going to be able to take out much of the slack in the chain.

For proof that we practice what we preach, here's what the
Clymer repair manual had to say:
“Lay a scale along the top chain run, and measure the length of any 21 pins in the chain. The nominal 21-pin length for a 520 chain is 318 mm (12.5 in.). If the 21-pin length is 327 mm (12.75 in.) or longer, the drive chain is excessively worn and should be replaced."
According to the Clymer manual, this chain is tired and wore out -- time for a replacement. At the time, I wasn't able to see the front sprocket very well but decided it was probably time to be replaced also. So I started to price around. When it comes to chains, there are two types: o-ring and non o-ring. Deciding on the type of chain was a no brainer for me. O-ring chains are virtually maintenance free (ok nothing is maintenance free, but they are very close) whereas non o-ring chains will need to be cleaned and oiled after every ride. I knew I wanted an o-ring style chain. There are also two types of sprockets: steel and alloy. A steel sprocket will last a long time but is heavier. An alloy sprocket will wear out faster but is lighter. As I've said before, we are not hardcore racers. Since we are not too concerned with adding an extra pound or two, I went with the steel. If you've been following us for a little while, you know that I can't make a purchase without doing some research first. Right off the bat, I found that kits with front and rear sprockets and a chain were so much cheaper than purchasing the pieces individually. Plus, if your ATV swing arm is stock, the chain comes precut to length. Beth’s Warrior is stock and while I don't need a super heavy duty chain, I really don't like to buy off brand, here today and gone tomorrow, parts. So I found myself at
Rocky Mountain ATV/MC looking at Primary Drive chain and sprocket kits. You can find the exact kit we purchased
here. All the reviews I read were pretty good and the prices were very reasonable. I placed the order at 1745 (5:45 pm for the civilian types) on a Tuesday and it was here by Friday at lunch with the standard shipping. Of course when it arrived, we tore the box open like it was Christmas.

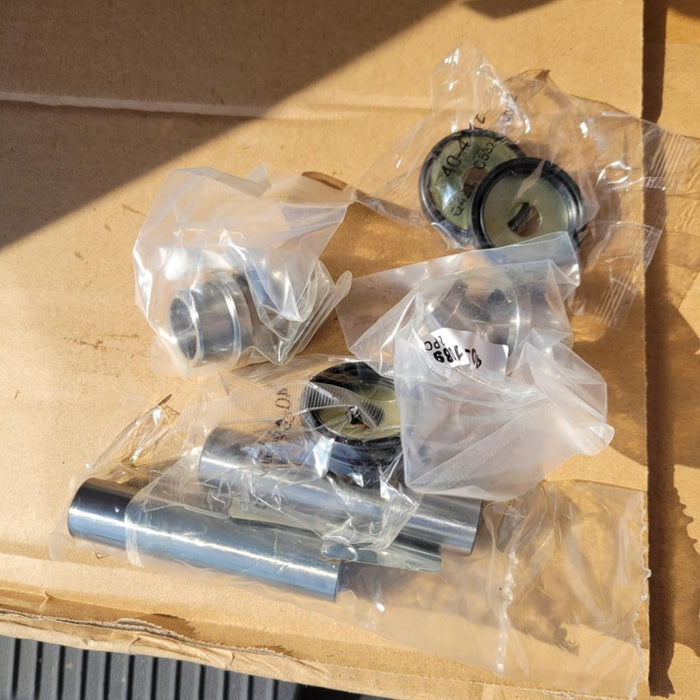
When I opened the box for the chain, I didn't see the master link or the o-rings. There was a little bit of panic before I found them in small bag stuck to the inside of the box. My recommendation: double check the inside of the box to prevent throwing anything away and keep all the small parts in the bag until you need it.

Before you start any repair or maintenance project, it's always a good idea to have all of the parts and tools that you need out and ready. A basic tool set should cover most things but since every ATV is different, it's a good idea to look it over and see if there are any tools that you don’t have. I have acquired a pretty broad arsenal of tools over the years but even now and even when I try to plan ahead, I still get caught sometimes without a tool that I need. It does bite me some times. The first step to replacing the sprockets and chain is to lift the rear tires off the ground. I looked all over for an ATV lift and found all kinds but they either didn't do what I wanted or they were way more than I was willing to spend. So like any good country boy, I built one. Once I got the bike off the ground, I removed the rear wheel.

Then I removed the front chain guard.

Once I had the chain guard off, it was easy to find the master link in the chain. It is the link with the funny shaped clip on the outside.

The master link isn't hard to find at all. If you have both rear wheels off the ground, you can put the bike in neutral and spin the wheels until the link moves up to an easy to reach spot. To remove the link, I just used a screw driver in the middle of the link and twisted.

The tricky part of this process is removing the clip from the master link. If you push down just a little on the screw driver while you have it twisted, most of the time it will pop right off. Then you can just push it away from the split side and it will come off. The other way to do this is to take a pair of needle nose pliers, catch the pin and the clip, and squeeze. Using the pliers is a little more difficult but if you're having trouble with the screw driver, it's another method that works pretty well. Once you have got the clip off you can take off the plate and push out the link. You may have to pry the plate off the link.

With the chain removed, it's easier to get a good look at the wear on the sprockets.

The warrior has tabs bent over the nuts that hold the front and rear sprockets. I used a punch and hammer to flatten them out. Once I had the tabs flattened out, I removed all the nuts and the sprockets came right off.

Once I have everything removed, I like to compare the old with the new. If you're replacing your chain, don’t freak out when your old chain is longer -- it is stretched out.

Remember when I said it was tired? That is what I am talking about. Oh yeah, and this...

In the photo above, I am holding both chains in the same spot. Can you see how far the old one is drooping? Yeah... it's not supposed to do that. When I compared the sprockets, I just laid them on top of each other to make sure the holes lined up and the teeth were the same.

The newer front sprocket is one tooth larger than the one I replaced. That was a surprise but since the newer larger sprocket will change the gear ratio so that every gear has a little more speed. I don't think the wife will mind.

Once we get a chance to get out and ride again, it'll be interesting to see how Beth handles the new speed. We'll be sure to keep you updated, hopefully in the next few weeks. Once I made sure I had the right parts, it was just a matter of putting everything back together. I've said before and I'll say again, make sure you put everything back together the same way it came apart and with the same washers or lock tabs. If you have lock tabs like we do, be careful not to break them, although there is usually another tab just in case you run into that issue. I zipped the rear nuts down with my electric impact and then double checked them by hand to make sure they were tight. These were fairly small bolts so I wanted to make sure not to go too tight. I have been doing this for years and I've gotten to the point where I can tell what is too much just by feeling the bolts but if you're at all unsure, please look up the torque specifications. Once the bolts are torqued, I just re-bent the tabs. If you do break a tab and need to use the second tab or end up replacing them all together, just make sure they are bent over so the nut cannot come loose. Before I installed the chain, I needed to loosen the adjustment bolts. I knew that the new chain will not fit with them tight so before I even started I loosened them most of the way. It's easier to take the time and get them really loose before you start so that you don't have to keep messing with it while you're trying to fit the chain. On the Warrior, the chain is adjusted by two little bolts with jam nuts that stick out the rear. There are also two long bolts that go across to hold in the bearings.

Once the adjustment bolts were loose, I pushed on both axles and the carrier slid forward. It was pretty simple on the Warrior but since every ATV has a different setup, it's best if you check your user manual. If you don't have access to it, you may try looking online for information for your specific model. We also really like the manuals by
Clymer. When I install a chain, I normally make sure that the bike is in neutral first. That way I can feed the chain over the top of the front sprocket and pull it around the bottom and over the guides to the rear sprocket.

Then I rotate so that the two ends of the chain are on the top of the rear sprocket

Once the chain is in place, I slid the first two o-rings onto the master link.

Then I slid on the master link, making sure that the clip side would be facing out.

...two more o-rings...

Then I finished up with the flat plate. To put on the flat plate you may need to take a pair of pliers and push the flat plate toward the chain so you can get the grooves to show for the clip. Then just place the clip on the front pin and point the split to the rear of the ATV. The pin can be a little tricky. You may want to use a pair of pliers to catch the closed side of the clip and the opposite pin.

Gently squeeze the pliers until the clip pops onto the pin.

Once the chain was installed, all that was left to do was adjust.To properly adjust the chain, the bike needs to be on the ground. I'll spare you the details of putting the wheel back on and removing the lift, but I did sit on the bike and bounce it back to normal height. For adjustments, I like the three finger rule: Find about the center of your swing arm and you should be able to stick three fingers in between it and the chain.

I think I've said this twice already, but it's important enough that it bears repeating: every ATV is different. Meaning you will need to look up the exact specification for slack in the chain for your specific model. To make this adjustment on the Warrior, you screw the adjustment bolts in the rear as evenly as possible. Once the chain is adjusted you will want to grab the rear bumper and compress and lift the suspension a few times then let it go. Then check it again. This just makes sure that you are at the resting ride height when making the adjustment. When you are satisfied with this, tighten the jam nut by holding the bolt and tightening the nut. Then on the Warrior I also tighten the big cross bolts.

Once you have the chain on and adjusted, you will still need to go ride the ATV and listen to the chain. If you hear the chain slapping, tighten it up a little at a time. It's important not to go too tight. Otherwise, when you compress the suspension the chain will stretch and may even break your engine case. On the flip side, if the chain is too loose it can come off when you uncompress the suspension. If the chain comes off, it could wrap around the front sprocket and break the engine case. Because the chain adjustment is so subtle, it is important that you take your time. Even when you think you've gotten the adjustment just right, after your first day of riding be sure to check the chain again. Yes, technically you should check it everyday, but it is especially important to check it after the first day. You really want to make sure your adjusters are staying tight and not backing out and that the slight stretch you get from the chain being brand new is not causing the chain to become too loose. This was definitely one of our wordier posts, but when it comes to maintenance it really pays to take your time and cover all of your bases. And because we can't resist, here's one last look at our old wore out chain and sprockets...

Now it's time to go play. We're branching out this summer and trying to visit some new ATV parks. We can't wait to update you on how Beth is handling the larger sprocket (which makes her bike a little faster).
Tell us about your experiences with replacing a chain and/or sprockets. Did you find any helpful tips along the way? Were you shocked at just how bad your old parts were? Let us know about your experience! PS... If you've got the time, snap some photos of your old gear and email them to us here. We'd love to see!


 ...two more o-rings...