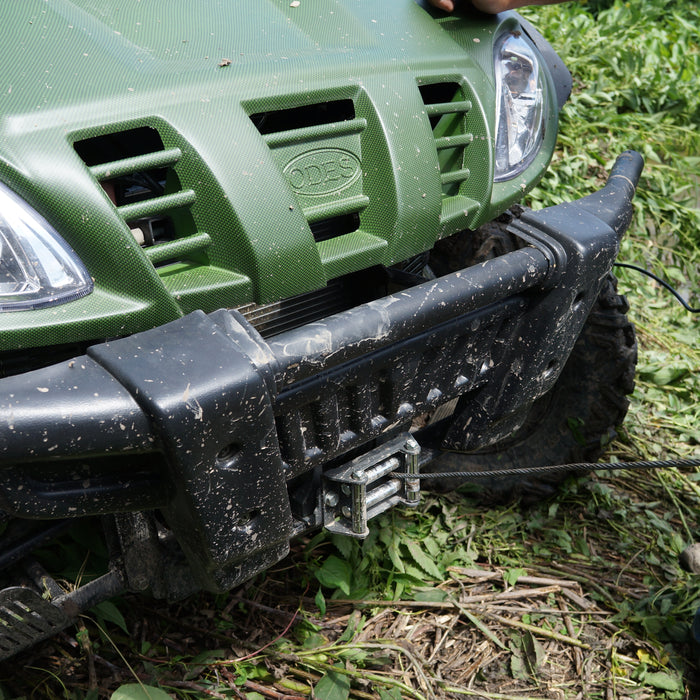
When we got out of bed last weekend, we thought we would be writing about a noise issue we are having with our Grizzly but as we were tearing things down trying to find the issue, we found that we were breaking more things than we were fixing. Ah, the joys of ATV ownership and DIY maintenance. I started off thinking that I needed to adjust the valves but it turned out that they were all within tolerance. Thinking that the noise had to be farther in, I wanted to check the free play in the rocker shafts. Unfortunately, that meant removing the valve cover and that involved removing the 16 bolts that hold it down. Normally, this isn’t really that bad but just like when I rebuilt the carburetor last week (read about that here), every one of them had to fight me. In fact, between rebuilding the carburetor last week and removing the valve cover this week, we spent so much time fighting stripped bolts that it inspired us to write a whole post on the topic.

All of the bolts were hex bolts with the same size head, but some of them were more difficult to remove than others. While a few of them came off with some good ole' elbow grease, the majority of them took more creative steps. With each bolt, I started with the first step below. If that didn't work, I moved on to the next step. Note: Last week I used pliers on some of the more difficult screw heads... I would have used pliers again this time, but the valve cover didn't leave me any room. If it is at all practical for you, I would suggest that you try pliers well before you break out your hammer and chisel.


After trying the step above, I still had six bolts that did not want to come out. The next thing I could have tried was a half size larger hex wrench, but I didn't have one on hand, it was Sunday, and all the stores were closed. This is a personal call on whether you would want to try this step or move onto the next method. For me, it was worth it to just move on. If you wanted to try a half size up wrench, you would want to drive it in with a hammer then repeat the step above.

Twist sockets are awesome. The set I have is a Blue-Point but there are many manufacturers that carry something similar. They have a left-hand sharp tapering spiral inside them that digs into the bolt head. The left-hand spiral allows the socket to dig further into the bolt head as you are turning the bolt counter-clockwise (lefty loosey). To use a twist socket, just drive it onto the bolt head...


That sounded so easy, right? Well, remember when I said that the Grizzly was being a bear and fighting me every step? And remember how I said that I didn't have enough room to try pliers? Some of the bolts were in such a small space that I didn't even have enough room to drive on a twist socket. I was down to my last resort...


Sigh...

We'll talk about this next week.
Do you have any tools that work well in tight spots? How about any other tips for removing stubborn bolts? Have you ever felt like an ATV was completely against you? Please tell me I'm not the only one...
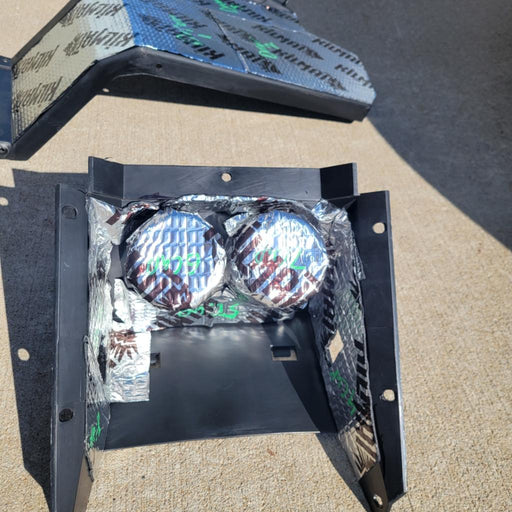
Our very own Air Filter Relocation kit for ODES UTVS. Designed and manufactured by Scooter's Powersports. Unlike some ODES Air Filter Relocation K...
View full details
Designed to move the voltage regulator from under the hood to under the seat. Requested by you and built by Scooter's Powersports. Allows for elimi...
View full details
If the noise inside the cab of your ODES UTV has ever bothered you, this. is your solution. Now you can get one of our best selling shop services a...
View full details

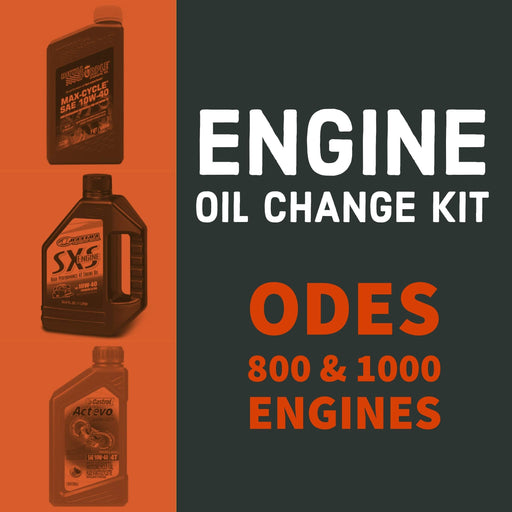
ODES Industries recommends an engine oil change at 25-hours of run time or 1000 miles. (We won’t tell if you turn that down to once every 50-hours ...
View full details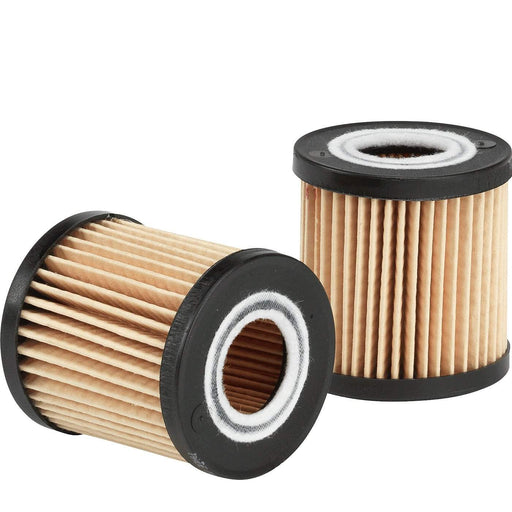
High-performance aftermarket ODES oil filter. Compatible with 800cc and 1000cc ODES engines. Be sure to select your make and model before adding to...
View full details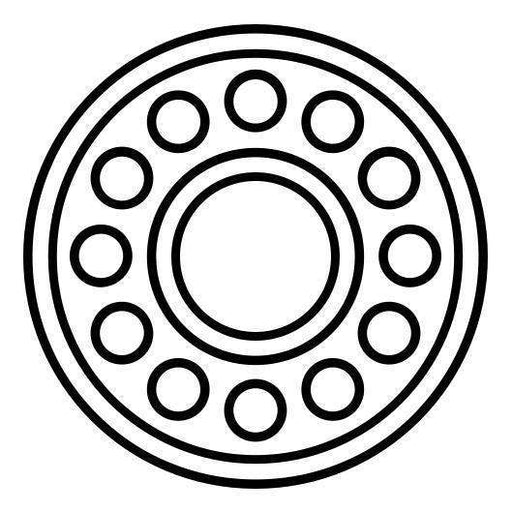
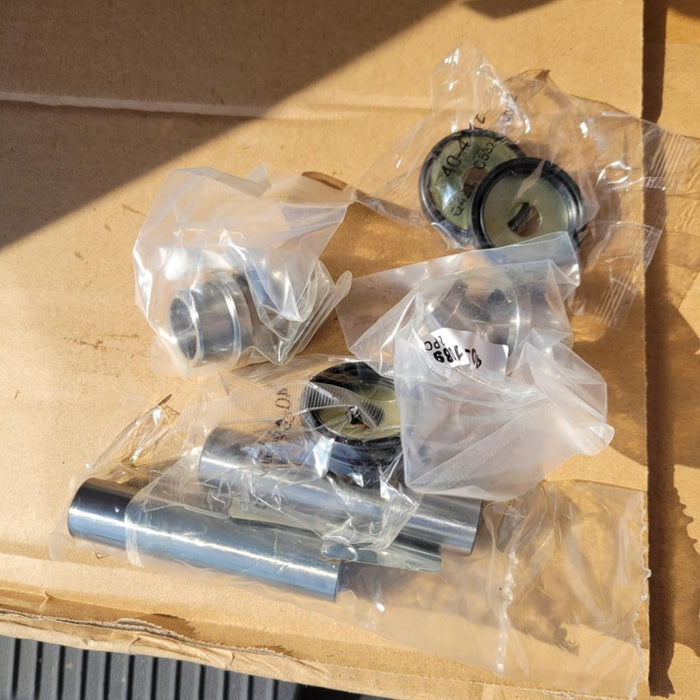
Pivot Works wheel bearing kit for 2012+ 800cc and 1000cc UTVs from ODES Industries. Fitment includes the Short Travel (Standard) suspension and the...
View full details
Our very own Air Filter Relocation kit for ODES UTVS. Designed and manufactured by Scooter's Powersports. Unlike some ODES Air Filter Relocation K...
View full detailsOEM air filter for ODES 800cc engines. Vehicle Fitment This part is compatible with the following vehicles 2012+ ODES Dominator 800 2015+ ODES Dom...
View full details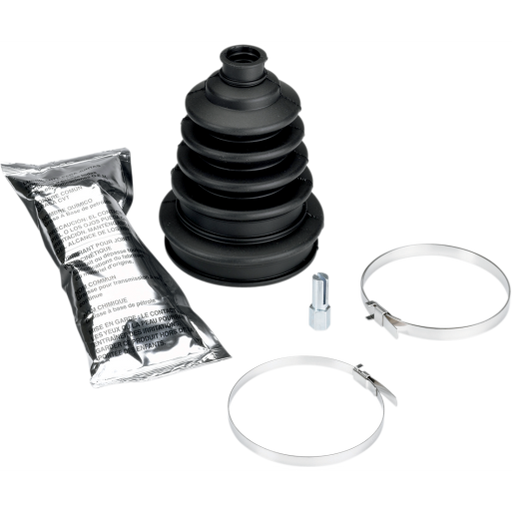
Extremely heavy duty CV boot that fits virtually all ATVs and UTVs. Additional rib to allow boot to expand for larger joints Improved clamp retain...
View full details
ODES ball joint kit for 800cc and 1000cc ODES UTVs. ODES Ball Joint Kit Includes (1) Ball joint (1) Circlip (1) Cotter pin (1) Nut Each kit provi...
View full details