It's Going to Happen
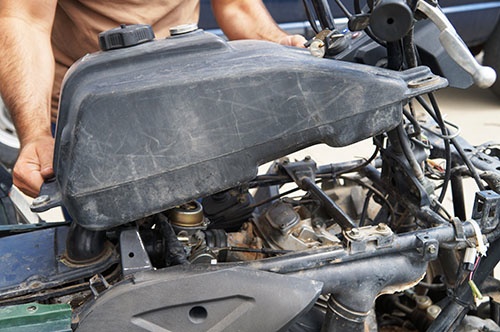
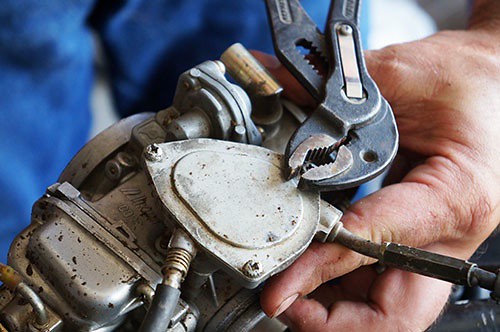
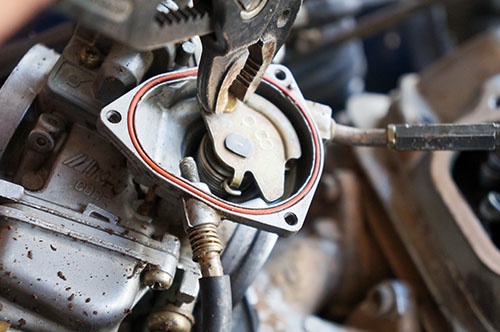
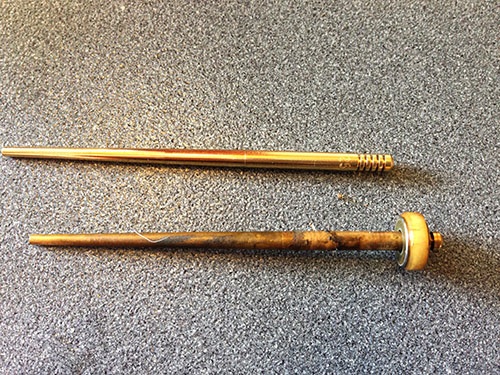
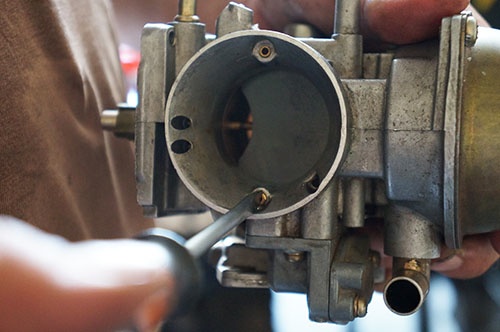
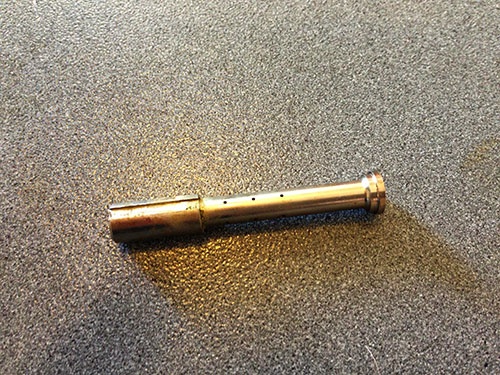
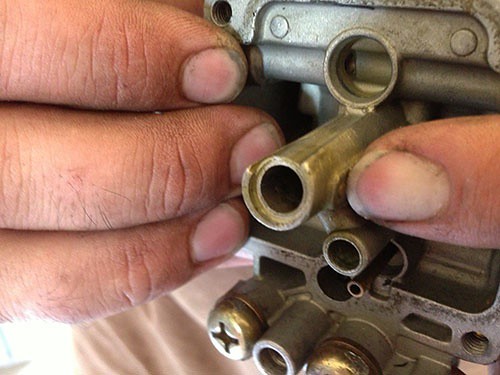
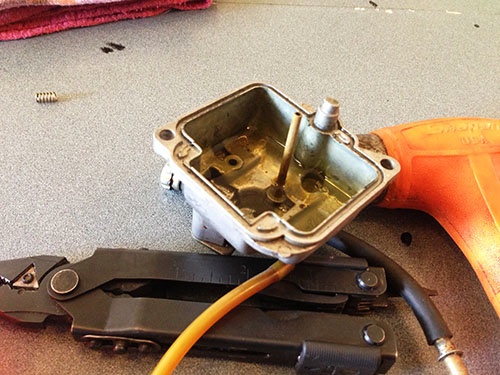
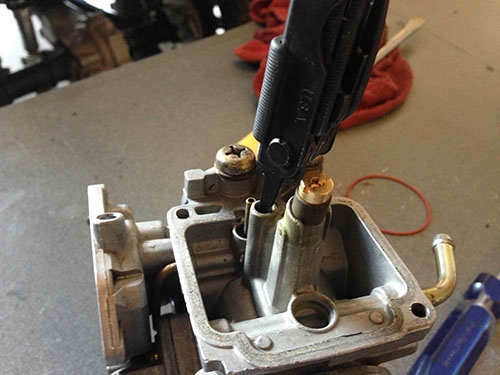
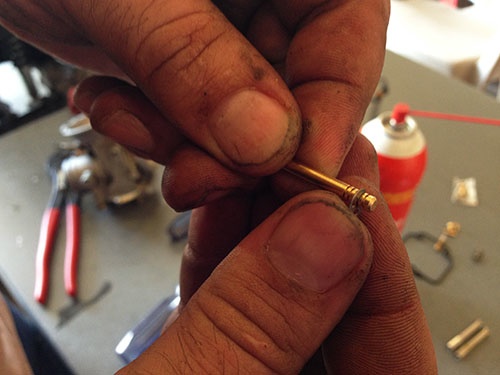
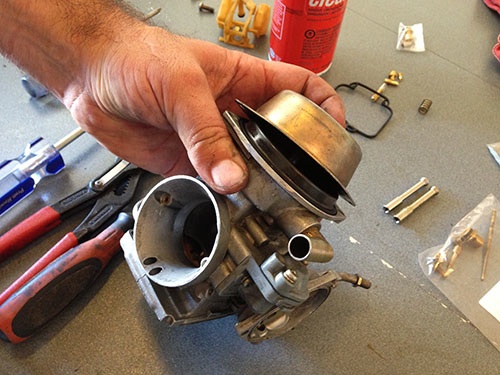
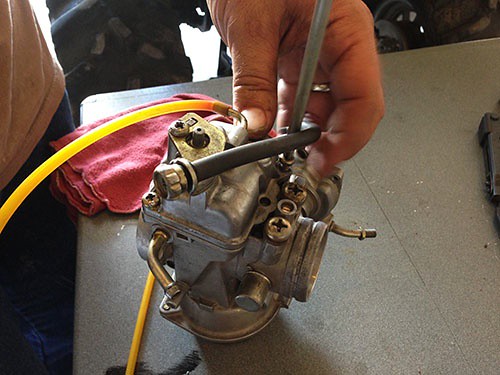
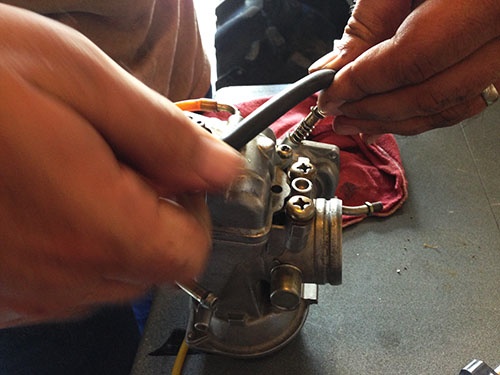
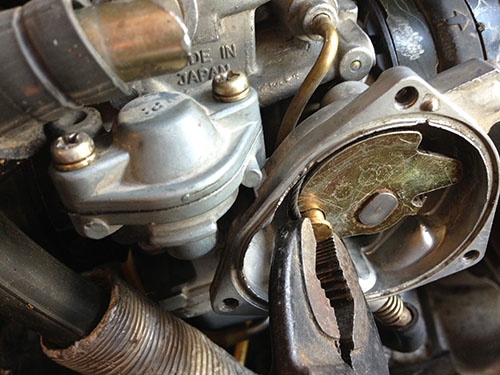
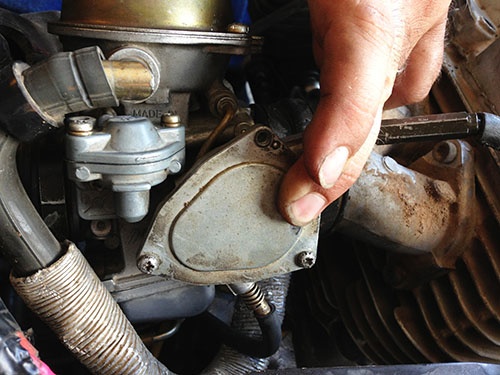
In one of our very first posts, we talked about getting ready for the first ride after your ATV has sat for a while. One of the things we talked about in that first post was the carburetor. We mentioned that if you do not either put an additive in the fuel or drain it completely, you risk facing issues down the line such as a varnished carburetor or plugged jets. Understandably, we take great care to ensure these aren’t issues in our bikes, but unfortunately that means that we weren’t able to provide you with any proof that it does actually happen.
But fear not! For every well cared for ATV, there is always at least one (although admittedly, this number tends to fluctuate) that has been neglected by an owner who didn’t even try. And lucky for you (not so lucky for us), one of our recently acquired bikes is in need of some love.
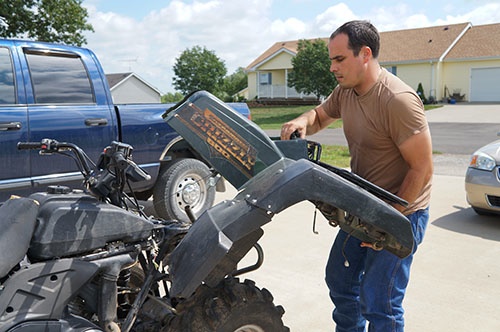
You’ve seen him on our post about multimeters and he was our guinea pig for troubleshooting a starter solenoid, but we’ve never formerly introduced you to our 2000 Yamaha Grizzly 600.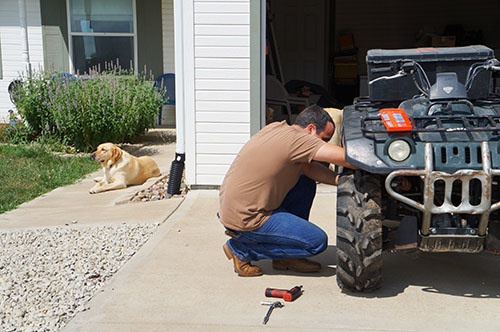


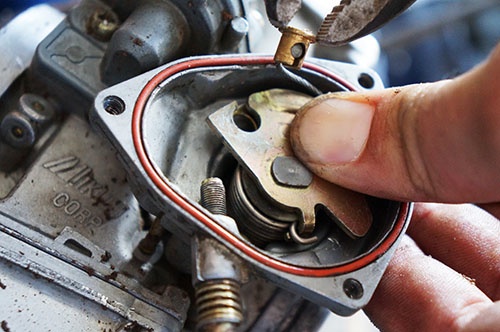

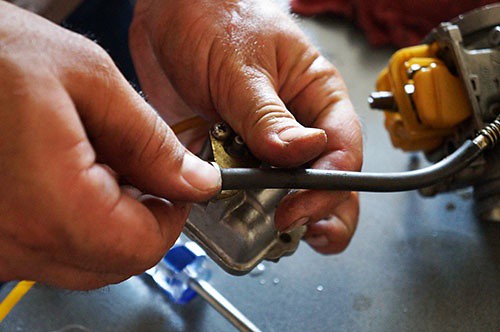
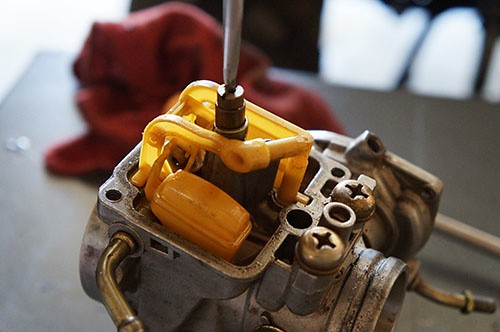
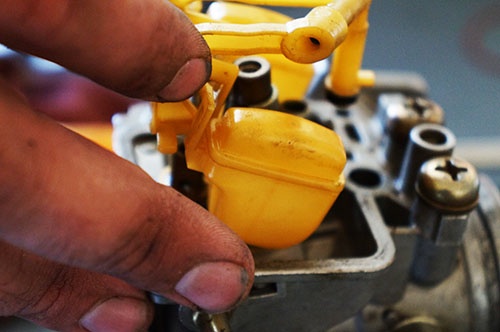
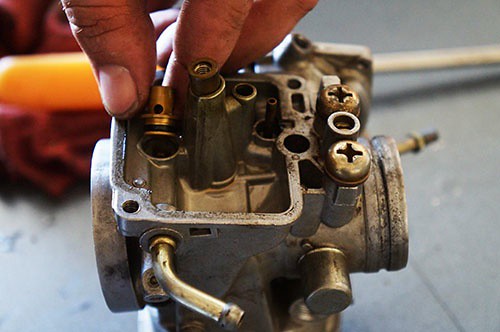
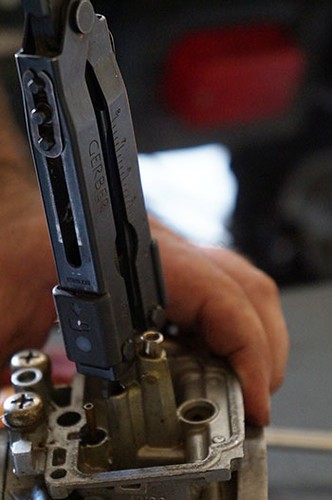
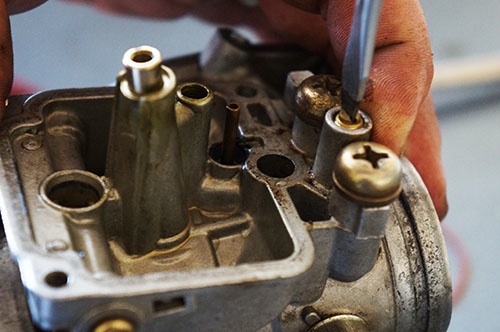
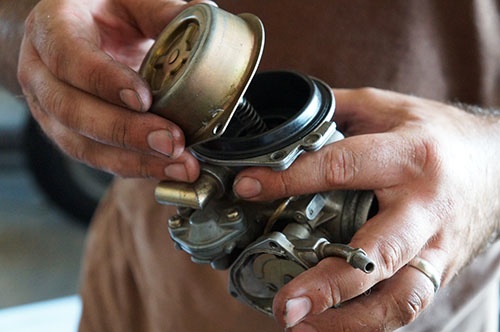



-
Original price $ 159.99 - Original price $ 204.99Original price$ 159.99 - $ 204.99$ 159.99 - $ 204.99Current price $ 159.99
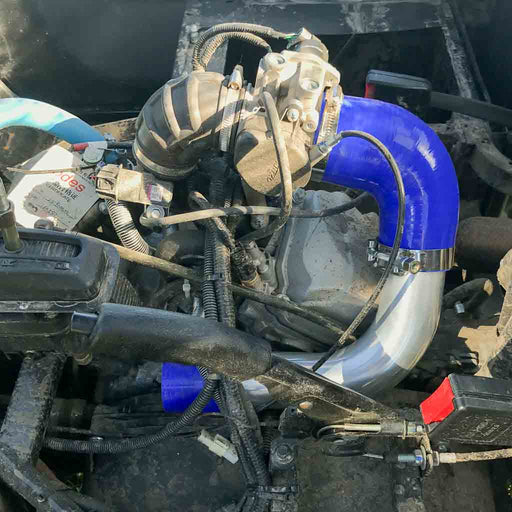
Air Filter Relocation Kit for ODES UTVS
Scooter's PowersportsOut of stockOur very own Air Filter Relocation kit for ODES UTVS. Designed and manufactured by Scooter's Powersports. Unlike some ODES Air Filter Relocation K...
View full detailsOriginal price $ 159.99 - Original price $ 204.99Original price$ 159.99 - $ 204.99$ 159.99 - $ 204.99Current price $ 159.99Sold out -
Original price $ 129.99 - Original price $ 159.99Original price$ 129.99 - $ 159.99$ 129.99 - $ 159.99Current price $ 129.99
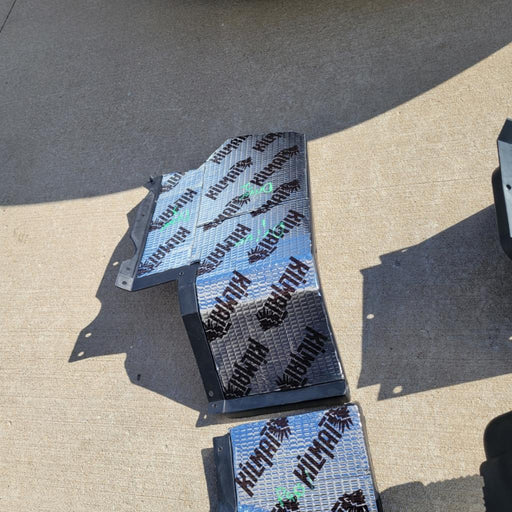
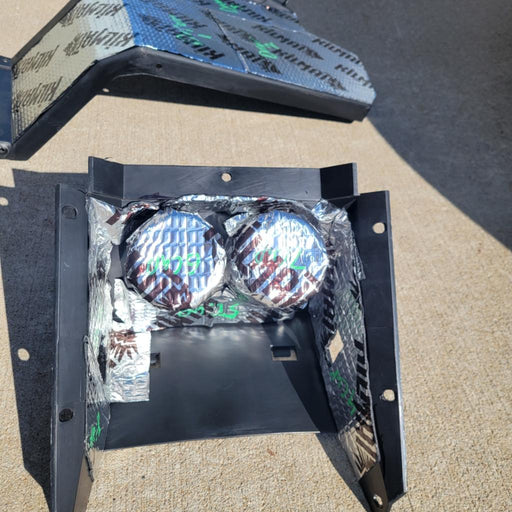
Pre-Cut Sound Proof Matting for ODES UTVS
Scooter's PowersportsIf the noise inside the cab of your ODES UTV has ever bothered you, this. is your solution. Now you can get one of our best selling shop services a...
View full detailsOriginal price $ 129.99 - Original price $ 159.99Original price$ 129.99 - $ 159.99$ 129.99 - $ 159.99Current price $ 129.99 -
Original price $ 40.00 - Original price $ 40.00Original price$ 40.00$ 40.00 - $ 40.00Current price $ 40.00
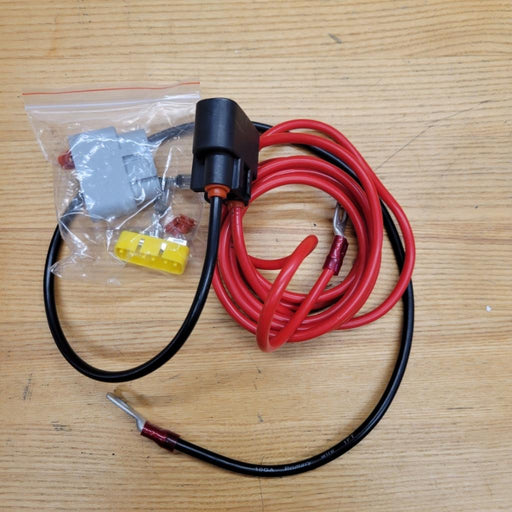
Voltage Regulator Relocation Kit for ODES UTVS
Scooter's PowersportsDesigned to move the voltage regulator from under the hood to under the seat. Requested by you and built by Scooter's Powersports. Allows for elimi...
View full detailsOriginal price $ 40.00 - Original price $ 40.00Original price$ 40.00$ 40.00 - $ 40.00Current price $ 40.00 -
 View all ODES UTV Performance mods
-
 ODES UTVS best sellers
 -
Original price $ 38.49 - Original price $ 55.99Original price$ 38.49 - $ 55.99$ 38.49 - $ 55.99Current price $ 38.49
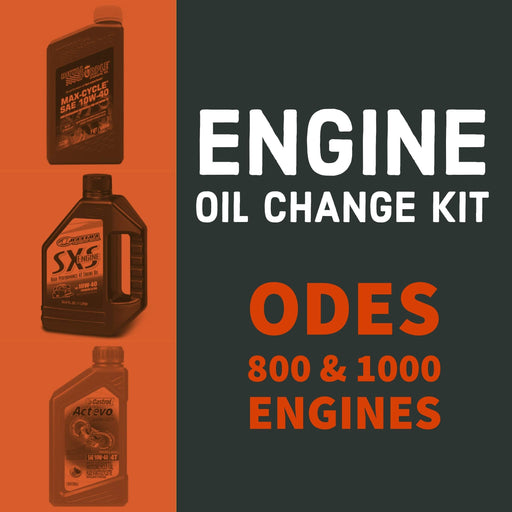
ODES Oil Change Kit for 800 and 1000 Engines
Scooter's PowersportsODES Industries recommends an engine oil change at 25-hours of run time or 1000 miles. (We won’t tell if you turn that down to once every 50-hours ...
View full detailsOriginal price $ 38.49 - Original price $ 55.99Original price$ 38.49 - $ 55.99$ 38.49 - $ 55.99Current price $ 38.49 -
Original price $ 7.99 - Original price $ 7.99Original price$ 7.99$ 7.99 - $ 7.99Current price $ 7.99
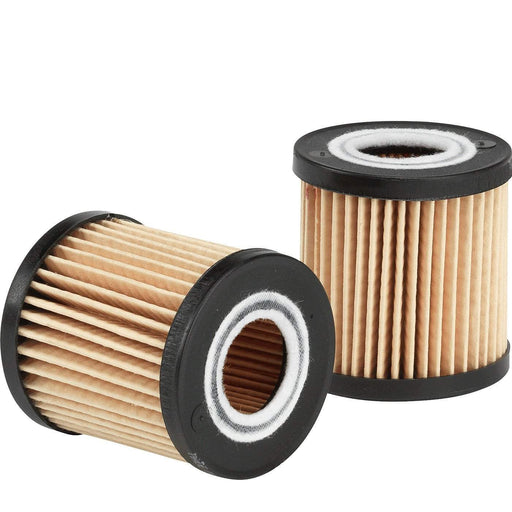
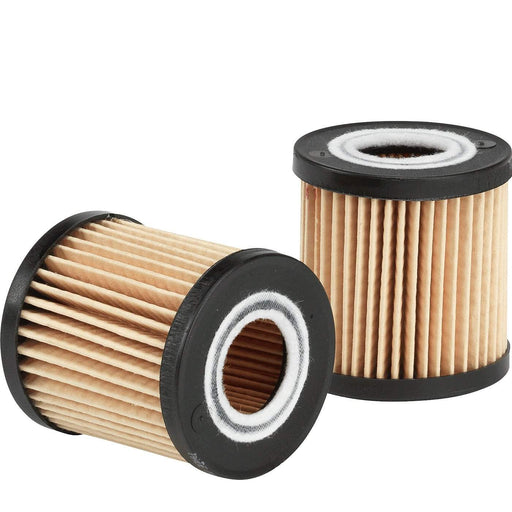
ODES Oil Filter - High-Performance
Not specifiedHigh-performance aftermarket ODES oil filter. Compatible with 800cc and 1000cc ODES engines. Be sure to select your make and model before adding to...
View full detailsOriginal price $ 7.99 - Original price $ 7.99Original price$ 7.99$ 7.99 - $ 7.99Current price $ 7.99 -
Original price $ 49.99 - Original price $ 62.00Original price$ 49.99 - $ 62.00$ 49.99 - $ 62.00Current price $ 49.99
Pivot Works Wheel Bearing Kit for ODES - Lifetime Replacement!
Pivot WorksPivot Works wheel bearing kit for 2012+ 800cc and 1000cc UTVs from ODES Industries. Fitment includes the Short Travel (Standard) suspension and the...
View full detailsOriginal price $ 49.99 - Original price $ 62.00Original price$ 49.99 - $ 62.00$ 49.99 - $ 62.00Current price $ 49.99 -
Original price $ 159.99 - Original price $ 204.99Original price$ 159.99 - $ 204.99$ 159.99 - $ 204.99Current price $ 159.99
Air Filter Relocation Kit for ODES UTVS
Scooter's PowersportsOut of stockOur very own Air Filter Relocation kit for ODES UTVS. Designed and manufactured by Scooter's Powersports. Unlike some ODES Air Filter Relocation K...
View full detailsOriginal price $ 159.99 - Original price $ 204.99Original price$ 159.99 - $ 204.99$ 159.99 - $ 204.99Current price $ 159.99Sold out -
Original price $ 40.99Original price $ 40.99 - Original price $ 40.99Original price $ 40.99Current price $ 36.95$ 36.95 - $ 36.95Current price $ 36.95
ODES 800cc Air Filter | 21040401001
ODES IndustriesOut of stockOEM air filter for ODES 800cc engines. Vehicle Fitment This part is compatible with the following vehicles 2012+ ODES Dominator 800 2015+ ODES Dom...
View full detailsOriginal price $ 40.99Original price $ 40.99 - Original price $ 40.99Original price $ 40.99Current price $ 36.95$ 36.95 - $ 36.95Current price $ 36.95Sold out -
Original price $ 18.99 - Original price $ 18.99Original price$ 18.99$ 18.99 - $ 18.99Current price $ 18.99
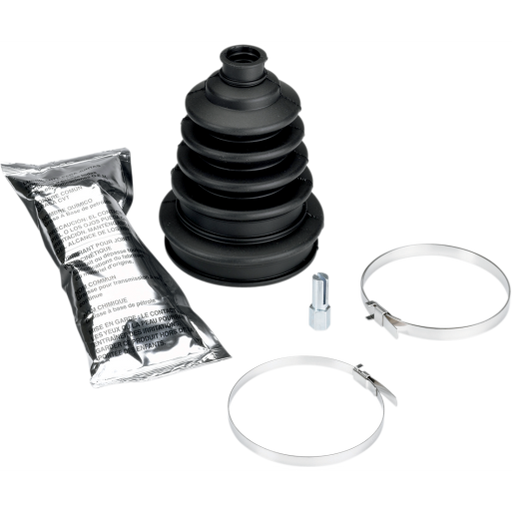
Fast Boot Kit
MooseOut of stockExtremely heavy duty CV boot that fits virtually all ATVs and UTVs. Additional rib to allow boot to expand for larger joints Improved clamp retain...
View full detailsOriginal price $ 18.99 - Original price $ 18.99Original price$ 18.99$ 18.99 - $ 18.99Current price $ 18.99Sold out -
Original price $ 29.99 - Original price $ 29.99Original price$ 29.99$ 29.99 - $ 29.99Current price $ 29.99
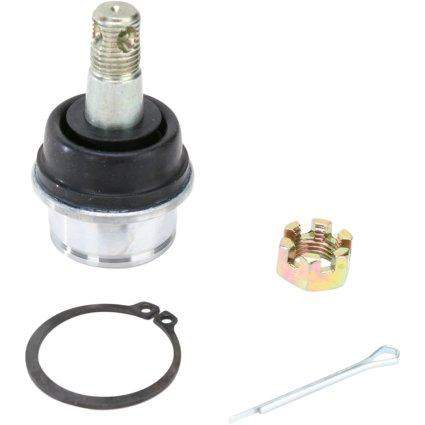
ODES Ball Joint Kit
Scooter's PowersportsODES ball joint kit for 800cc and 1000cc ODES UTVs. ODES Ball Joint Kit Includes (1) Ball joint (1) Circlip (1) Cotter pin (1) Nut Each kit provi...
View full detailsOriginal price $ 29.99 - Original price $ 29.99Original price$ 29.99$ 29.99 - $ 29.99Current price $ 29.99

