 With the weather getting warmer, we're getting more and more calls about services and repairs. We've seen some pretty cool stuff the last few weeks and we're excited about getting some more projects up on the website. While we take our time churning out the really meaty stuff, we thought now would be a good time to post about a really simple and useful project. If you've ever done any major tear down work, you know losing or damaging a small part can be a huge setback. Getting the wrong helicoil last year set us back a few days of work on the KFX before we realized we could weld a new thread. This last week we ran into another small problem when we encountered some damaged gaskets. We could have ordered new ones, but it was cheaper and significantly quicker to make our own. Making a your own gaskets is not a new process. There's actually a material made specificially for the task and you can pick up a roll at almost any hardware store. While it's not necessarily cheap, it's one of those things that pays for itself over time. But if you adhere to the adage that time is money, it's a no brainer. The gasket material we used here is called Karaopak and it is manufactured by Fel-Pro.
 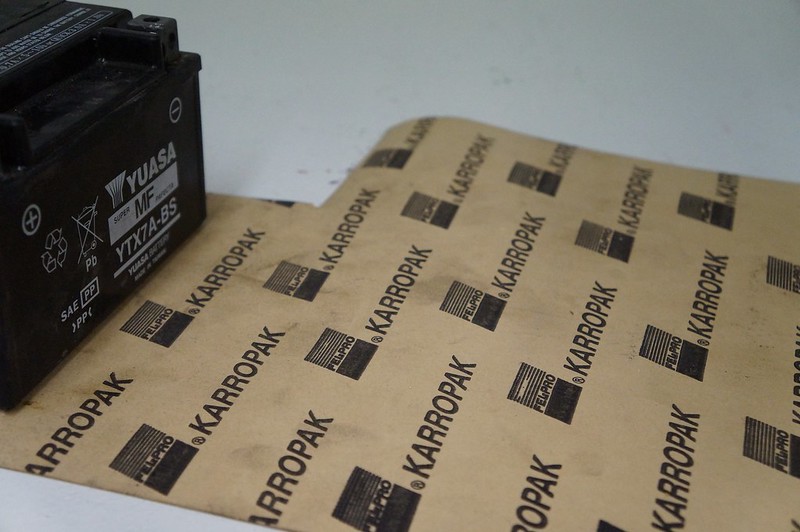 Since the gasket material comes in a roll, you may want to use weights to flatten it out before you get started. Some of the work is detailed and you really don't want to be fighting the roll while you're working. We made two gaskets. We started with the simple one and finished with one that was a little more complex. For the simple gasket, we just traced the cover onto the gasket material. We used a Sharpie to mark where the bolts would go through the gasket. Easy enough.
 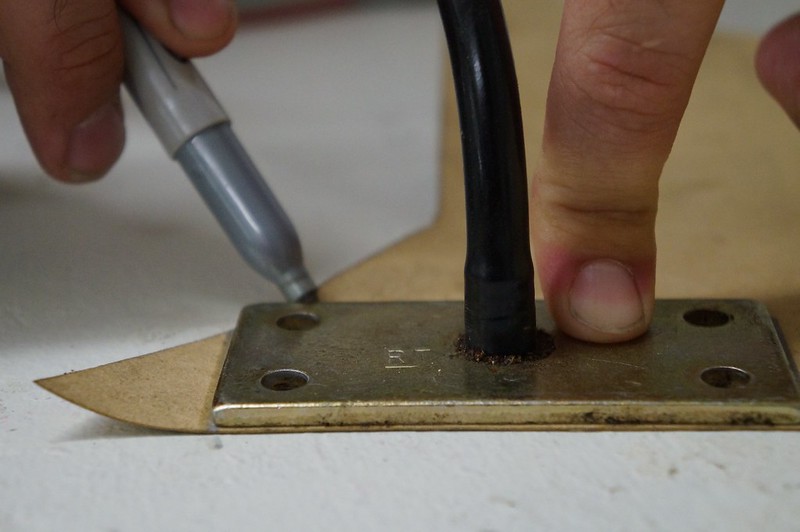 Then we cut the material out with a box knife.
 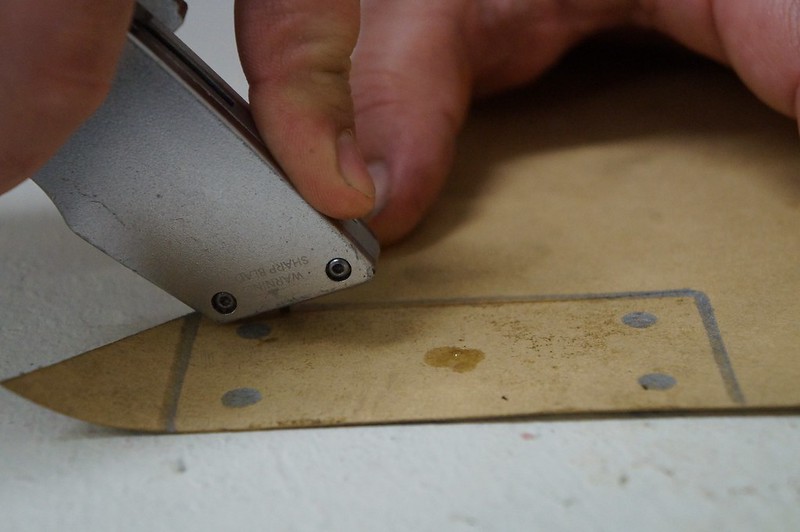 With the gasket removed from the rest of the material, we were able to start working on the details. To cut the holes for the bolts, you can use a gasket hole punch. We have one, but most people don't so we opted to stick with the box knife. To cut the holes in the gasket, we started by making an X inside our bolt marks. After we cut the X, we rounded the top of the X, cutting out the hole in four small sections.
 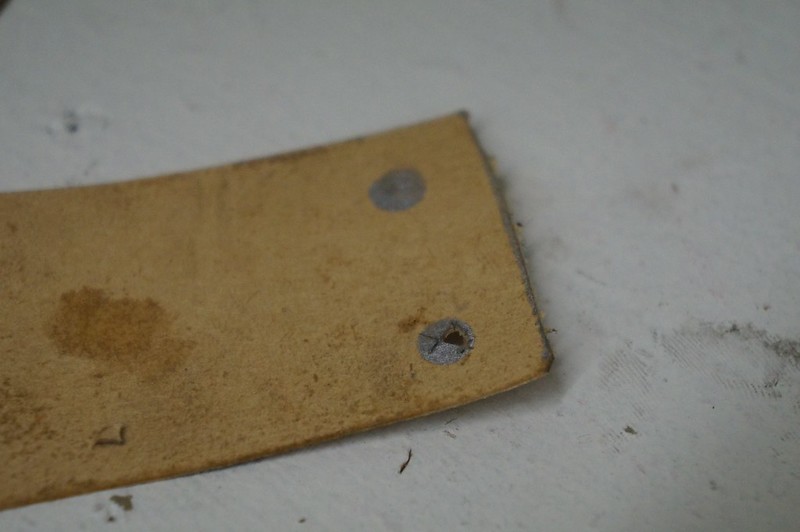 On paper (or the computer screen) this looks like a very easy project. And it is, but it's a delicate process and you want to make sure you go slow. It's easier if you make the hole too small at first. If you make it too big, you may need to go back and start with cutting a whole new gasket. Periodically, we tried to put the bolt through the hole. This actually worked out great becuase the bolt left a greasy residue that let us know we were getting close.
 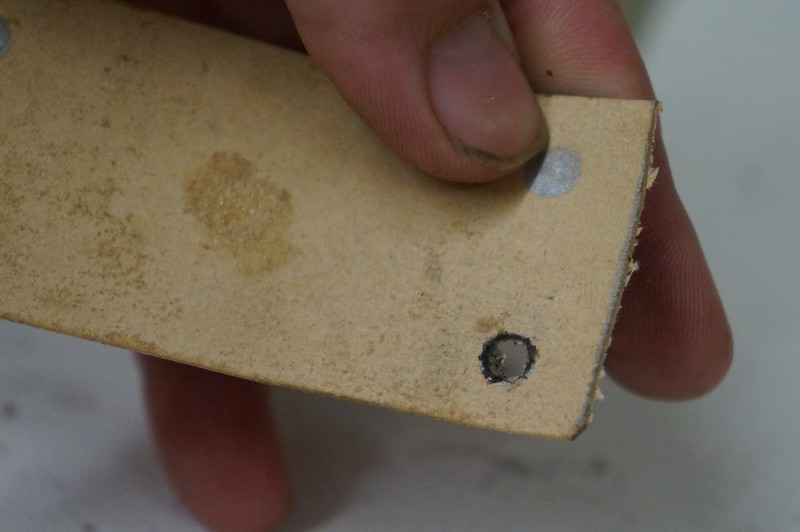 Eventually we got a perfect fit and were able to repeat the process four more times.
 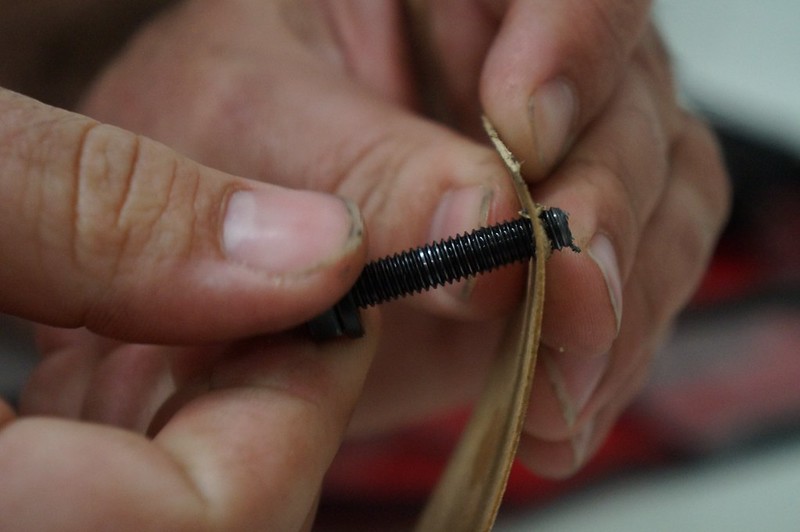 Once we had the bolt holes cut out of the gasket, we needed to cut the inside out. Fortunately, we still had the damaged gasket and were able to use it as a template. So just like we did with the outer edge, we laid the template on top, and traced out our cuts.
 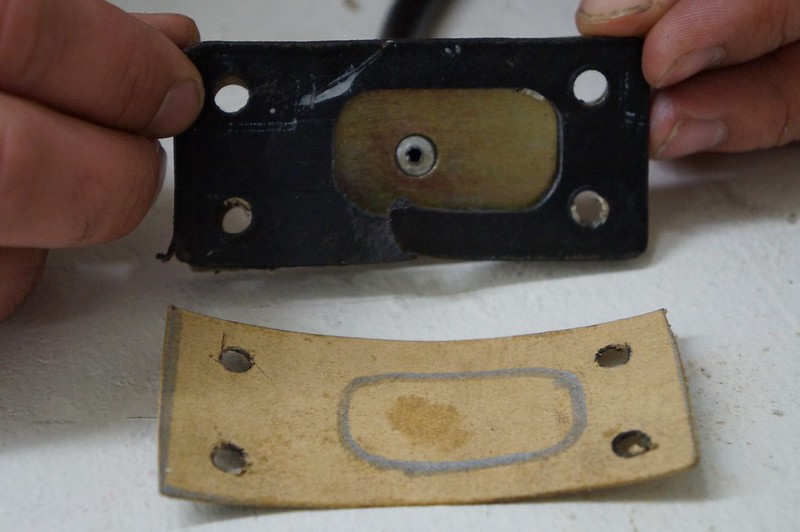 With the inside edge traced, all that was left to do was make out final cuts.
 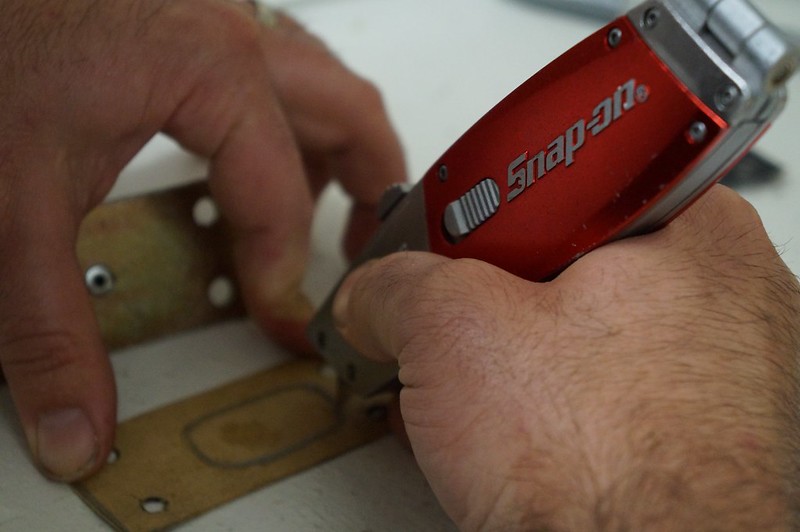 When we were done, we lined up the new gasket on the cover to check for fit. Everything looked great and we were able to move onto the second gasket.
 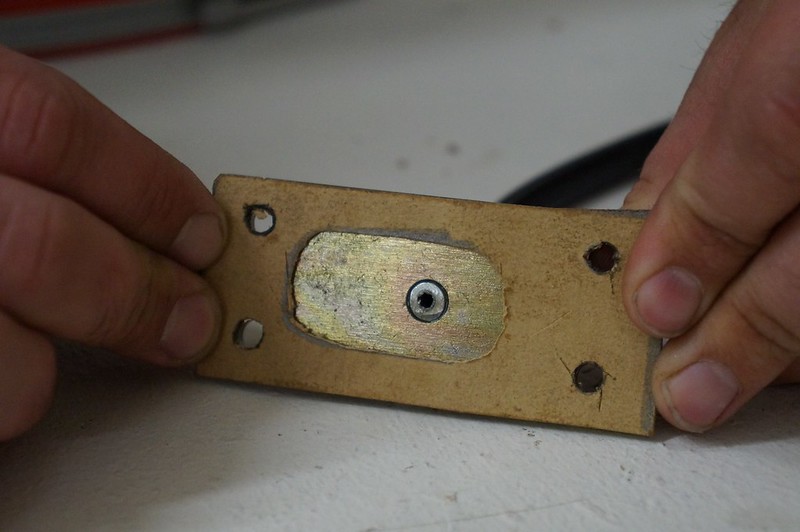 The second gasket was a little more detailed becuase we couldn't simply trace it and be done. (The photo below was before we replaced the gear. Try to ignore the chewed up teeth. That's another post.)
  We started by setting the entire piece on top of the gasket material. We traced a very rough outline, knowing that we would need to go back and take off excess later. Here you really want to make sure that your outline is larger than the actual piece.
 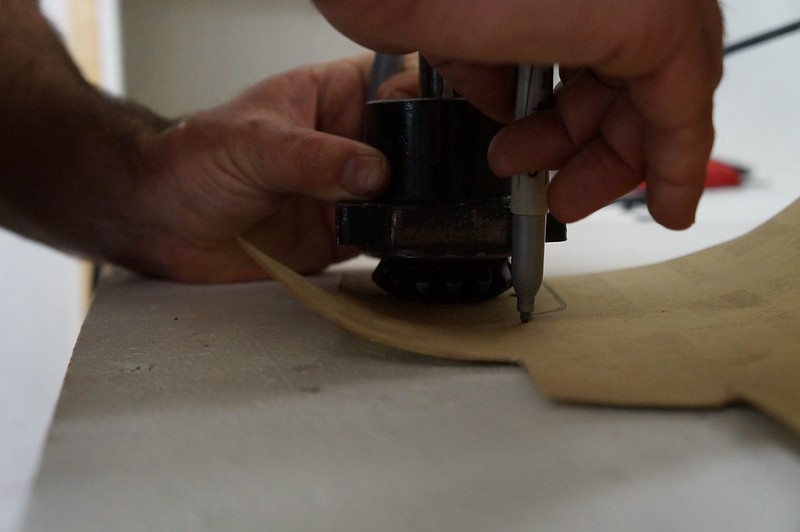 After we cut out the main part of the gasket, we did another rough outline around the gear.
 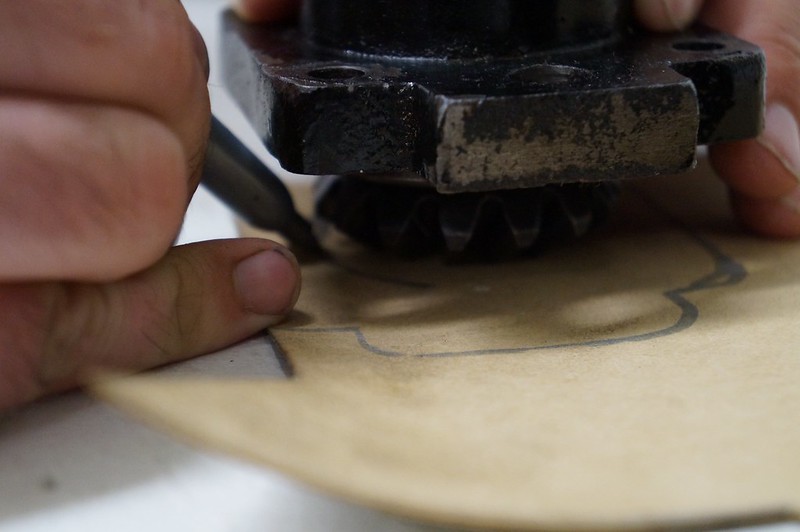 The first time we cut out the hole, we couldn't quite get the gasket over the gear. So it was back to the table to trim off the excess. Once we got it over the gear, we had to adjust further to get the gasket to sit over the lip of the cylinder.
 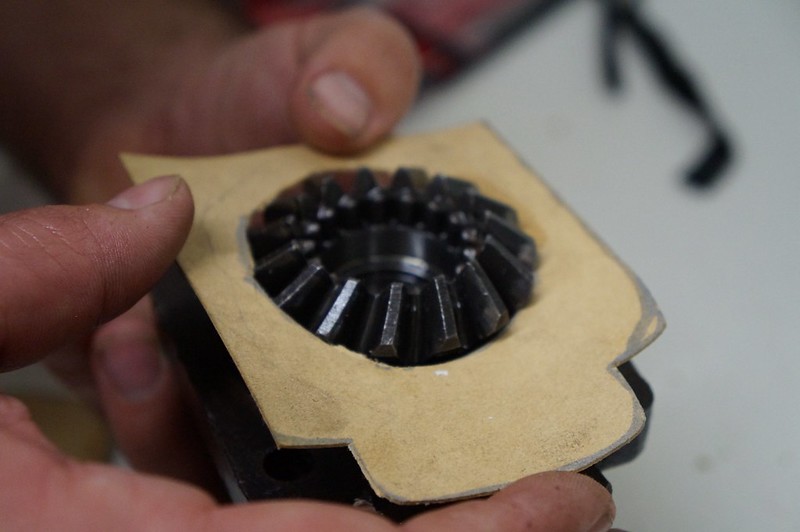 This process wasn't hard at all, it was just a little bit time consuming.
 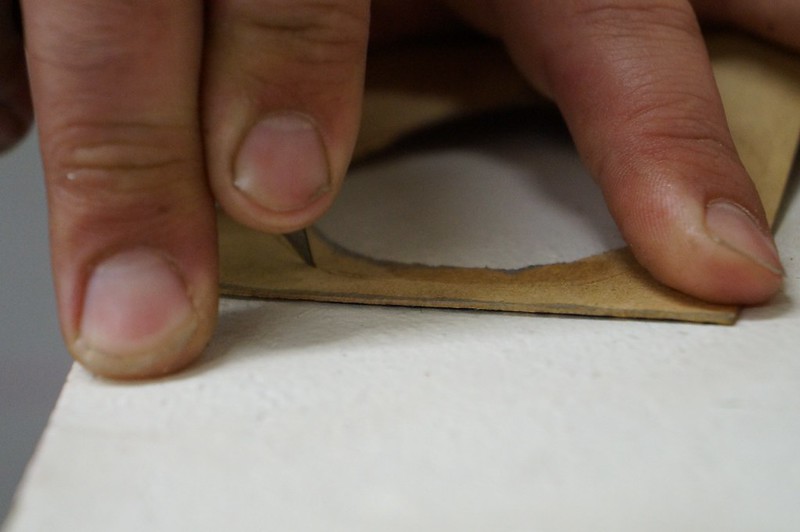 It took a couple of times going back and forth, but eventually we got a good fit.
  Once we got the gasket to sit properly, we began marking our bolt holes. Since the Sharpie wouldn't fit, we cheated and used the bolts to make our marks. By dipping them in some waste oil, we were able to use the bolts to leave a residue on the gasket material where our holes should go.
 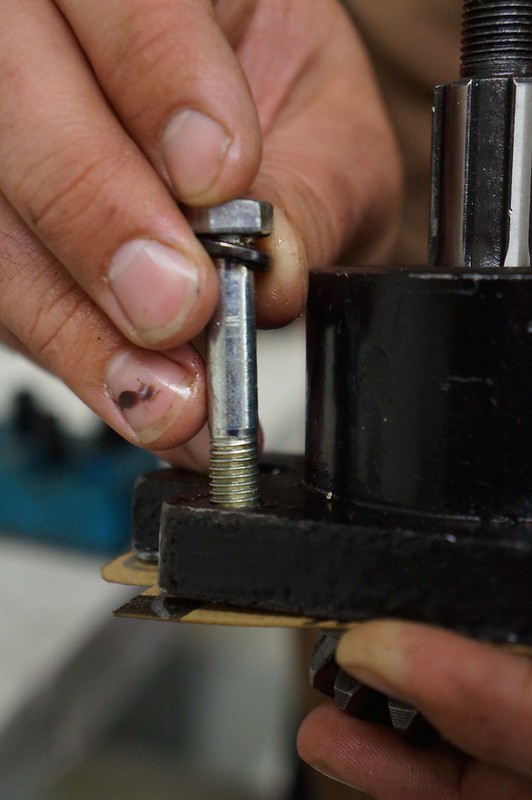 A quick note about this method, oil spreads through the gasket. So you'll want to keep in mind that you want to start your hole at the center. We started small using the same X shape method as above and using the actual bolts to adjust as necessary.
  When the bolt holes were cut and the inside edge sat properly, we put the pieces together and used the Sharpie to mark any excess. Then we just trimmed the outside of the gasket to get the best fit.
  While making your own gaskets may be a little bit time consuming, it's not a difficult task. In our case, on this project, 20 or 30 minutes saved us about a week. Since in that week we were able to get other projects in and out of the shop, it absolutely justified the cost of the material and the time spent making the gaskets.

Our very own Air Filter Relocation kit for ODES UTVS. Designed and manufactured by Scooter's Powersports. Unlike some ODES Air Filter Relocation K...
View full details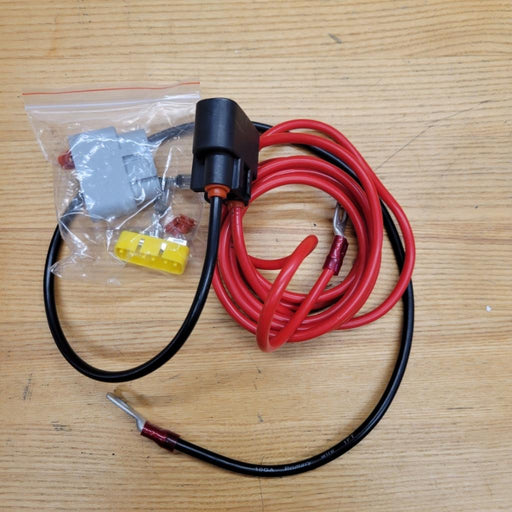
Designed to move the voltage regulator from under the hood to under the seat. Requested by you and built by Scooter's Powersports. Allows for elimi...
View full details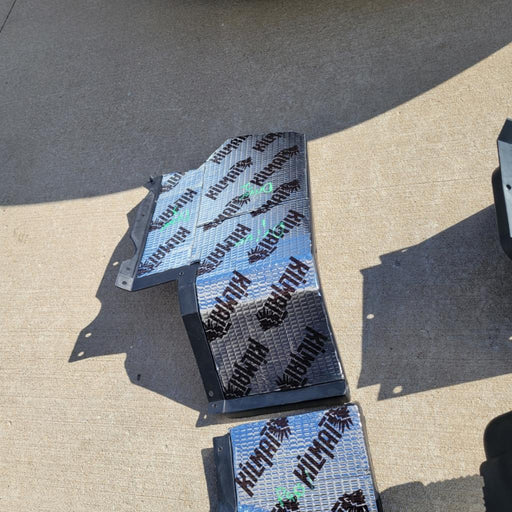
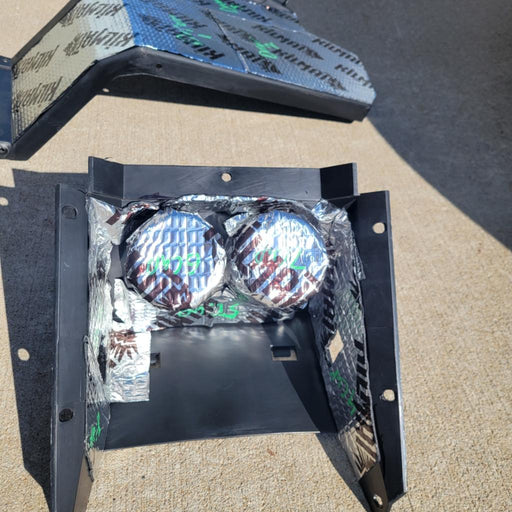
If the noise inside the cab of your ODES UTV has ever bothered you, this. is your solution. Now you can get one of our best selling shop services a...
View full details


ODES Industries recommends an engine oil change at 25-hours of run time or 1000 miles. (We won’t tell if you turn that down to once every 50-hours ...
View full details
High-performance aftermarket ODES oil filter. Compatible with 800cc and 1000cc ODES engines. Be sure to select your make and model before adding to...
View full details
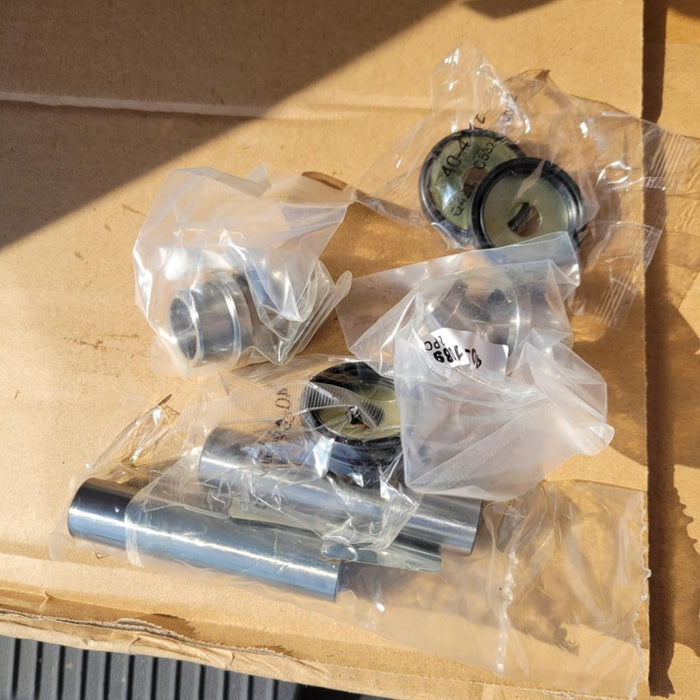
Pivot Works wheel bearing kit for 2012+ 800cc and 1000cc UTVs from ODES Industries. Fitment includes the Short Travel (Standard) suspension and the...
View full details
Our very own Air Filter Relocation kit for ODES UTVS. Designed and manufactured by Scooter's Powersports. Unlike some ODES Air Filter Relocation K...
View full detailsOEM air filter for ODES 800cc engines. Vehicle Fitment This part is compatible with the following vehicles 2012+ ODES Dominator 800 2015+ ODES Dom...
View full details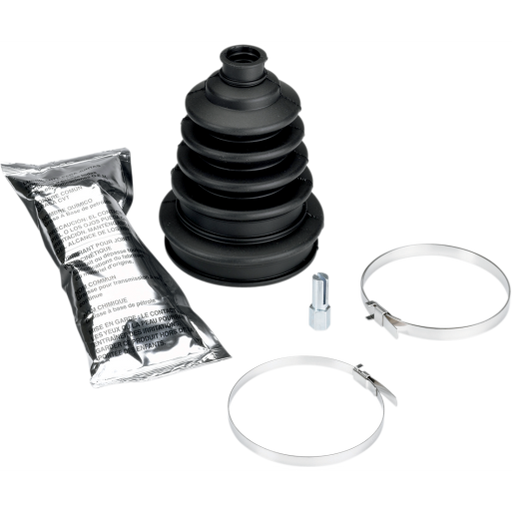
Extremely heavy duty CV boot that fits virtually all ATVs and UTVs. Additional rib to allow boot to expand for larger joints Improved clamp retain...
View full details
ODES ball joint kit for 800cc and 1000cc ODES UTVs. ODES Ball Joint Kit Includes (1) Ball joint (1) Circlip (1) Cotter pin (1) Nut Each kit provi...
View full details