
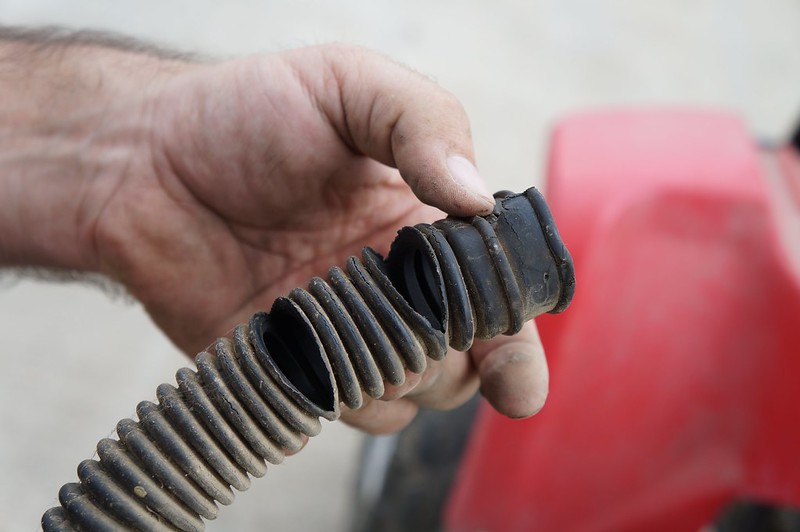
 It wasn’t looking good. The breather hose was in horrible condition. It had sat at another friend’s house for at least a year and we were surprised it had ever been running in this condition. Fortunately, it was a quick fix. Unfortunately, it was also Sunday. Not only was there no one in town open, but no one in our town carries parts for Chinese ATVs either. (Except us, now.) Since taking an ATV from a toddler is akin to taking candy from a baby, we set out to find a temporary solution. Because the breather hose is directly attached to the air filter, we would have to order an entire new assembly. Upon closer inspection we noticed a couple of things. The hose was the only piece that was damaged. The air filter and housing were in great shape. So, we decided to take a gamble. Since we were going to have to replace the whole thing anyway, we decided to cut off the damaged hose and see if we could come up with a good temporary replacement. We headed over to Lowe’s and started scouring the plumbing department. We knew that we wanted something that would not only fit, but would be both flexible and sturdy. We were hoping to be able to purchase just a foot of hose, but it turned out that the only piece that met all of our requirements came in eight foot sections.
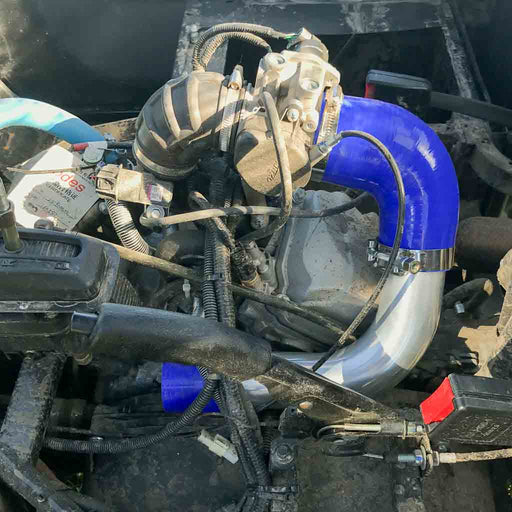
 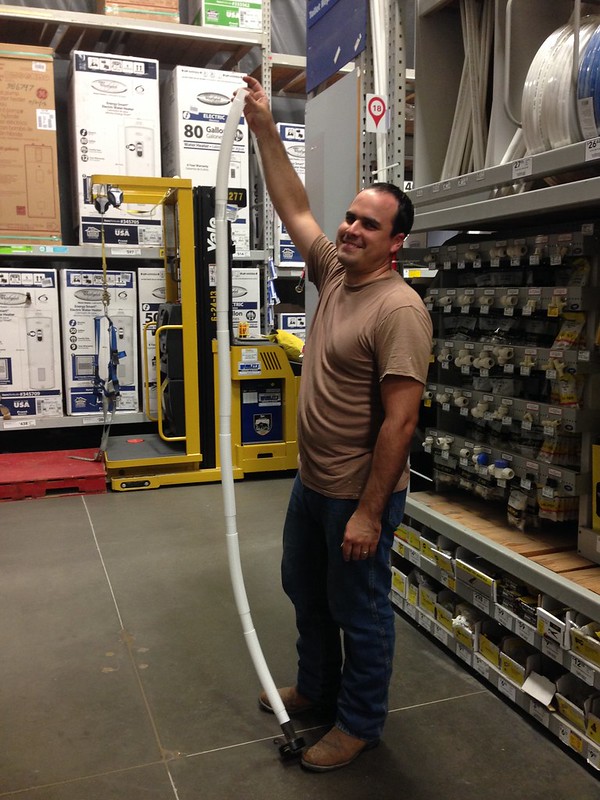 It was around $10 for eight foot of hose. Even though we needed less than a foot, we still figured that it was worth the risk. We picked up a few extra hose clamps and headed back to the house. When we got home, we cut off the length that we needed and slid the hose over the air filter hosing. After it was clamped on, we reinstalled the air filter and reattached the breather hose to the carburetor. So far, so good.
 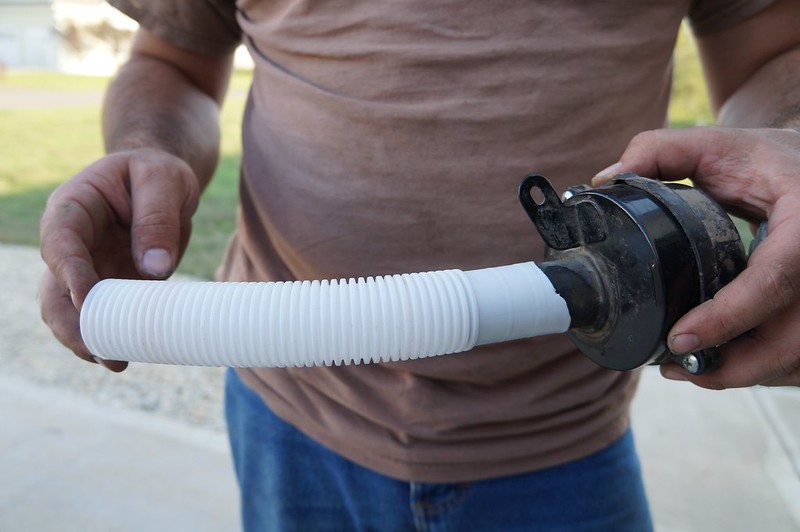 The biggest challenge in this entire project was removing all of the plastic. Once we had everything back together enough that we could start it up. It started right away and worked great. In fact, it worked so well that we don’t have any immediate plans to order a new air filter housing assembly.
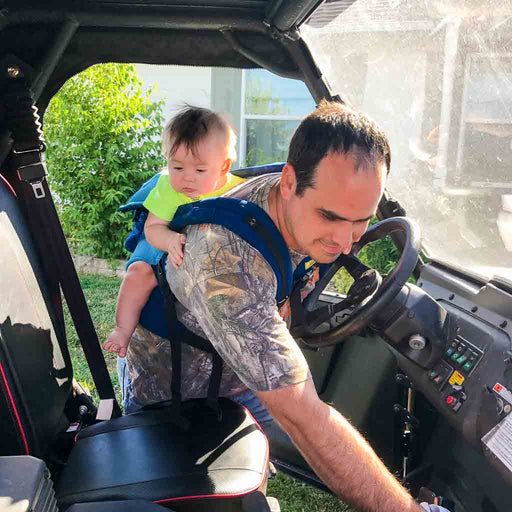
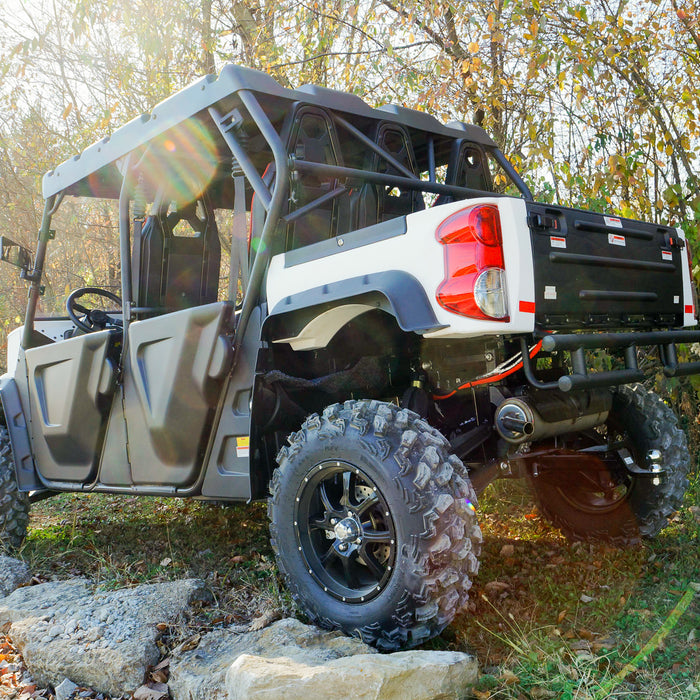
 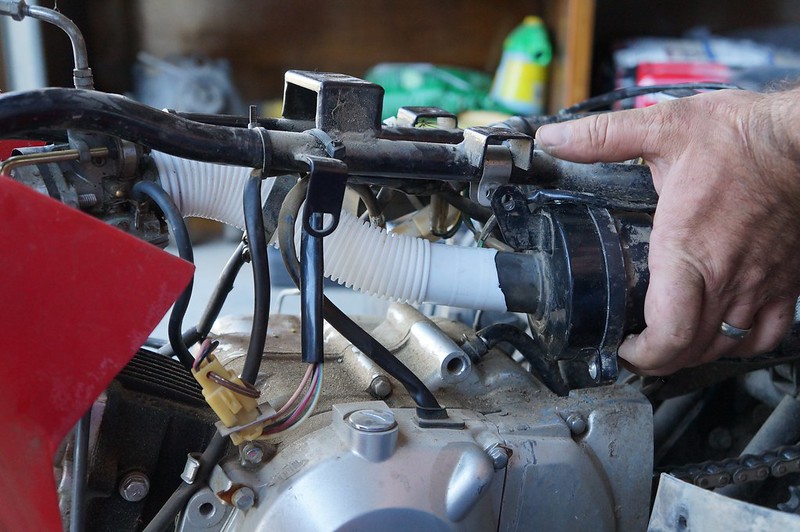 When it comes to DIY, there is so much trial and error. While we’ve been fortunate to have most things turn out well, sometimes we come up with ideas that are just bad. When we went into this project, we really weren’t expecting it to turn out as well as it did. It was one of those “we’ll give it a shot and see how it goes” kinda things. Happily, this worked out. The best part is that I got to watch Scott test drive a tiny ATV.
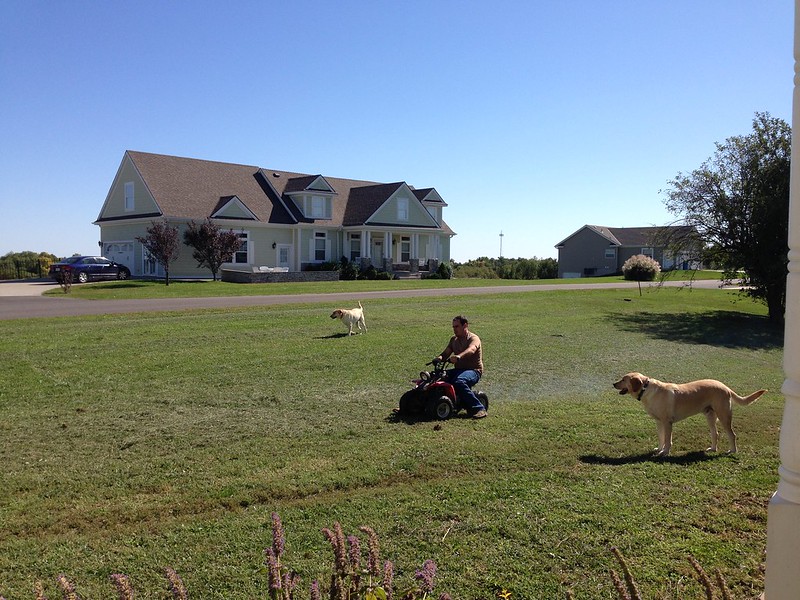
Our very own Air Filter Relocation kit for ODES UTVS. Designed and manufactured by Scooter's Powersports. Unlike some ODES Air Filter Relocation K...
View full details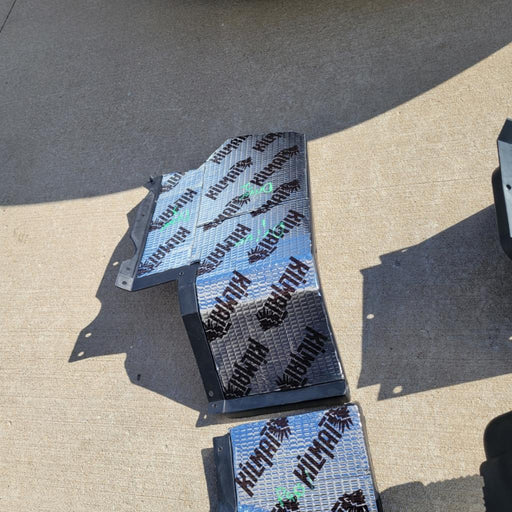
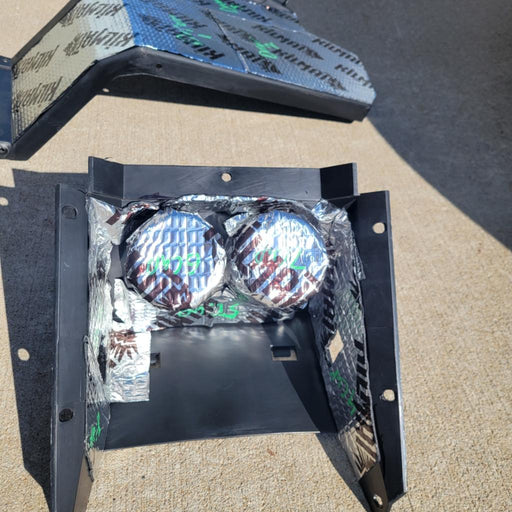
If the noise inside the cab of your ODES UTV has ever bothered you, this. is your solution. Now you can get one of our best selling shop services a...
View full details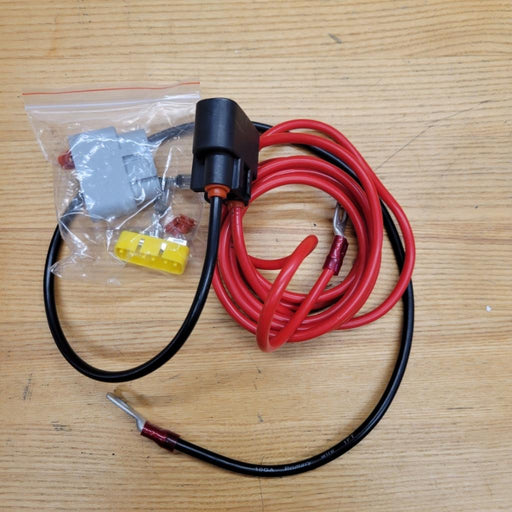
Designed to move the voltage regulator from under the hood to under the seat. Requested by you and built by Scooter's Powersports. Allows for elimi...
View full details

ODES Industries recommends an engine oil change at 25-hours of run time or 1000 miles. (We won’t tell if you turn that down to once every 50-hours ...
View full details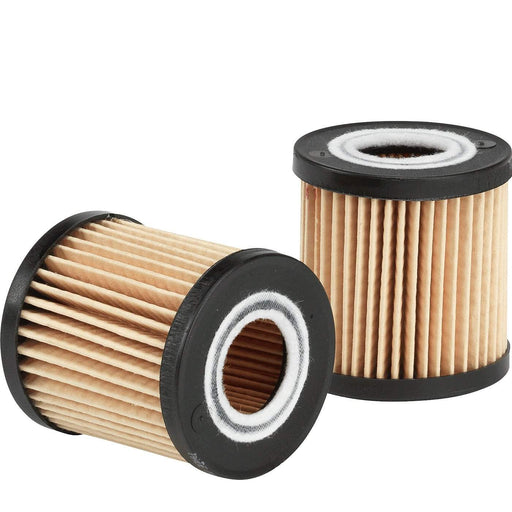
High-performance aftermarket ODES oil filter. Compatible with 800cc and 1000cc ODES engines. Be sure to select your make and model before adding to...
View full details
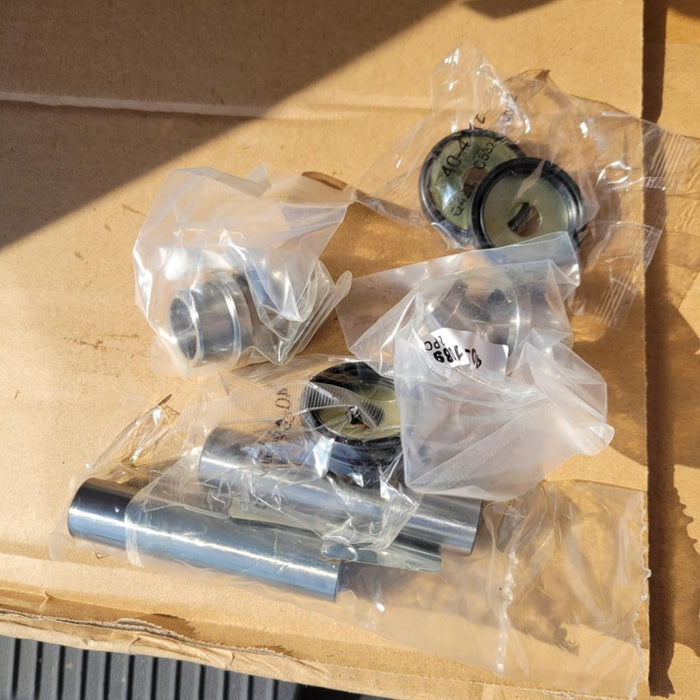
Pivot Works wheel bearing kit for 2012+ 800cc and 1000cc UTVs from ODES Industries. Fitment includes the Short Travel (Standard) suspension and the...
View full detailsOur very own Air Filter Relocation kit for ODES UTVS. Designed and manufactured by Scooter's Powersports. Unlike some ODES Air Filter Relocation K...
View full detailsOEM air filter for ODES 800cc engines. Vehicle Fitment This part is compatible with the following vehicles 2012+ ODES Dominator 800 2015+ ODES Dom...
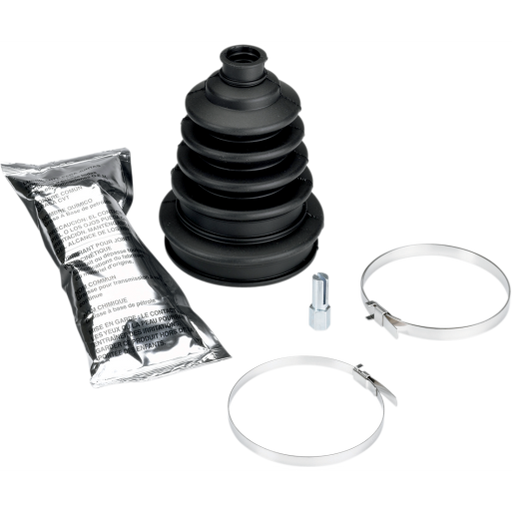
View full detailsExtremely heavy duty CV boot that fits virtually all ATVs and UTVs. Additional rib to allow boot to expand for larger joints Improved clamp retain...
View full details
ODES ball joint kit for 800cc and 1000cc ODES UTVs. ODES Ball Joint Kit Includes (1) Ball joint (1) Circlip (1) Cotter pin (1) Nut Each kit provi...
View full details